
How to show page breaks in Google Sheets
 By
SpreadCheaters
By
SpreadCheaters
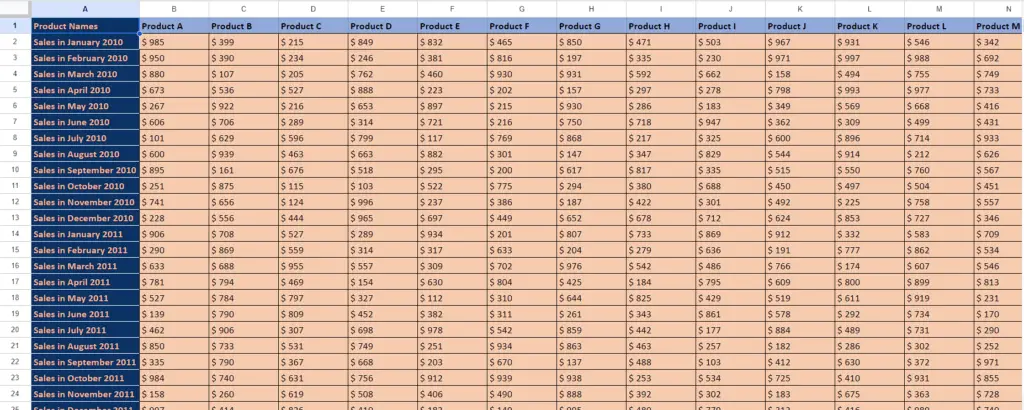
The provided dataset consists of product names and their corresponding sales data for various months from January 2010 to May 2012. This is very large data and let’s consider that you’re a financial analyst and want to analyze and print this data. In this tutorial, we will learn how to control the layout and appearance of printed sheets by defining the boundaries between pages by using page breaks.
In Google Sheets, page breaks are markers that determine where a new page begins when printing a spreadsheet. They help control the layout and appearance of printed sheets by defining the boundaries between pages. Page breaks allow you to have better control over how your spreadsheet content is distributed across multiple pages when printed. By visualizing the page breaks, you can ensure that important data or headers are not split between pages, making it easier to read and understand the information.
Step 1 – Open the Print Settings in Excel
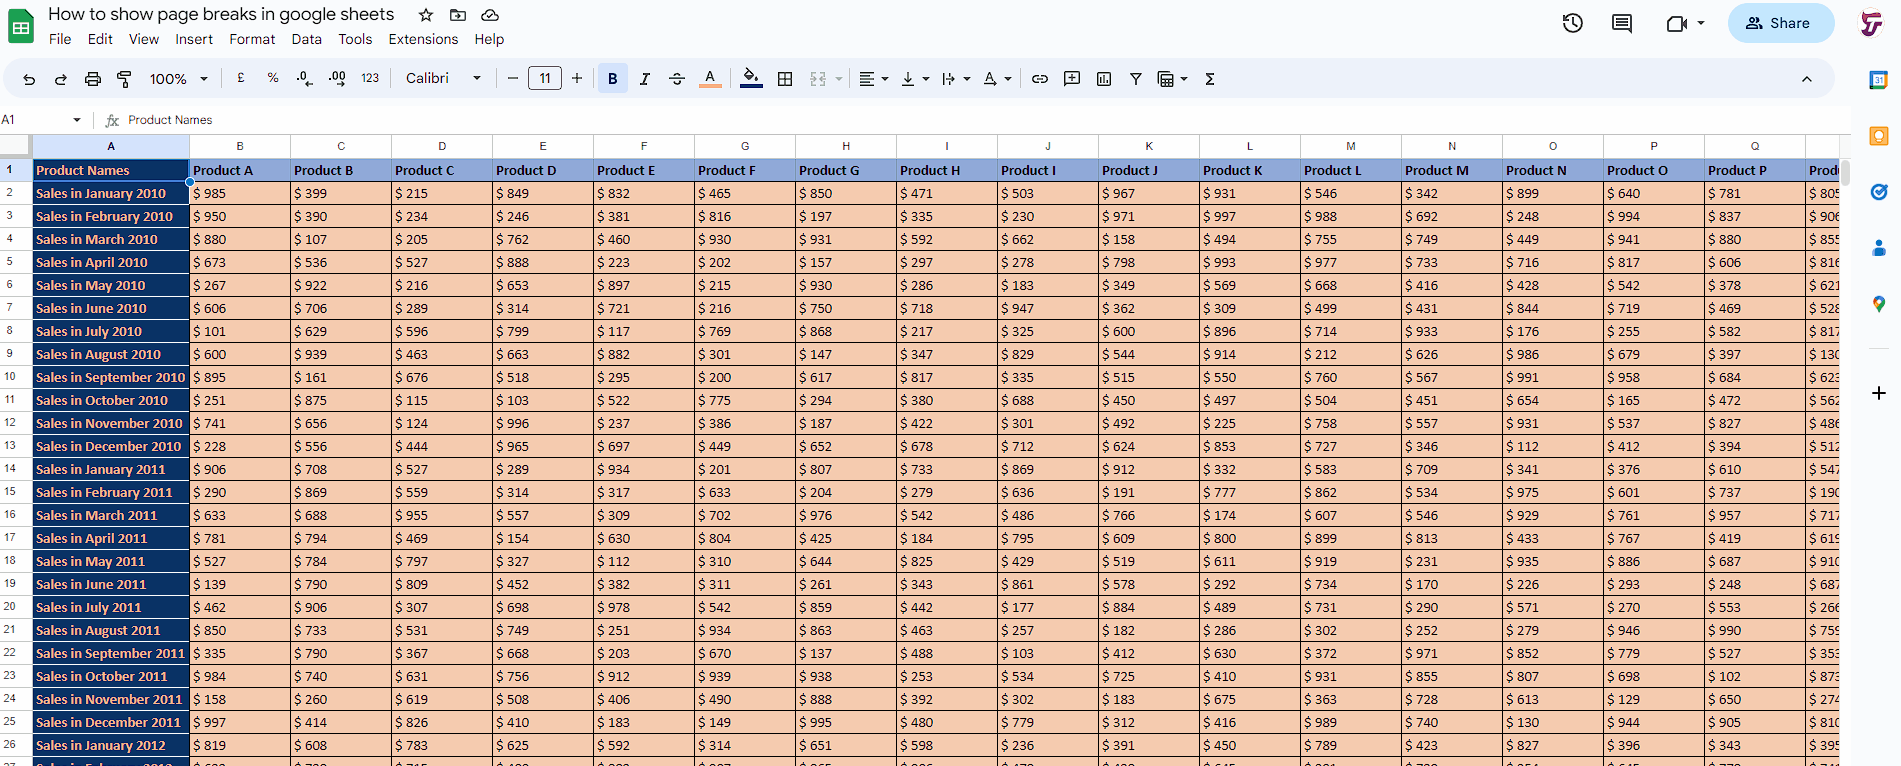
– Open your Google Sheets spreadsheet in your web browser.
– Click on the “File” menu located at the top-left corner of the screen.
– From the drop-down menu, select the option named “Print.”
– This will open the print settings window and the print settings sidebar will be present on the right side of the screen.
– Alternatively, you can do this by using the “Ctrl+P” shortcut key.
Step 2 – Select the Orientation of Page
– In the print settings sidebar, you can adjust various options, such as selecting the printer, choosing the paper size, setting the orientation (portrait or landscape), adjusting margins, and specifying the number of copies.
– From these options, select the orientation of the page.
– If you want to cover more columns of data then select “Portrait orientation”.
– If you wish to have more rows of data then select “Landscape orientation”.
– Also, select the size of the sheet on which you want to print the data.
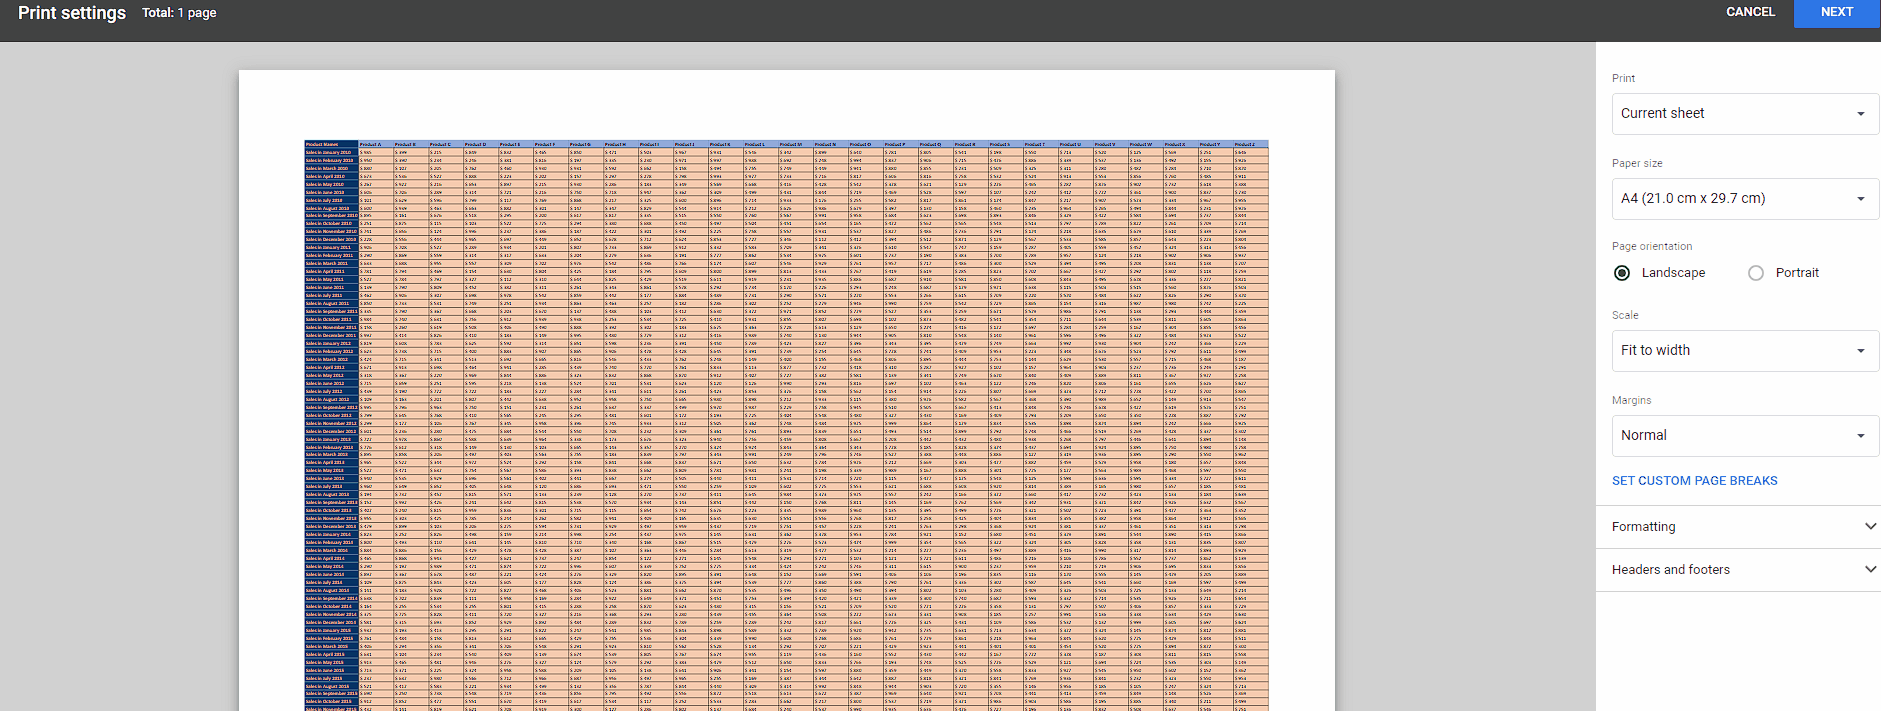
Step 3 – Set Custom Page Breaks
– After selecting the orientation, click on the “Set Custom Page Breaks” below the “Margins” option.
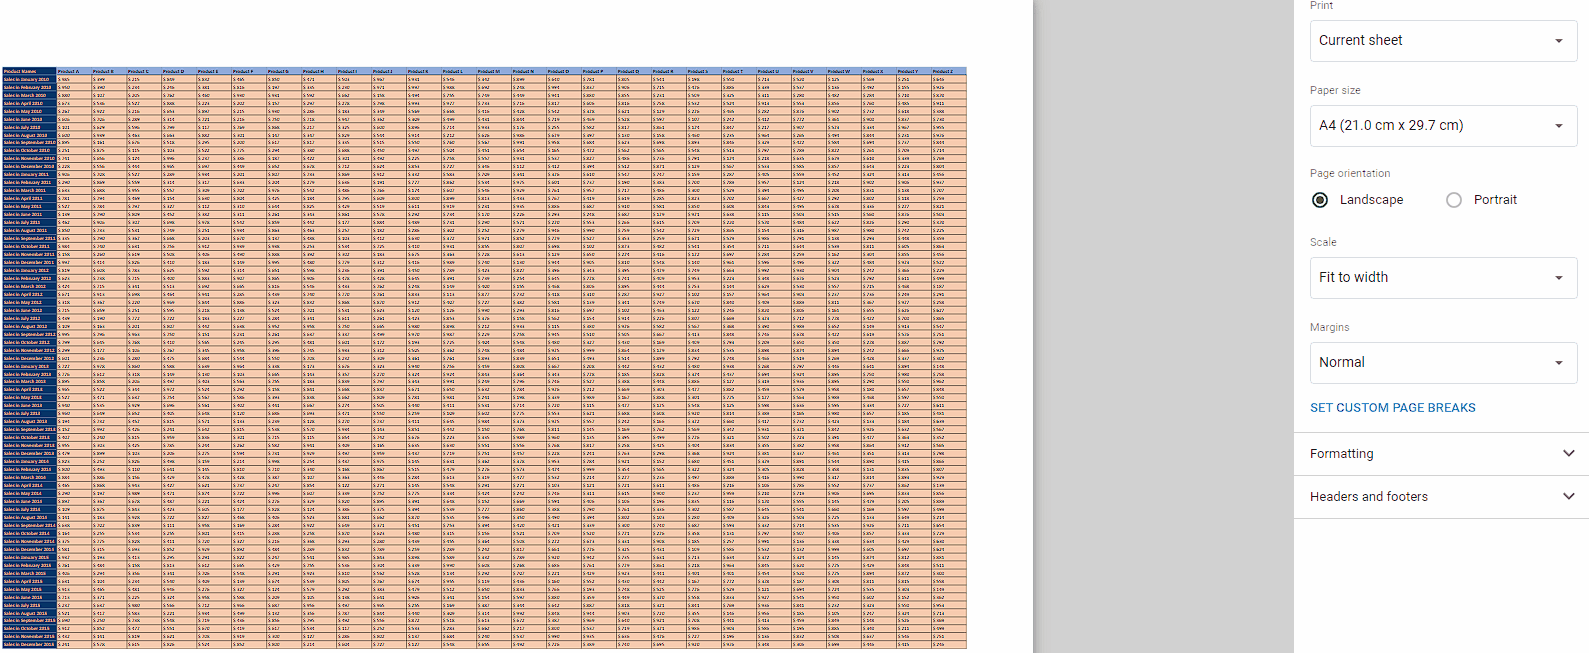
– After you click “Set Custom Page Breaks”, you should see dotted lines indicating the page breaks.
– Horizontal page breaks are represented by dashed lines between rows.
– Vertical page breaks are represented by dashed lines between columns.
– If you don’t see the page breaks, ensure that your spreadsheet is large enough to require multiple pages when printed. If your spreadsheet fits on a single page, page breaks may not be visible.
– You can adjust the zoom level of the preview by clicking on the plus (+) or minus (-) buttons in the lower-right corner of the screen and adjust the vertical and horizontal page breaks according to the area you want to print on one page.
– After you’ve set the page breaks, click on the option named “Confirm Breaks” and then you can print the page.


