
How do I add more columns in Google Sheets
 By
SpreadCheaters
By
SpreadCheaters
Google Sheets contains a powerful tool for organizing and analyzing data, and knowing how to manipulate the layout of your spreadsheet is essential for efficient data management. One common task is adding more columns to your Google Sheets document. Here, we will walk you through the process of adding columns to your Google Sheets, along with some handy tips and tricks to enhance your productivity.
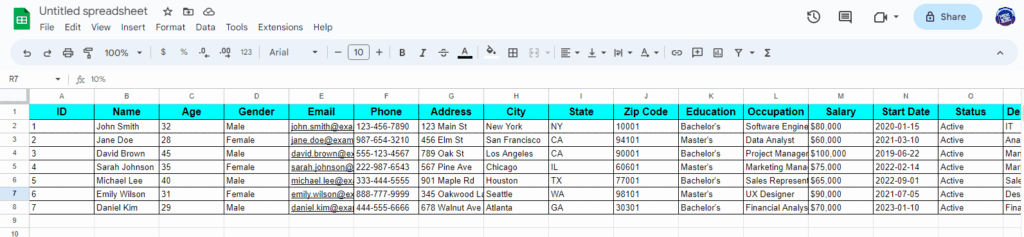
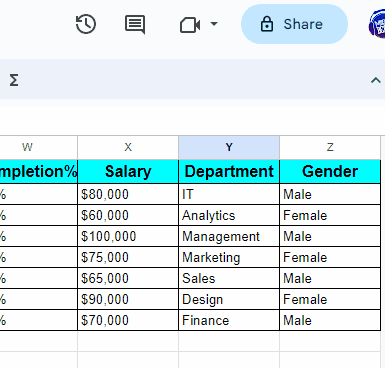
Here we have a large dataset that contains 26 columns. In Google Sheets there are by default 26 columns (A-Z), let’s suppose we have to add more columns into google sheets; here we learn to add more columns by following the simple steps below. Let’s take a look at the dataset first.
Method – 1 Insert menu.
Insert option in the ribbon has many purposes, but one is adding columns into the sheets. The number of columns selected determines how many columns you want to add, for example, if you want to add more than two columns then select two columns and follow the steps below
Step – 1 Go to Insert.
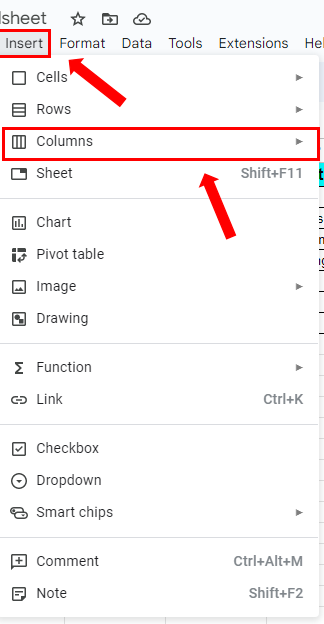
- Select the column where you want to add the extra column by clicking on the alphabet above the column.
- Click on Insert in the ribbon.
Step – 2 Add the column
- In the Insert menu move the cursor to the Columns.
- Columns side menu will appear.
- Select the option if you want to add the column to the right or left of the selected column.
Method – 2 Adding Column from the dropdown menu.
Step – 1 Open the dropdown menu of the column.
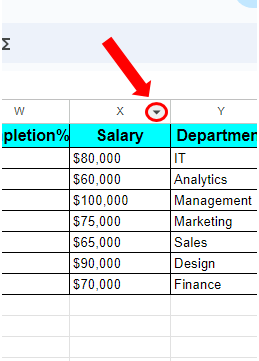
- Hover the cursor above the alphabet name of the column and an arrow indicating a dropdown menu will appear.
- Click on the dropdown menu arrow.
Step – 2 Add the column
- This will open the dropdown menu, which is actually the context menu and it can also be opened by right-clicking any column.
- Now choose from the two options which is to insert a column on the right or left.
- Once you click any one of them, it will add a column to the sheet.


