
How to unprotect cells in Google Sheets
 By
SpreadCheaters
By
SpreadCheaters
Page last updated:
21/04/2023 |
Next review date:
21/04/2025
Unprotecting a cell in Google Sheets refers to removing the protection that prevents users from editing or modifying certain cells within a spreadsheet. Unprotecting cells can be useful when creating complex formulas or when using a template that requires customization.
In this tutorial, we will learn how to unprotect cells in Google Sheets. Google Sheets allows us to remove protection from a protected range of cells by utilizing the Protect Sheets and Ranges feature in the Data tab. Within this feature, it is possible to eliminate the protections by deleting them.
Method 1: Using the Data Tab
Step 1 – Locate the Data Tab
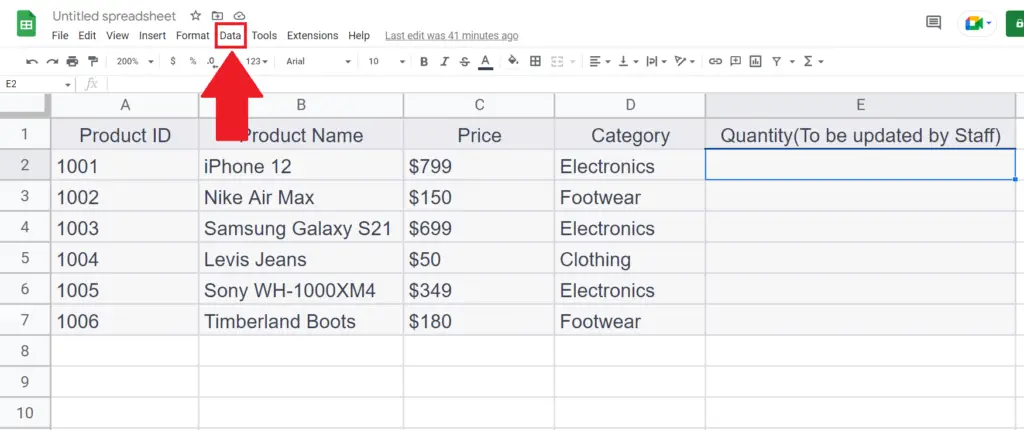
- Locate and click on the Data tab.
- A drop-down menu will appear.
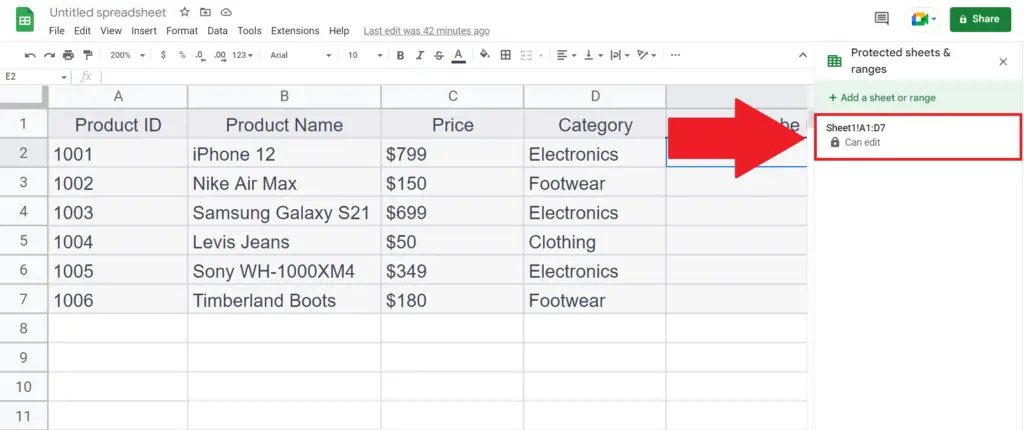
Step 2 – Click on the Protect Sheets and Ranges
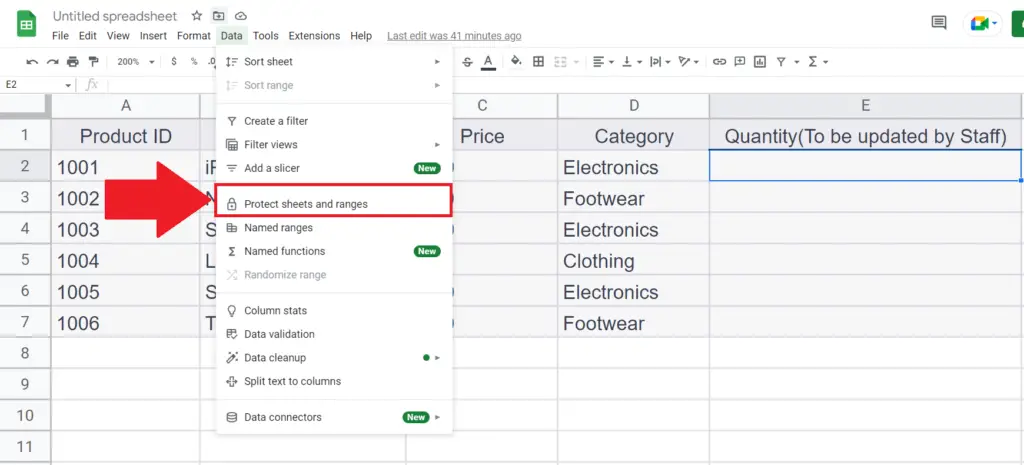
- Click on Protect Sheets and Ranges in the drop-down menu.
Step 3 – Click on the Protection

- Click on the Protection to be removed.
Step 4 – Click on the Delete range or sheet protection Button
- Click on the Delete range or sheet protection Button.
- A notification dialog box will appear.
- Click on the Remove option.
- The cells will be unprotected.
Method 2: Using the Context Menu
Step 1 – Right-Click Anywhere on the Sheet

- Right-click anywhere on the sheet.
- A context menu will appear.
Step 2 – Click on the “View more cell actions” Option and Select Protect Range
- Click on the “View more cell actions” option.
- Select the “Protect Range” option.
Step 3 – Click on the Protection
- Click on the Protection to be removed.
Step 4 – Click on the Delete range or sheet protection Button

- Click on the Delete range or sheet protection Button.
- A notification dialog box will appear.
- Click on the Remove option.
- The cells will be unprotected.


