
How to swap rows in Google Sheets
 By
SpreadCheaters
By
SpreadCheaters
Page last updated:
13/06/2023 |
Next review date:
13/06/2025
Swapping rows in Google Sheets means changing the order of rows in a sheet by moving one or more rows to a new location. This can be useful if you want to reorder data or change the layout of your sheet.
In this tutorial, we will learn how to swap rows in Google Sheets. Swapping rows in Google Sheets can be performed by utilizing simple Cut and Paste commands or by drag and drop method. We can also utilize the Move option for this purpose.
Method 1: Utilize the Cut and Paste Commands
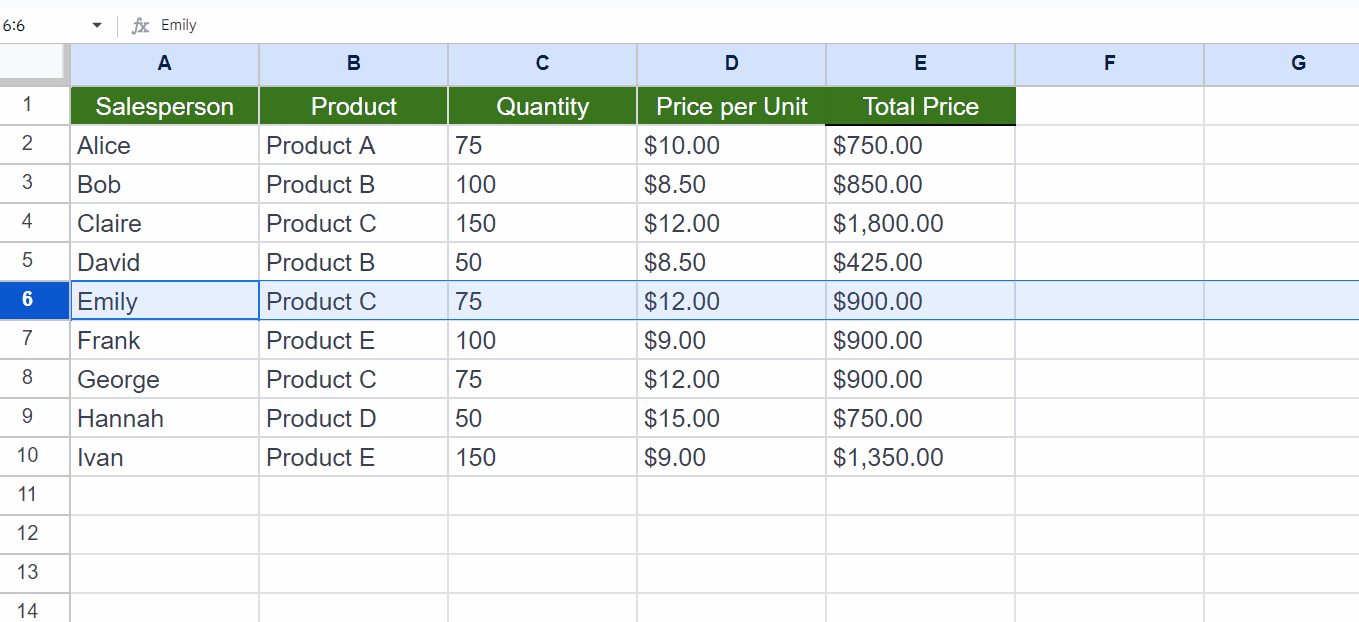
Step 1 – Choose the First Row

- Choose the first row to be swapped.
- This can be done by clicking on the row header.
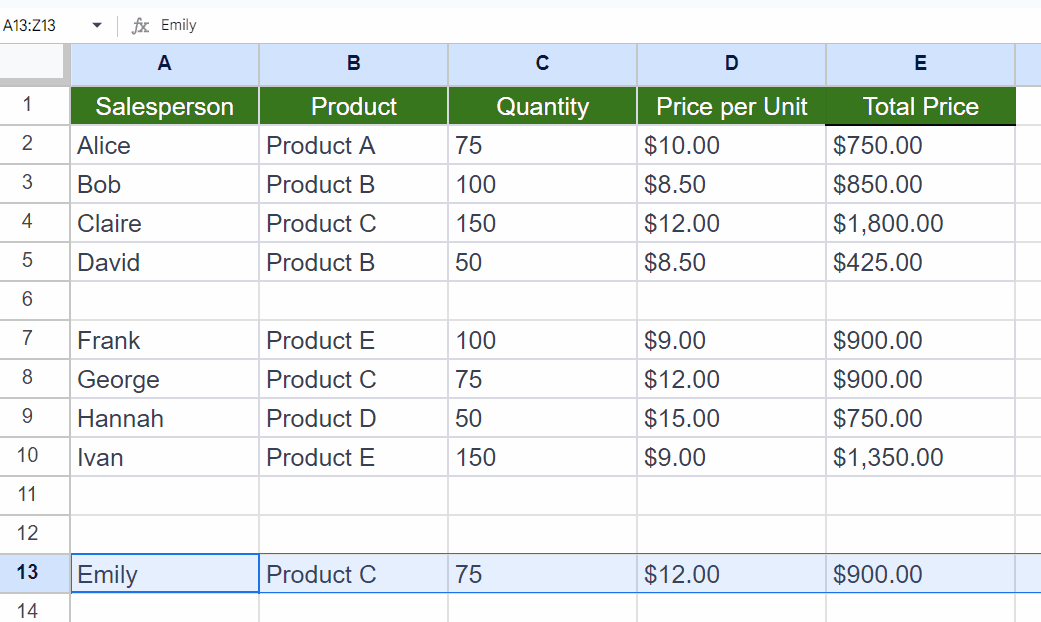
Step 2 – Cut and Paste the Row
- Cut and Paste the row outside the data set.
- To cut the selected row press CTRL+X.
- To paste the selected row press CTRL+V.
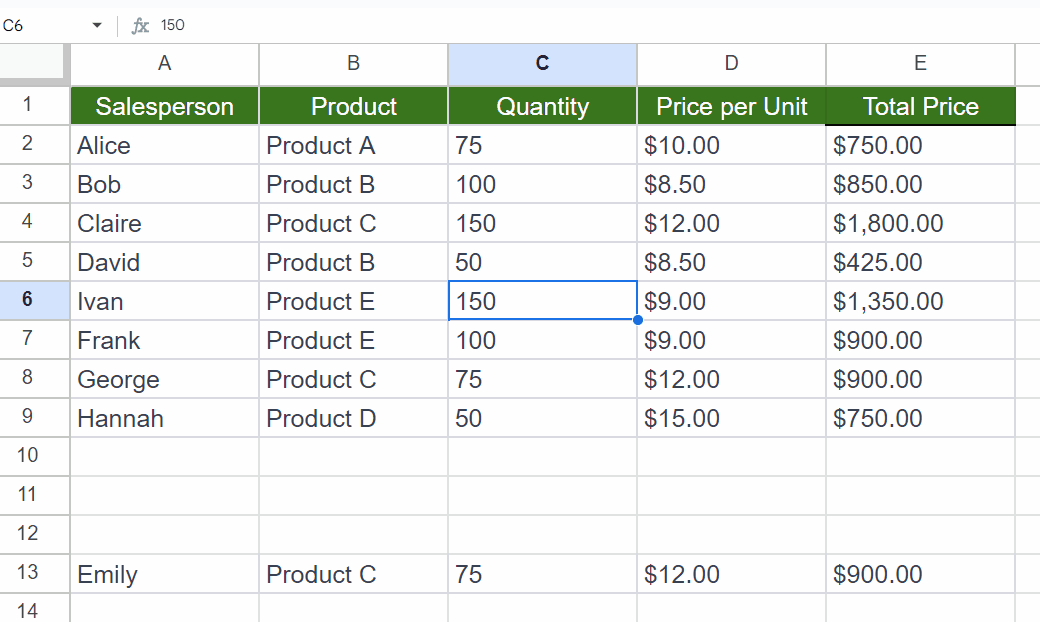
Step 3 – Cut and Paste the Second Row to be Swapped
- Cut the second row by pressing CTRL+X.
- Paste it in the location of the first row i.e. the row pasted aside from the data set in “Step 2”.
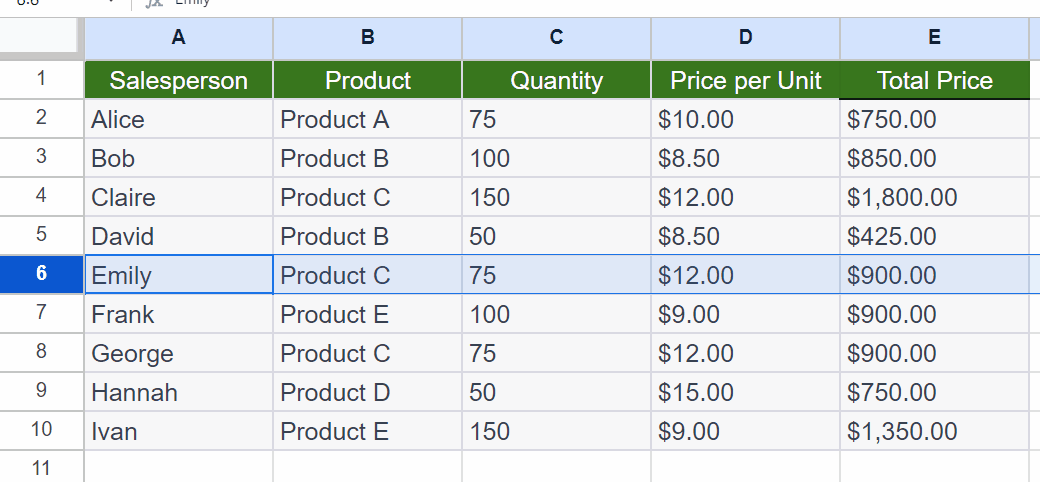
Step 4 – Now, Cut and Paste the First Row in the Location of the Second Row
- Cut the first row that was pasted aside by pressing the CTRL+X keys.
- Paste it in the location from where the second row was cut.
- In this way, the rows will be swapped.
Method 2: Swapping Rows by Drag and Drop Method
Step 1 – Choose the First Row

- Choose the first row to be swapped.
- This can be done by clicking on the row header.
Step 2 – Drag the Row Header and Drop
- Drag and drop the row header over the row to be swapped.
Method 3: Using the Move Option
Step 1 – Choose the First Row
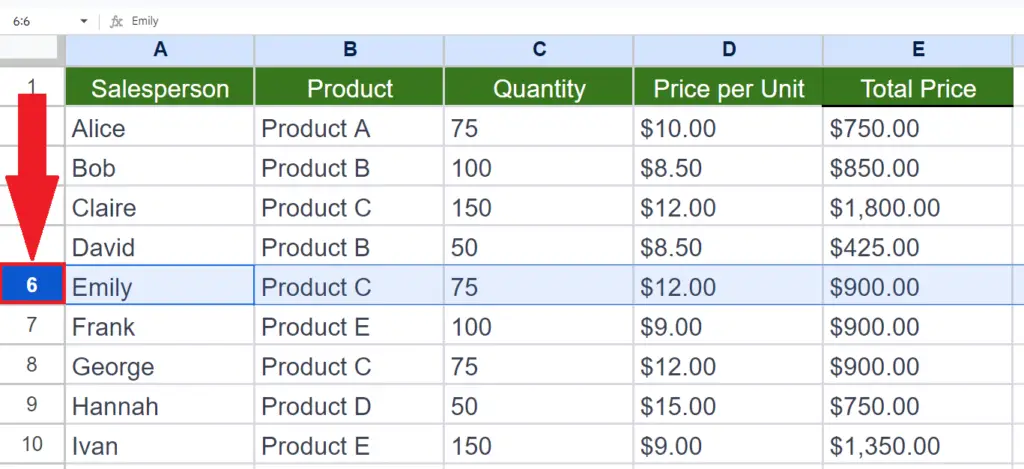
- Choose the first row to be swapped.
- This can be done by clicking on the row header.
Step 2 – Locate the Edit Tab
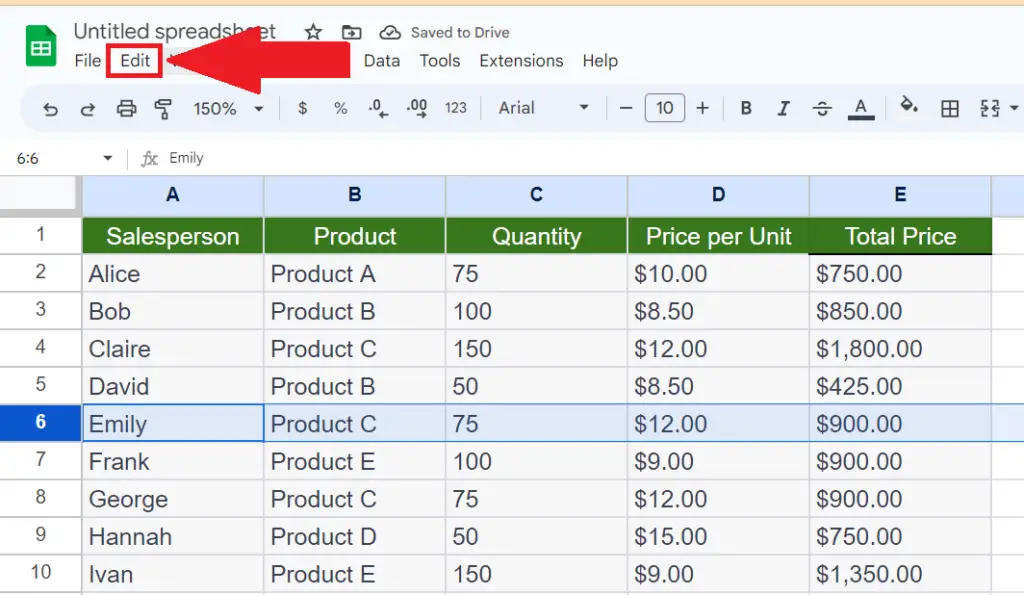
- Locate and perform a click on the Edit tab in the menu bar.
- A drop-down menu will appear.
Step 3 – Click on the Move Option
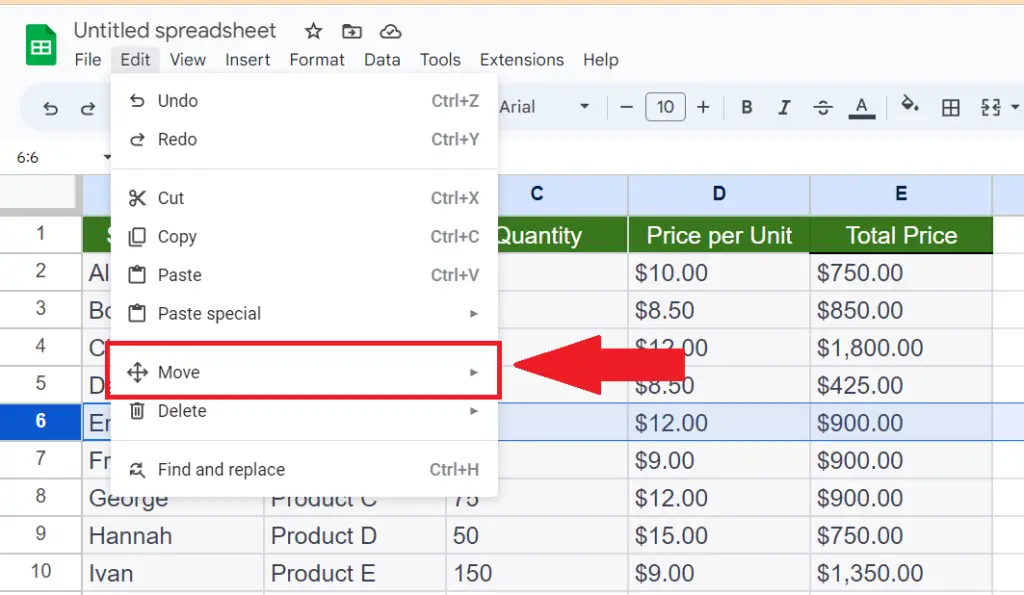
- Click on the Move option in the drop-down menu.
Step 4 – Select the Direction
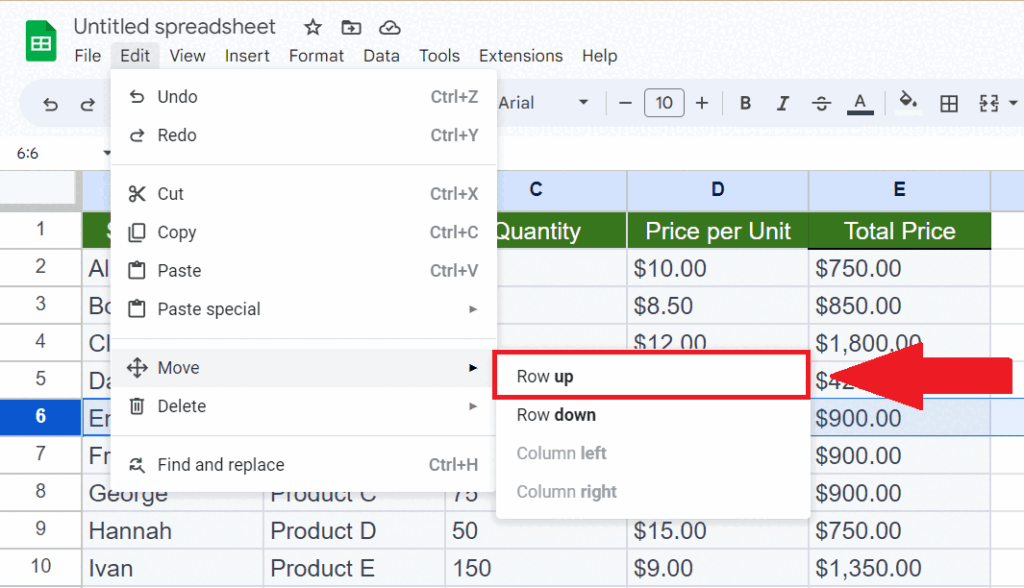
- Select the direction in which you want to move the column.


