
How to set the default font in Google Sheets
 By
SpreadCheaters
By
SpreadCheaters
In this tutorial, we will learn how to set the default font in Google Sheets. In Google Sheets, you can set a default font that will be automatically applied to all new sheets in the document. This can be done using the “Customize” option in the “Themes” menu.

Setting a default font refers to choosing a particular typeface that will be automatically used for all new documents or workbooks in Google Sheets. This can provide numerous benefits, such as ensuring consistency, saving time, giving a professional appearance, enhancing readability, and allowing personal preference.
Step 1 – Locate the Format Tab
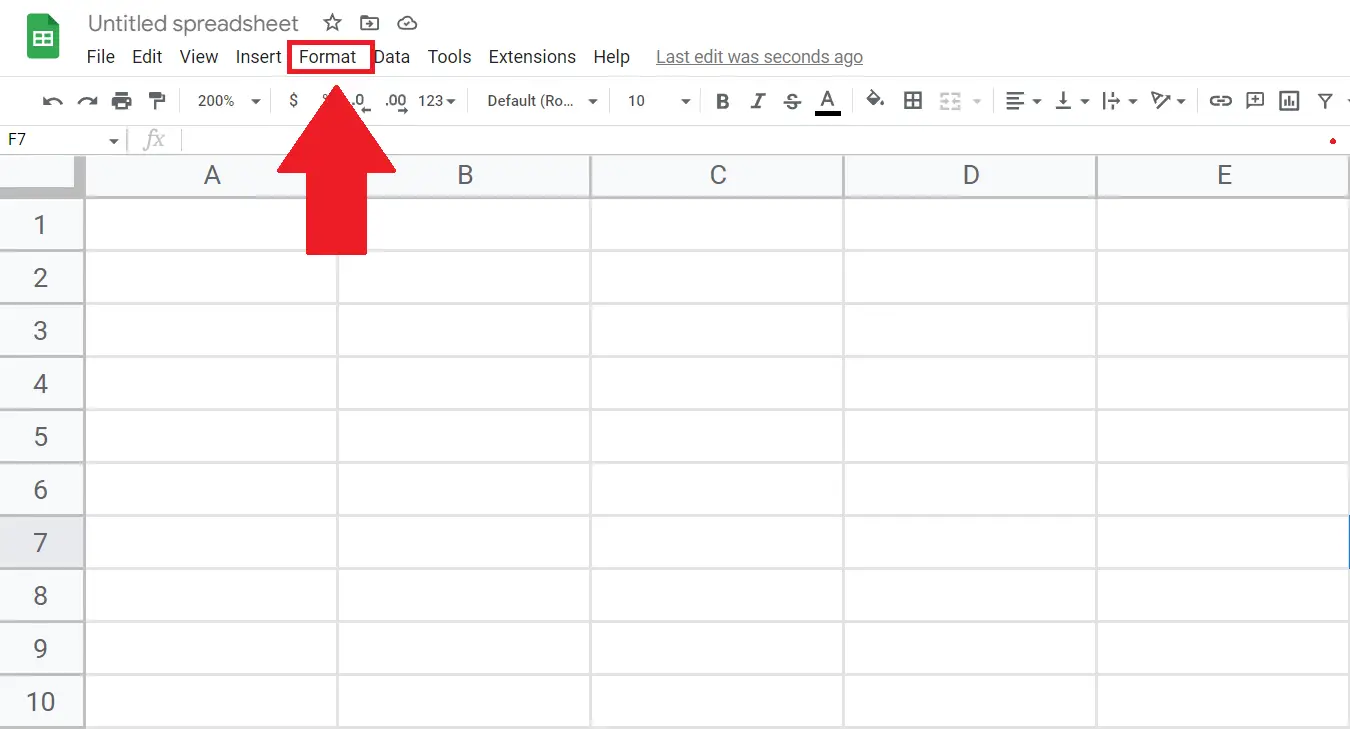
– Locate the Format tab in the menu bar.
– Click on the Format tab.
– A drop-down menu will appear.
Step 2 – Click on the Theme Option

– Click on the Theme option.
– The themes side panel will open on the right side of the sheet.
Step 3 – Click on the Customize Button
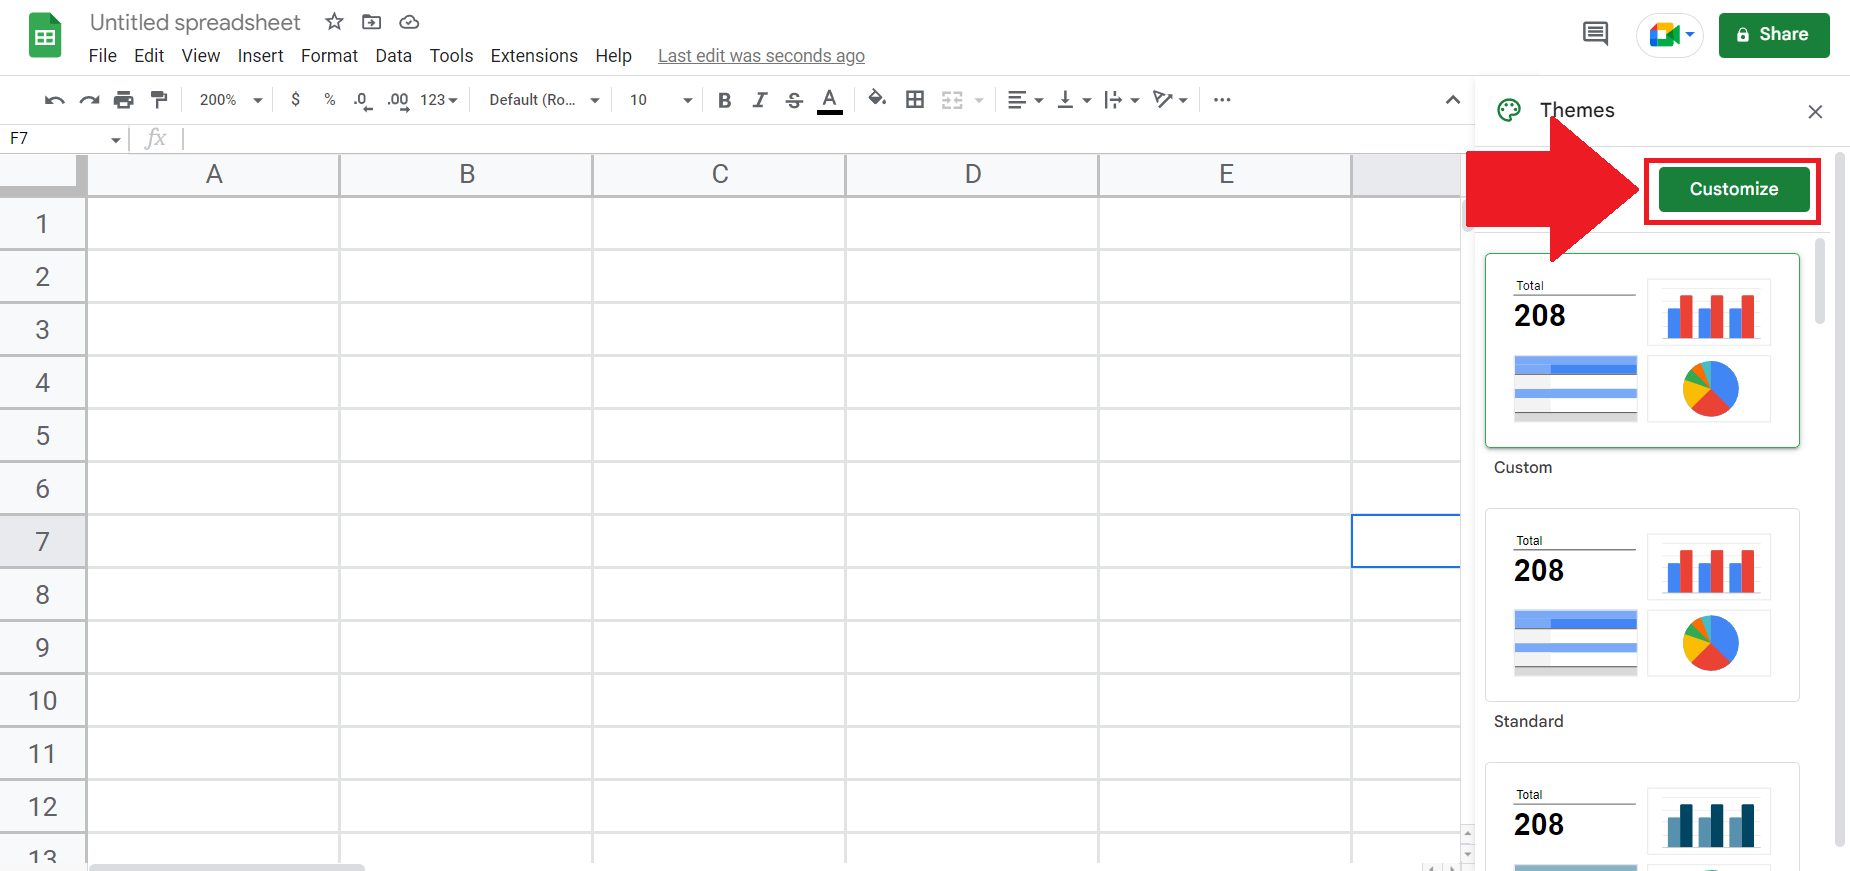
– Click on the customize button in the Themes side panel.
Step 4 – Select the Font
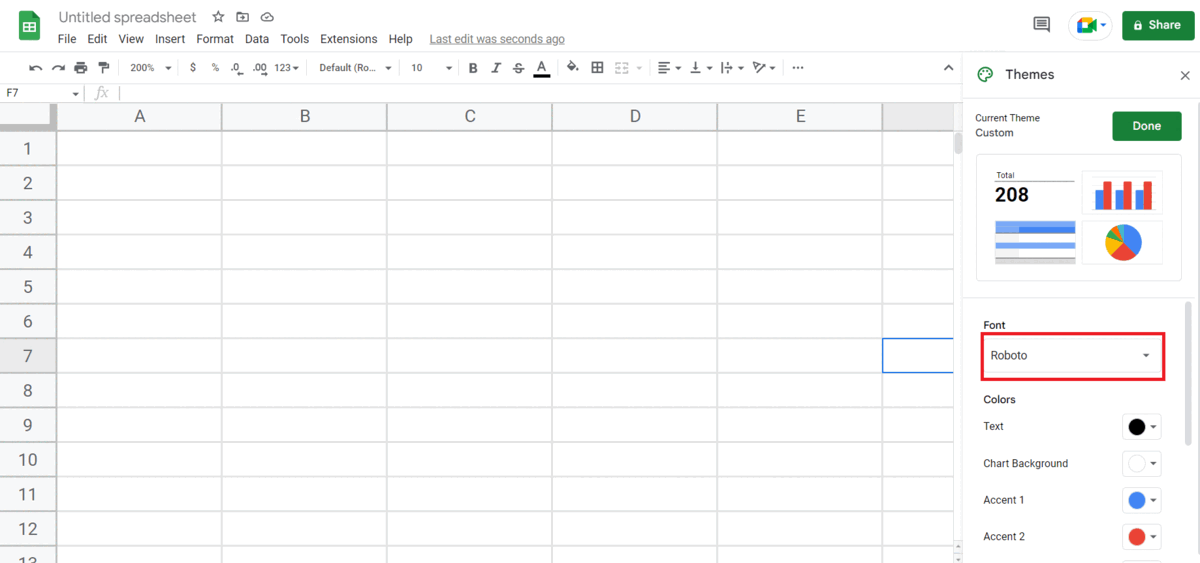
– Select the Font by clicking the list arrow in the font option,
– A Fonts list will appear.
– Select the Font.
Step 5 – Click on the Done Option
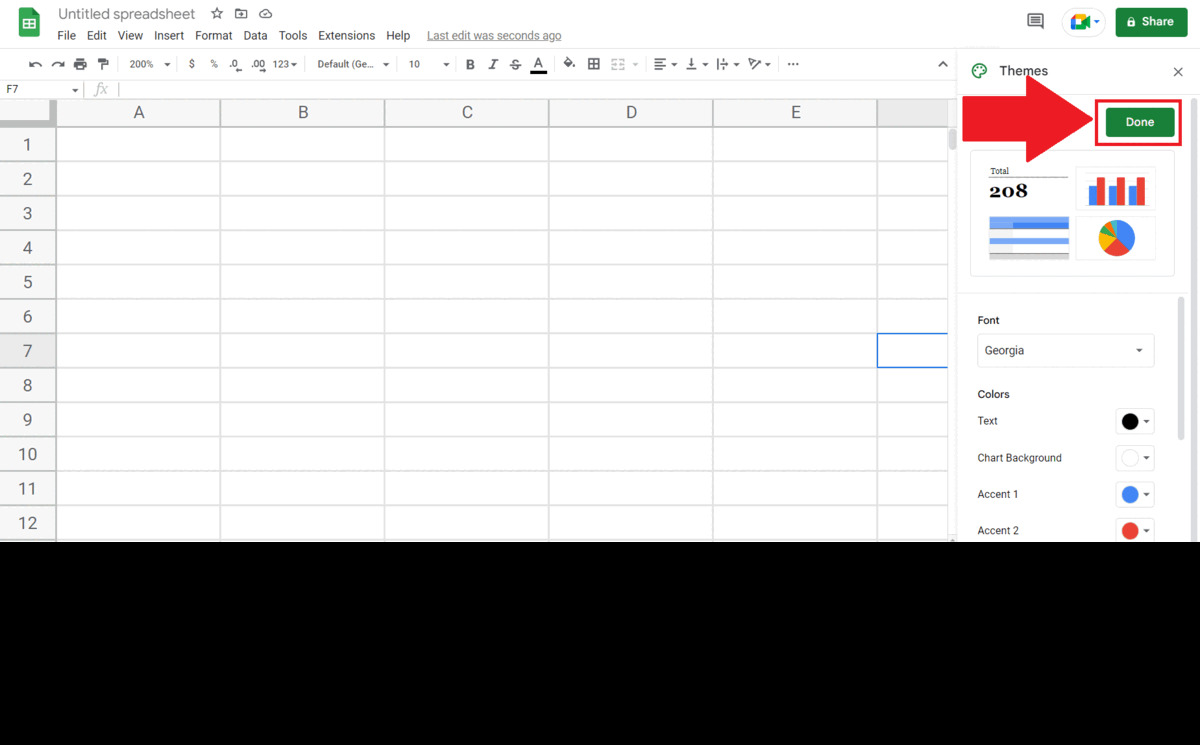
– Click on the Done option in the Themes side panel.
– The default font will be updated.
Step 6 – Save the File
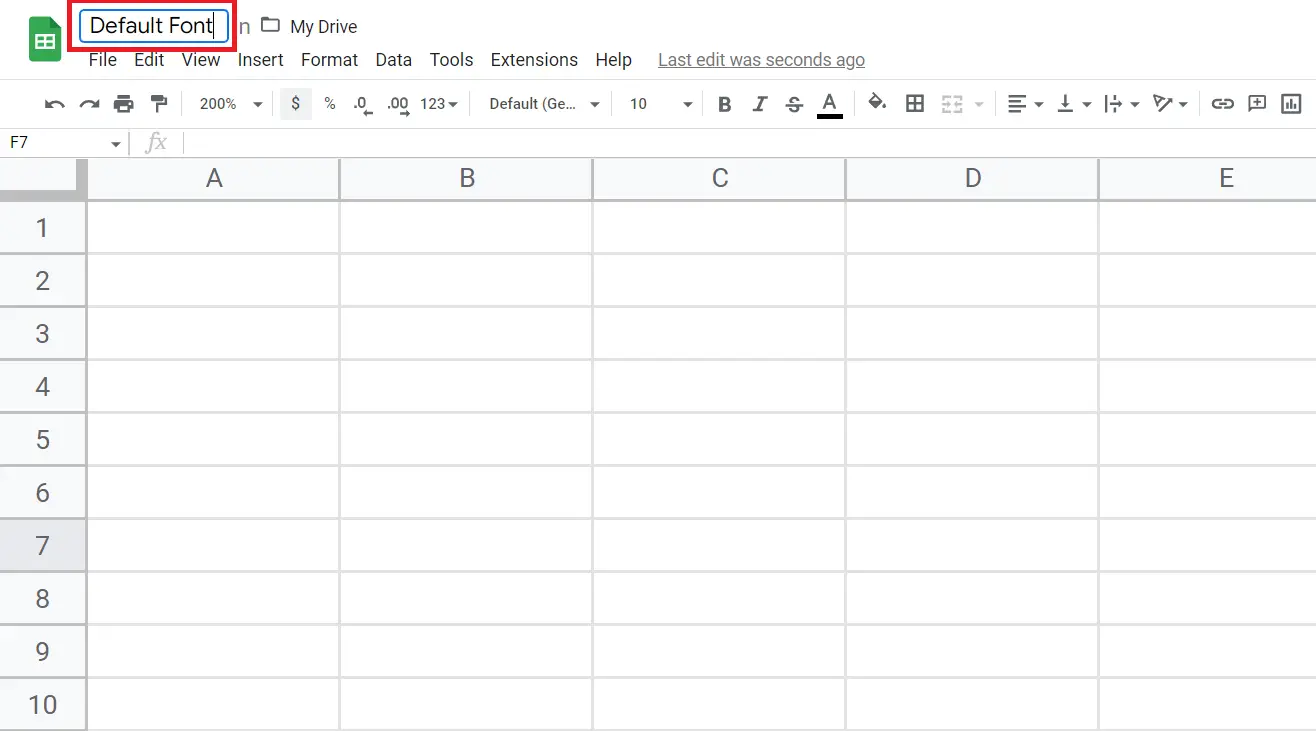
– Save the file with the name a recognizable name i.e. “Default Font”.
– Whenever the default font is required, you may open the file, make a copy of it and use the default font.
– Whenever the default font is required, open the file “My Font”, create a duplicate of it, and use the default font.


