
How to set print area in Google Sheets
 By
SpreadCheaters
By
SpreadCheaters
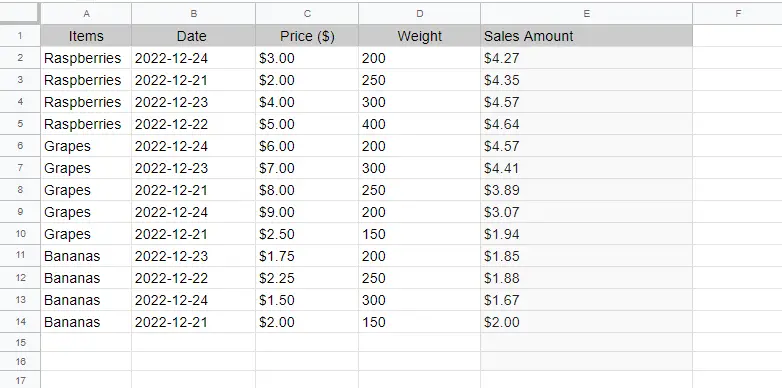
You would typically only want to print a portion of the spreadsheet. If you want to share a certain aspect of your work with your colleagues for discussion or if you only want to present a limited portion of your work, you may want to do this. Happily, Google Sheets allows you to select the cells you want to print by changing the print range. That’s exactly what you will learn in this tutorial. In the given data set above, we want to print the first 10 entries only. Follow the below given steps:
Google Sheets is a free, web-based spreadsheet application by google. It enables collaboration, allowing numerous users to edit and format files in real-time, and it enables users to edit, organize, and analyze various forms of information. You can perform different operations on cells, format them and can perform multiple calculations on them.
Step 1 – Select the range of cells you want to print
– Highlight the range of cells you want to print.
– In our case, we have selected first 10 entries and the header row i.e. A1:E11.
Step 2 – Open print settings
– After selecting the cells, click on ‘File menu’ and then on the Print option.
– You can also use the Ctrl+P Shortcut key.
Step 3 – Change the Print settings
– In the print settings, change the option ‘Current sheet’ to ‘Selected Cells’, doing this will print only the selected range of cells.
– You can also change other settings as per your specific requirements.
– Click on the ‘Next’ button.
Step 4 – Print selected range

– Select Printer, Number of Pages, Color settings and then click on the ‘Next’ button.
– Doing this will print the selected range of cells.
You can follow the above given steps and can print a select range of cells from google sheet. This is helpful when you only want to print a portion of the spreadsheet or want to share a certain aspect of your work with your colleagues for discussion or if you only want to present a limited portion of your work.


