
How to select a range in Google Sheets
 By
SpreadCheaters
By
SpreadCheaters
A range in Google Sheets is a collection of cells that are selected as a group within a spreadsheet. By selecting a range, you gain the ability to carry out different tasks, including applying formulas or functions to a specific set of cells, formatting a range of cells, or generating charts based on the data contained in the range.
In this tutorial, we will learn how to select a range in Google Sheets. Selecting a range of cells in Google Sheets is straightforward and can be accomplished easily. To select a range, one can use a colon (:) or click and drag the mouse to select a contiguous range. However, for a non-contiguous range, one must select the range by holding the CTRL key or adding the reference of each cell, separated by a comma.
Method 1: Selecting a Contiguous Range Using a Colon
Step 1 – Select a Blank Cell and Place an Equals Sign
- Select a blank cell.
- Place an Equals sign in the blank cell.
Step 2 – Enter the SUM Function
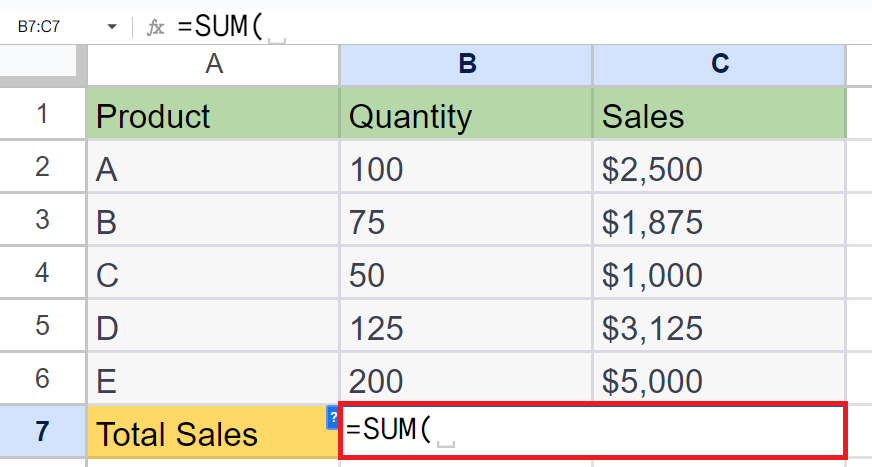
- Enter the SUM function next to the Equals sign.
- Open the parentheses.
Step 3 – Enter the Reference of the First Cell
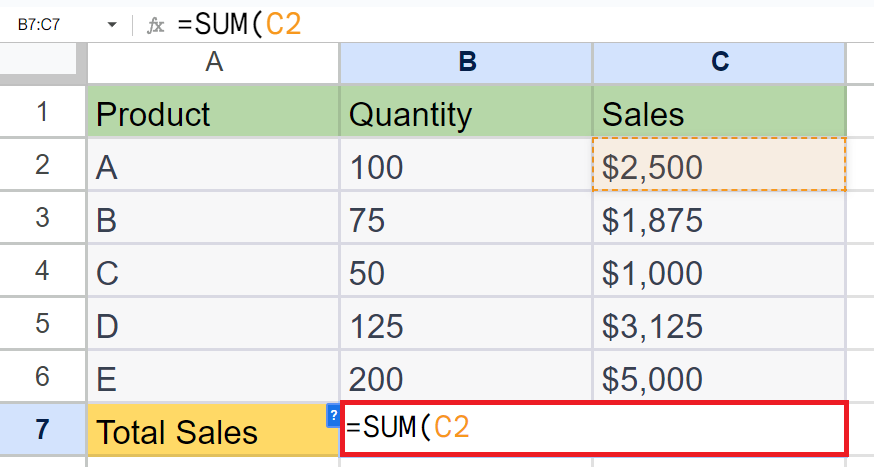
- Enter the reference of the first cell of the range to be added.
Step 4 – Place a Colon
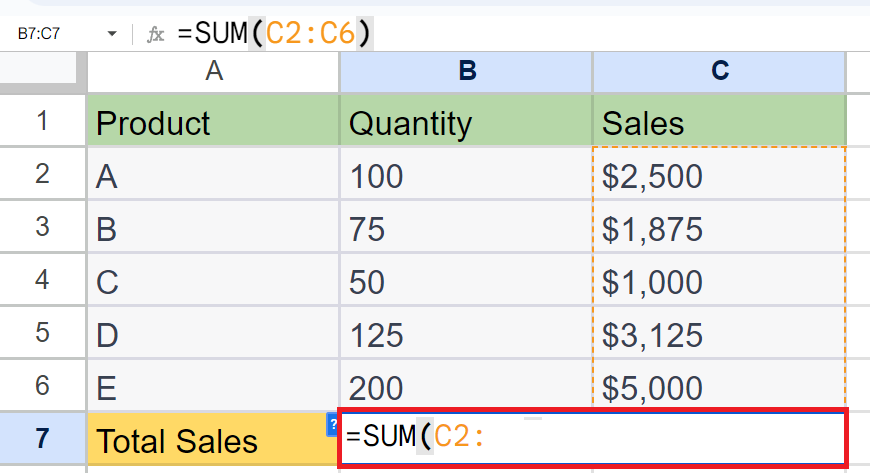
- Place a colon ( : ) next to the reference of the first cell.
Step 5 – Enter the Reference of the Last Cell
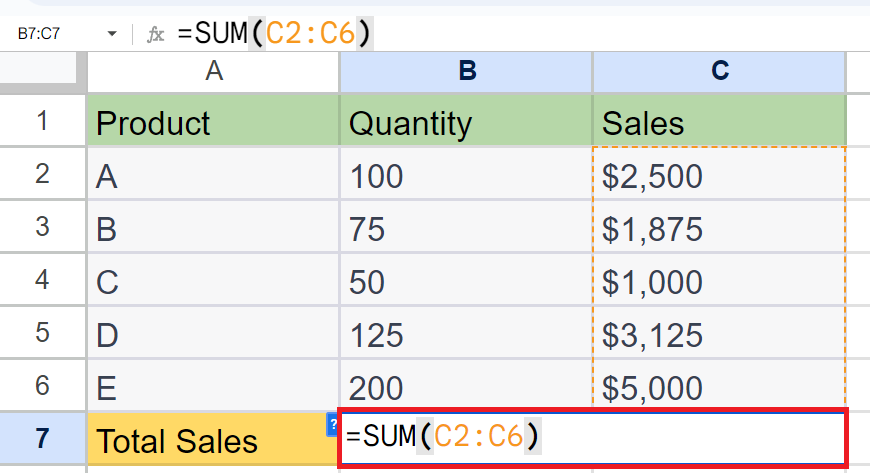
- Enter the reference of the last cell of the range to be added.
- Close the parentheses.
Step 6 – Press the Enter Key
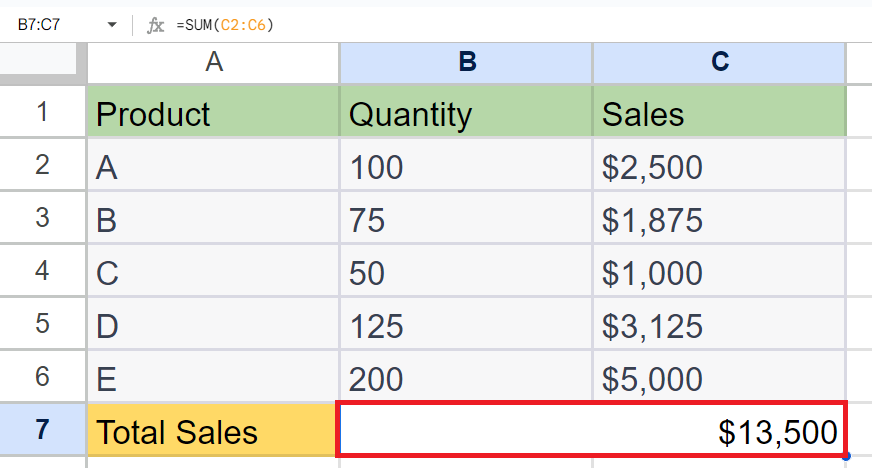
- Press the Enter key to add the range.
Method 2: Utilizing the Cursor to Select a Contiguous Range
Here we aim to select a contiguous range inside a formula utilizing the cursor. However the same method is applicable to select a contiguous range anywhere i.e. outside the formula.
Step 1 – Select a Blank Cell and Place an Equals Sign
- Select a blank cell.
- Place an Equals sign in the blank cell.
Step 2 – Enter the SUM Function

- Enter the SUM function next to the Equals sign.
- Open the parentheses.
Step 3 – Hover the Cursor over the First Cell

- Hover the cursor over the first cell of the range.
Step 4 – Select and drag the Cursor over the range
- Select the first cell.
- Drag the cursor over the range of cells you want to select.
- Drop the cursor on the last cell.
- The same method is applicable when selecting a range outside a formula.
Step 5 – Close the Parenthesis and Press the Enter Key
- Close the parenthesis of the SUM function.
- Press the Enter key.
- The contiguous range will be selected.
Method 3: Adding a Non-Contiguous Range Using the CTRL Key
To select a non-contiguous range of cells we can press and hold the CTRL key and then select the cell individually. One can utilize this method inside the formula as well as outside the formula.
Step 1 – Select a Blank Cell and Place an Equals Sign
- Select a blank cell.
- Place an Equals sign in the blank cell.
Step 2 – Enter the SUM Function

- Enter the SUM function next to the Equals sign.
- Open the parentheses.
Step 3 – Press and Hold the CTRL Key and Select the Cells

- Press and Hold the CTRL key.
- Select the cells of the non-contiguous range individually.
Step 4 – Close the Parenthesis and Press the Enter Key

- Close the parenthesis of the SUM function.
- Press the Enter key.
- The non-contiguous range will be added.
Method 4: Selecting a Non-Contiguous Range Manually
Step 1 – Select a Blank Cell and Place an Equals Sign
- Select a blank cell.
- Place an Equals sign in the blank cell.
Step 2 – Enter the SUM Function

- Enter the SUM function next to the Equals sign.
- Open the parentheses.
Step 3 – Enter the Reference of Each Cell and Separate Them Using a Comma
- Enter the reference of each cell and separate them using a comma i.e. B2, B4, B6.
Step 4 – Close the Parenthesis and Press the Enter Key

- Close the parenthesis of the SUM function.
- Press the Enter key.
- The non-contiguous range will be selected.
Conclusion:
In this tutorial, we learned how to select a range of cells inside a formula. The range of cells can be selected for various purposes and not only for the purpose of formula arguments. The range of cells can be selected for highlighting and enhancing the visual impact of the data as well. However, the methods described above are all valid for simple selection of range or selection of range inside a formula as well.


