
How to resize an Excel sheet
 By
SpreadCheaters
By
SpreadCheaters
Resizing an Excel sheet refers to adjusting the dimensions or layout of the worksheet to accommodate different data requirements or to improve visibility and usability.
In this tutorial, we will learn how to resize an Excel sheet. Resizing an Excel sheet is an easy and beneficial activity that can be accomplished through various approaches accessed via the View tab. The following instructions outline the steps to resize an Excel sheet.
Method 1: Resize an Excel Sheet based on the Selection
The most convenient method to resize the sheet in Microsoft Excel is to utilize the “Zoom to Selection” feature which adjusts the sheet according to your selection.
Step 1 – Select the Range of Cells
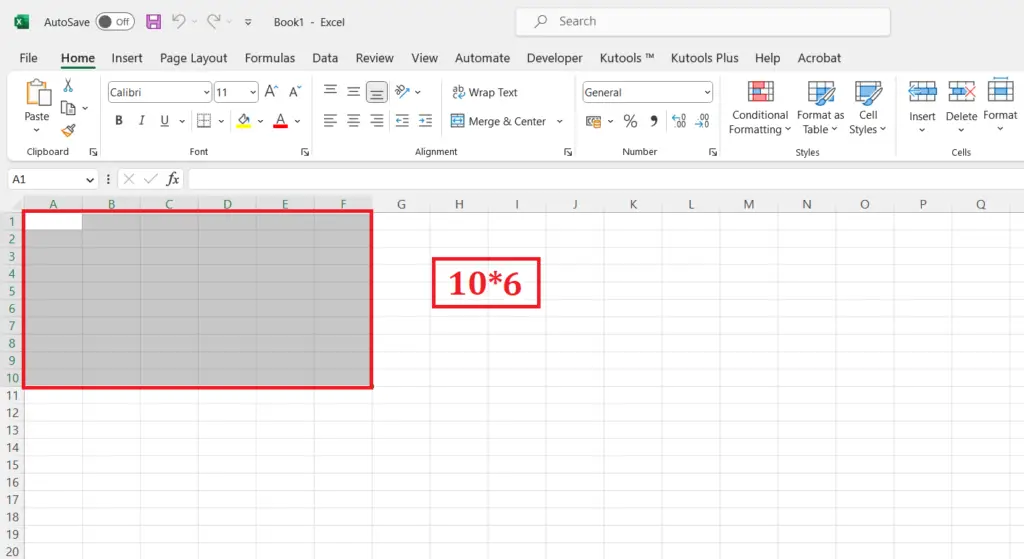
- Choose the specific set of cells that you wish to adjust the size of for the spreadsheet.
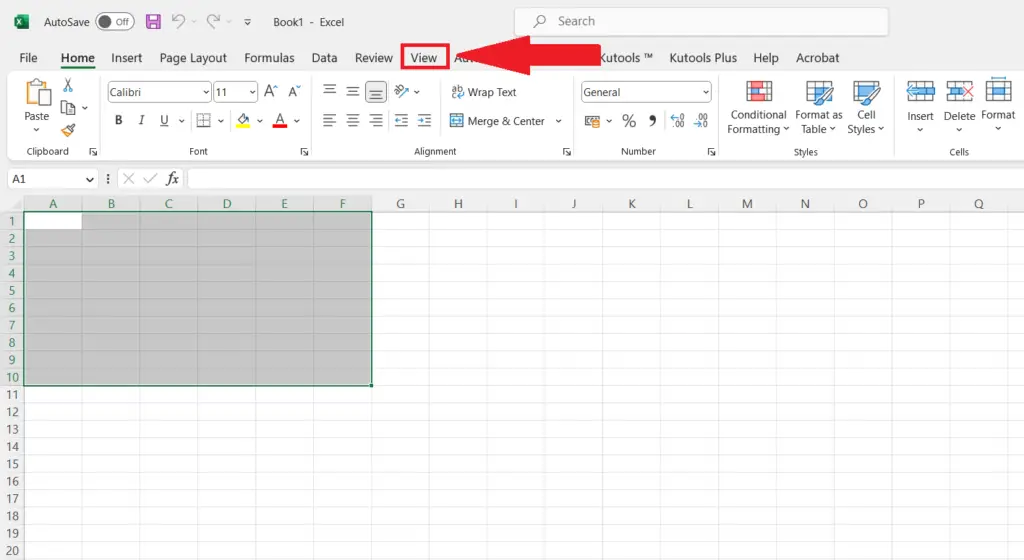
Step 2 – Locate the View Tab

- Locate the View tab in the menu bar and click on it.
Step 3 – Utilize the “Zoom to Selection” Feature
- Now utilize the “Zoom to Selection” feature.
Method 2: Utilizing the Zoom Feature
By using the “Zoom” feature, we can resize the sheet manually depending on our requirements.
Step 1 – Locate the View Tab
- Locate the View tab in the menu bar.
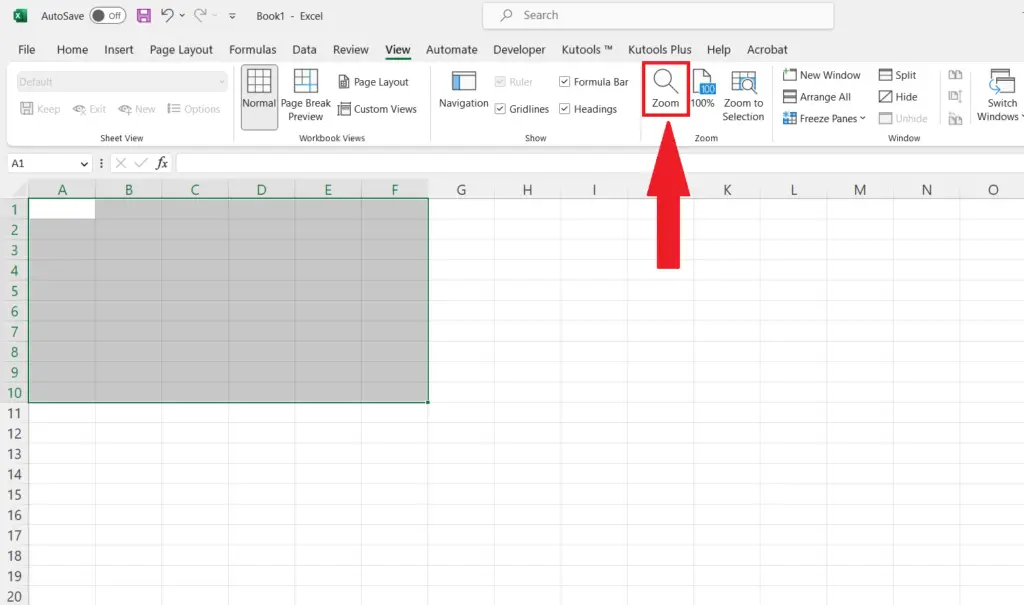
Step 2 – Perform Click on the “Zoom” Button

- Locate the Zoom action button on the View tab inside the Zoom group and click on it.
Step 3 – Input the Size to Adjust the Sheet

- A zoom dialog box will appear. In the “Custom” field, input the sheet size. Note that the size should be between “10% to 400%”.
- You may select the size from the options in the “Magnification” section.
- Hit the OK button.
Method 3: Inserting a Button to Adjust the Sheet to a Specified Size
In Excel, it is possible to create a toggle button and configure it to resize the sheet to a particular size. Utilizing the “Record Macro” feature, we can establish the desired size, ensuring that the sheet will automatically adjust to that specific size whenever the toggle button is activated.
Step 1 – Locate and Utilize the “Record Macro” Button
- Locate and utilize the “Record Macro” located in the Developer tab.
- The recording will begin.
Step 2 – Locate the View Tab

- Locate the Zoom action button on the View tab inside the Zoom group.
Step 3 – Perform Click on the “Zoom” Button
- Perform click on the “Zoom” button in the “View” tab.
Step 4 – Input the Size to Adjust the Sheet
- In the “Custom” field, input the sheet size. Remember that the size should be between “10% to 400%”.
- You may select the size from the options in the “Magnification” section.
- Hit the OK button.
Step 5 – Now Stop the Recording in the Developer Tab
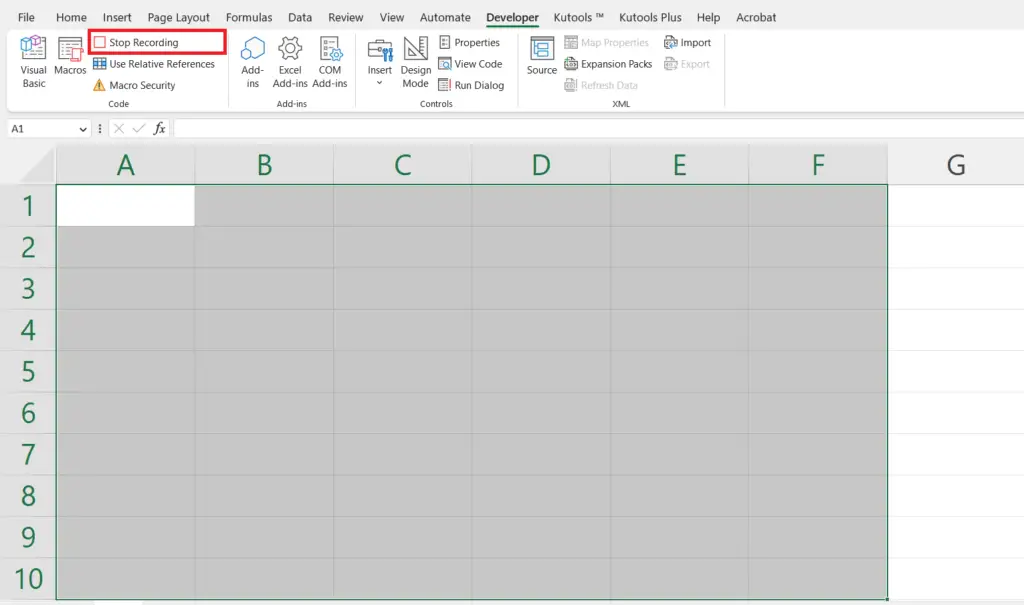
- Stop the recording utilizing the “Developer” tab.
Step 6 – Now Insert the Toggle Button
- In the “Developer” tab, perform click on the “Insert” button.
- Insert a button.
- Choose the recorded macro and hit the OK button.


