How to transfer data from Microsoft Excel to Microsoft Word
 By
SpreadCheaters
By
SpreadCheaters
Page last updated:
02/07/2023 |
Next review date:
02/07/2025
Transferring data from Microsoft Excel to Word involves copying or embedding a table or chart from Excel into a Word document. It can be useful for presenting data in a visually appealing and organized manner, analyzing data, collaborating on projects, and formatting data and text.
In this tutorial, we will learn how to transfer data from Microsoft Excel to Microsoft Word. To transfer data automatically, we can utilize more than one method i.e. we can use the Insert tab in Microsoft Word or we can simply utilize the copy and paste method. Also, another option to be utilized is the Copy as Picture option in Microsoft Excel.
Method 1: Utilize the Insert Tab in Microsoft Word
Step 1 – Open the Microsoft Excel File

- Open the Microsoft Excel file containing the data to be transferred,
Step 2 – Locate the File Tab

- Locate the File tab in the menu bar.
Step 3 – Save the File

- Save the Excel file.
- For this, utilize the “Save As” option.
Step 4 – Open Microsoft Word

- Open the Microsoft Word file in which the data is to be transferred.
Step 5 – Locate the Object Button in the Insert Tab

- Locate and perform a click on the Object button in the “Text” section at the right of the Insert tab.
Step 6 – Navigate to the “Create from File” Section
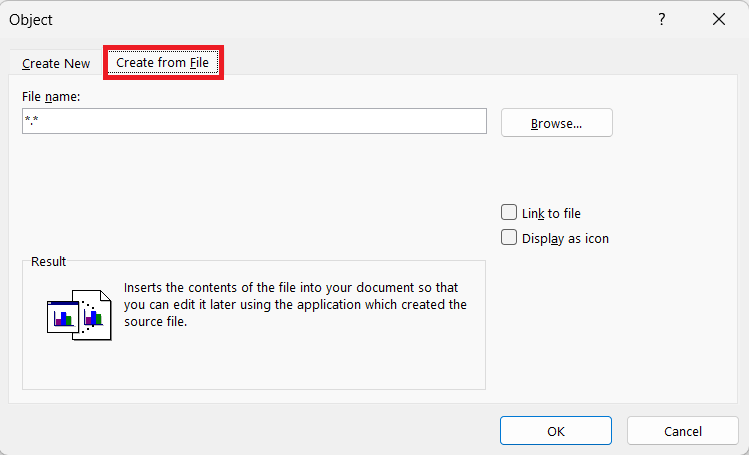
- Navigate to the “Create from File” section.
Step 7 – Perform a Click on the Browse Option and Insert the Excel File
- Perform a click on the Browse option, and choose the Excel file saved earlier.
- Hit the OK button.
Method 2: Utilizing the Copy and Paste Method
Step 1 – Open the Microsoft Excel File

- Open the Microsoft Excel file containing the data to be transferred,
Step 2 – Select and Copy the Data

- Select the data in the Excel file by pressing CTRL+A.
- Press the CTRL+C keys to copy the data.
Step 3 – Open Microsoft Word File

- Open the Microsoft Word file in which you want to transfer the data.
Step 4 – Paste the Data

- Press the CTRL+V keys, the data will be transferred.
Method 3: Utilizing the “Copy as Picture” Option
Step 1 – Open the Microsoft Excel File

- Open the Microsoft Excel file containing the data to be transferred,
Step 2 – Select all the Data

- Select the data in the Excel file by pressing CTRL+A.
Step 3 – Perform a Click on the “Copy as Picture” Option

- Perform a click on the “Copy as Picture” option in the Clipboard section of the Home tab.
Step 4 – Open Microsoft Word File

- Open the Microsoft Word file in which you want to transfer the data.
Step 5 – Paste the Data Copied as a Picture

- Press the CTRL+V keys, the data will be transferred.