
How to remove metadata from an Excel file
 By
SpreadCheaters
By
SpreadCheaters
The main reason to remove metadata from an Excel file is to protect sensitive or confidential information. Metadata can contain various details about the file, such as author names, revision history, comments, hidden data, and other potentially sensitive information. If the file is shared or distributed to others, this metadata can unintentionally reveal information that you may not want to disclose. By removing metadata, you can ensure that only the intended content is shared, reducing the risk of unintentional data exposure or unauthorized access to sensitive information.
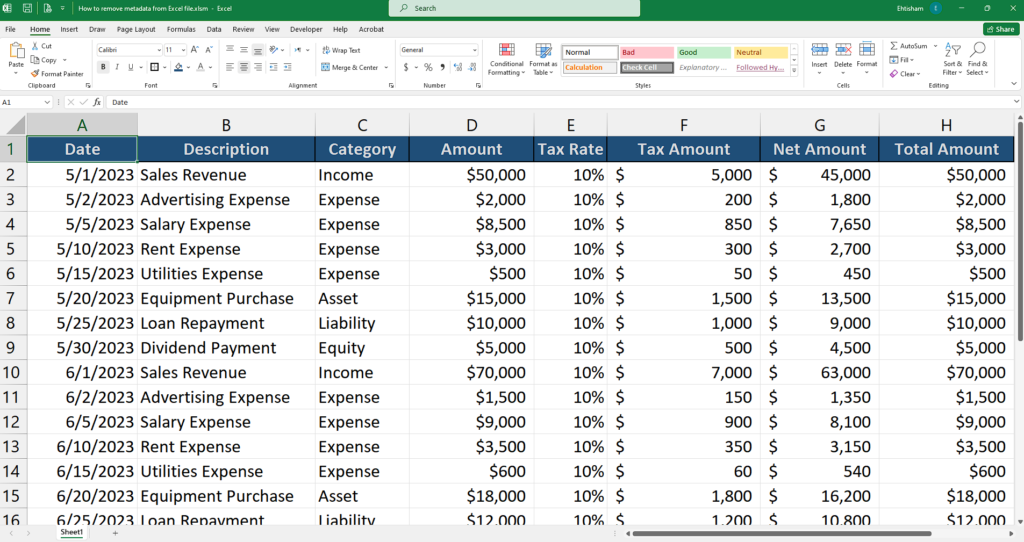
Let’s say you work for a company and are responsible for preparing financial reports. You have created an Excel file containing the company’s financial data, including revenue, expenses, and profit figures. The file also contains metadata, such as author name, date of creation, and revision history. In this scenario, you need to share the financial report with external stakeholders, such as investors, auditors, or potential business partners. However, you want to ensure that only the financial data is shared, without revealing any unnecessary or potentially sensitive information from the metadata. In today’s tutorial, we will learn how to remove this metadata. Following is the sheet from which you want to remove metadata.
There are two simple methods to remove metadata from Excel files which are as follows:
Method 1 – Removing Metadata by Excel’s settings
Step 1 – Find the Metadata
- Open the Excel file you want to remove metadata from.
- Click on the “File” tab in the Excel ribbon at the top left corner.
- Select “Info” from the menu on the left side.
- Click on the “Check for Issues” button, and then choose “Inspect Document” from the drop-down menu.
- A dialog box titled “Document Inspector” will appear. Make sure all the checkboxes are selected, including “Document Properties and Personal Information.”
- Click on the “Inspect” button. Excel will scan the file for any metadata or personal information.
- After the scan is complete, a list of inspection results will be displayed. Review the results to see what metadata is present in the file.
Step 2 – Remove the Metadata
- To remove the metadata, click on the “Remove All” button next to each category of metadata that you want to remove.
- Alternatively, you can click on the “Remove” button next to individual items to remove specific metadata.
- Once you have removed the desired metadata, click on the “Close” button to close the Document Inspector.
- Save the Excel file to apply the changes and remove the metadata.
Method 2 – By using Windows File Explorer
Step 1 – Open the “Remove Properties” dialogue box
- Navigate to the location of the file from which you want to remove metadata.
- Right-click on the file and select “Properties” from the context menu.
- In the file’s properties window, go to the “Details” tab.
- Click on the “Remove Properties and Personal Information” link located at the bottom of the window.
- This will open the “Remove Properties” dialog box.
Step 2 – Remove the Metadata
- When the dialogue box would appear, you can choose one of the following options:
- The first option is to select “Remove the following properties from this file” and manually check the metadata properties you want to remove.
- The second option is to select “Create a copy with all possible properties removed” if you want to create a copy of the file with all metadata removed while preserving the original file.
- If you choose the second option then you cannot remove particular metadata and cannot keep specific metadata as well, it will simply remove all metadata in the copy of the file it produces.
- Once you have made your selection, click on the “OK” button to remove the selected metadata.
- The selected metadata or all metadata will be removed from the original file or saved in the new copy, depending on the option you chose.


