
How to enable Protected view in Excel
 By
SpreadCheaters
By
SpreadCheaters
Suppose a company has confidential data, it does not want to let anybody edit or change the file or company wants to give a view only access to other people. When we send a file over the internet via any email sending platform, there might be a possibility that the files can get infected with viruses during the uploading process and the security of these files can be breached this way. Hence, the sensitive data can fall into wrong hands. To get protected from these issues, Excel provides a powerful security feature known as protected view.
To enable protected view below are the steps to follow;

Microsoft Excel is an electronic spreadsheet with numerous rows and columns, used for organizing data. The role of Microsoft Excel in almost every field is vital. Sometimes a spreadsheet contains very sensitive data for the organization so they try to protect it in any case. Excel provides security features to make the data secure and confidential.
Step 1 – Enable the protected view
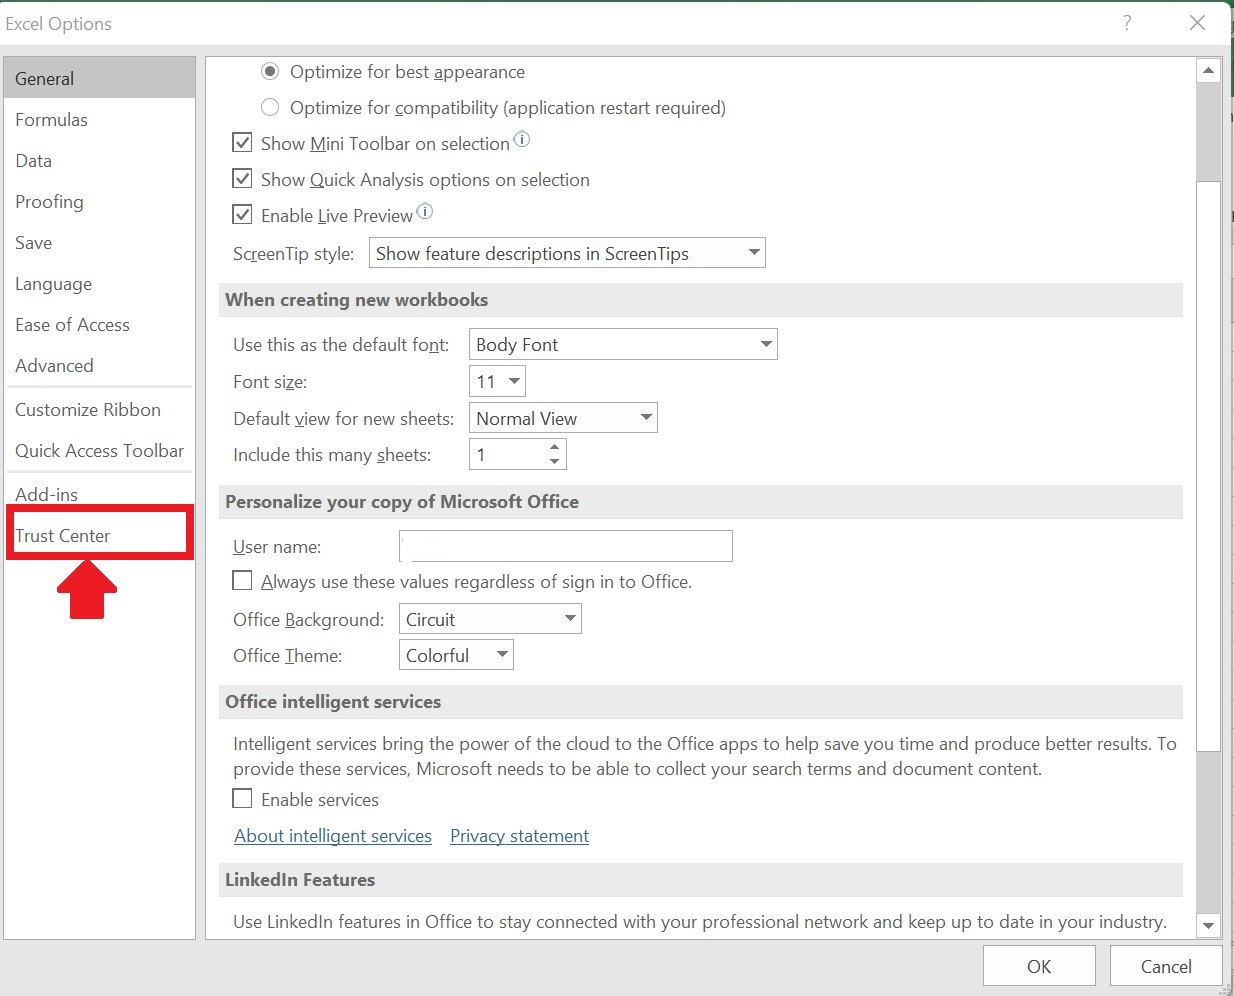
– Go to file tab
– Click on the options.
– A dialog box will appear, click on Trust Center.
Picture is given above.
Step 2 – Trust Center Settings
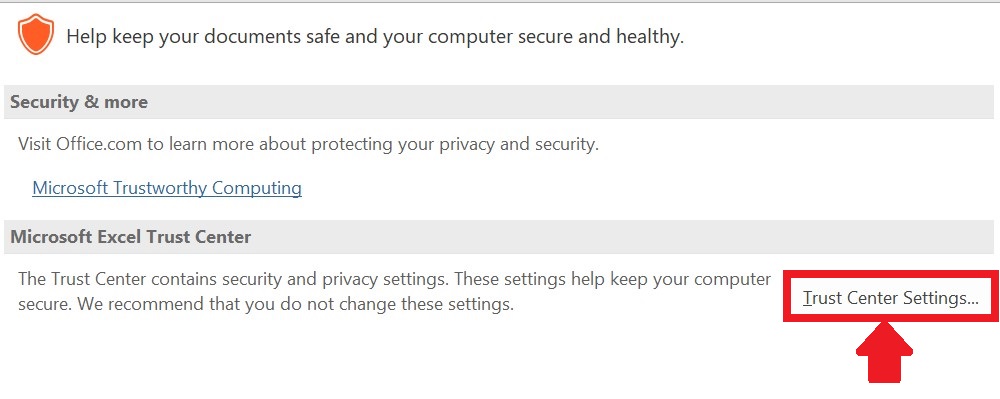
– Click on Trust center settings .
– A new dialog box will appear.
Picture is given above as an example.
Step 3 – Check all the boxes
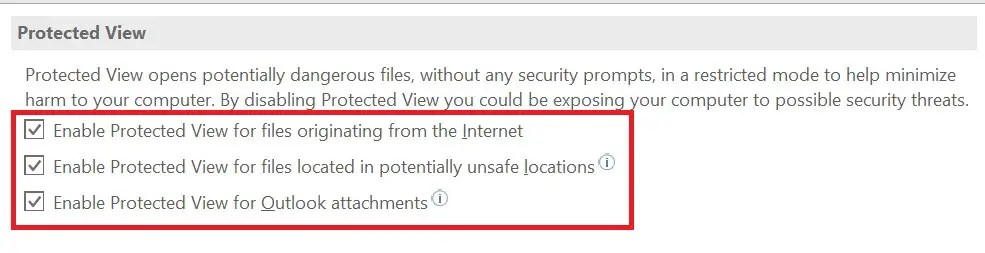
– Three check box options will appear, regarding the protected view.
– Check all of them.
– Click OK.
Picture is given above as an example;
Now the document has been secured from viruses and other threats. It can be easily shared on the internet. Excel automatically protects files especially when uploaded on the internet. The main purpose is to upload a file in a protected view, to prevent viruses and encryption purposes.
Tip : When a user downloads the excel file from any source of the internet, it will be protected and users can not edit it until he/she clicks on enabling editing (a yellow bar appears just below the toolbar).


