
How to lock a picture in Microsoft Excel
 By
SpreadCheaters
By
SpreadCheaters
In this tutorial, we will learn how to lock a picture in Microsoft Excel. To lock a picture in Microsoft Excel, we can utilize the “Locked” option in the properties section of the “Format Picture” pane and the “Protect Sheet” option.
Locking a picture in Microsoft Excel involves preventing unintentional movement or resizing of an image within a worksheet. By locking a picture, it is set in a fixed position, ensuring that accidental dragging or resizing is avoided while interacting with the worksheet.
Step 1 – Select the Complete Sheet
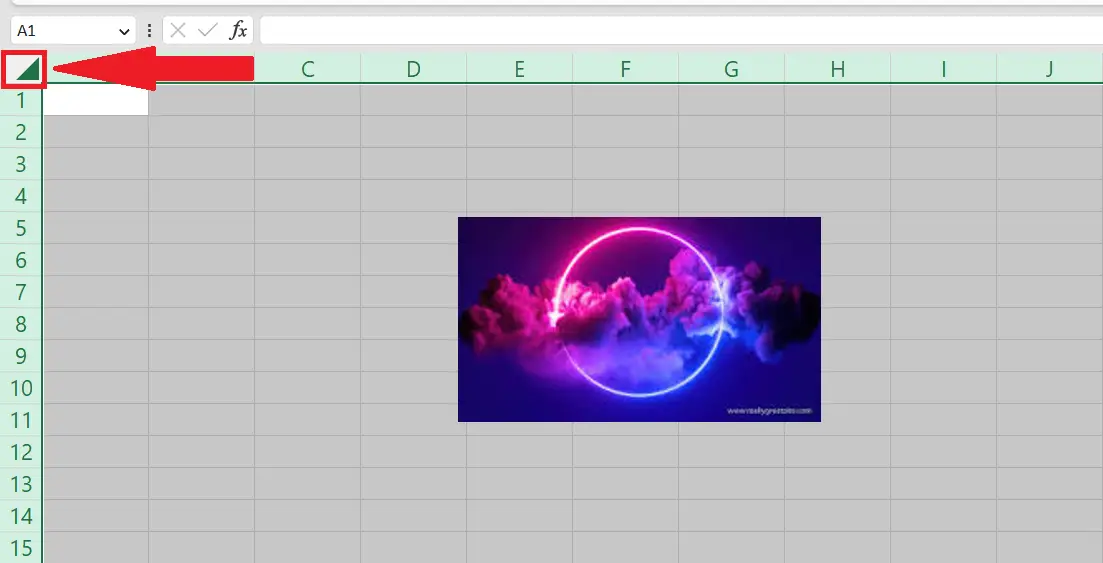
– Select the complete sheet by pressing CTRL+A or utilizing the triangle at the upper left corner of the sheet.
Step 2 – In the Format Cells Dialog Box Uncheck the Box with the Locked Option
– Press CTRL+1 to open the “Format Cells” dialog box.
– In the “Protection” tab, uncheck the box with the “Lableld” option.
Step 3 – Perform a Right-click on the Picture
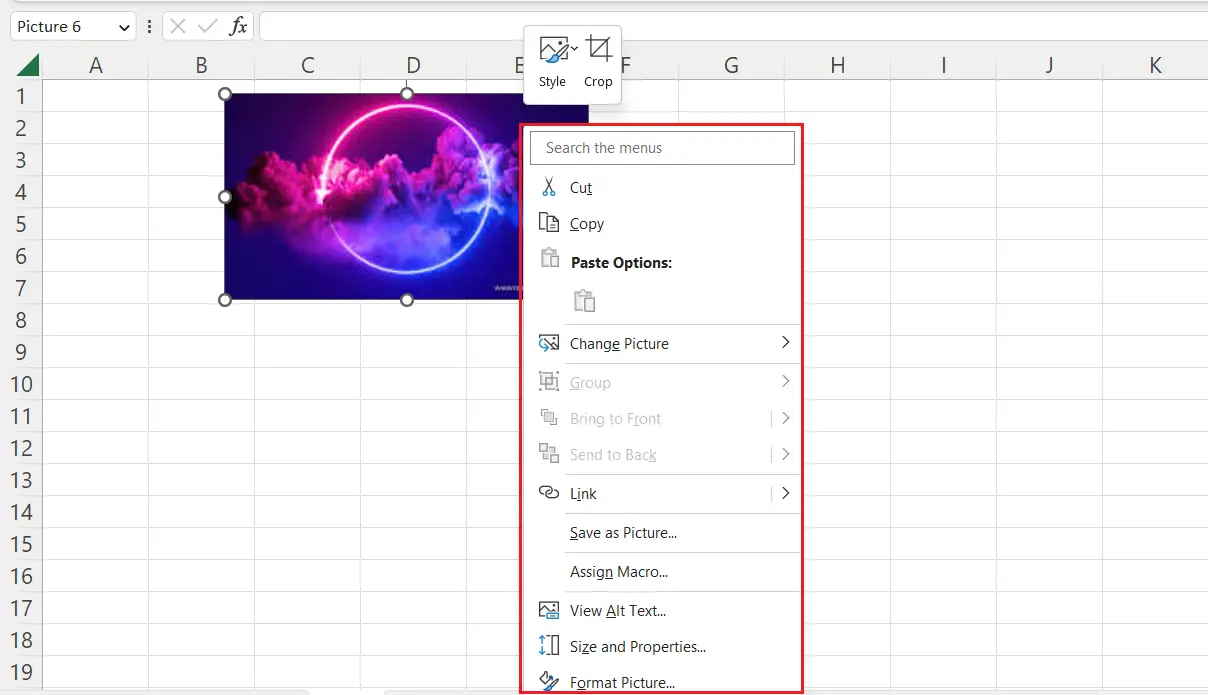
– Perform a right-click on the picture.
– The context menu will appear.
Step 4 – Choose the “Size and Properties” Option
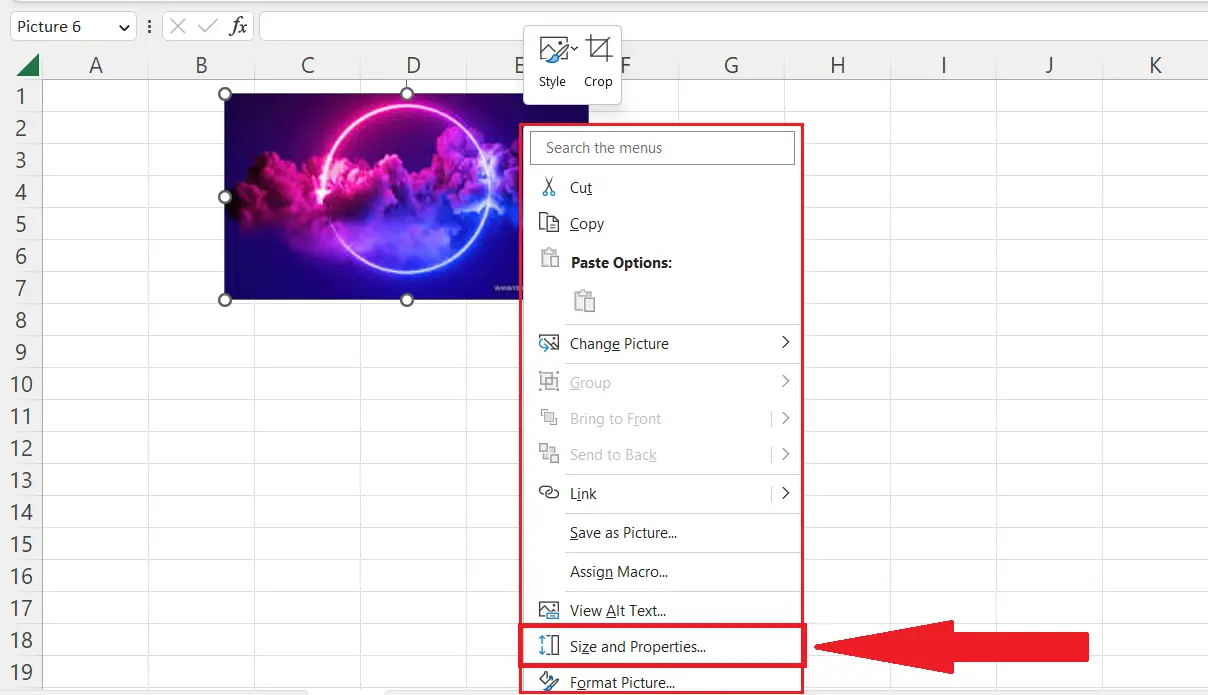
– Choose the “Size and Properties” option in the context menu.
– The “Format Picture” pane will open.
Step 5 – Check the Following Checkboxes
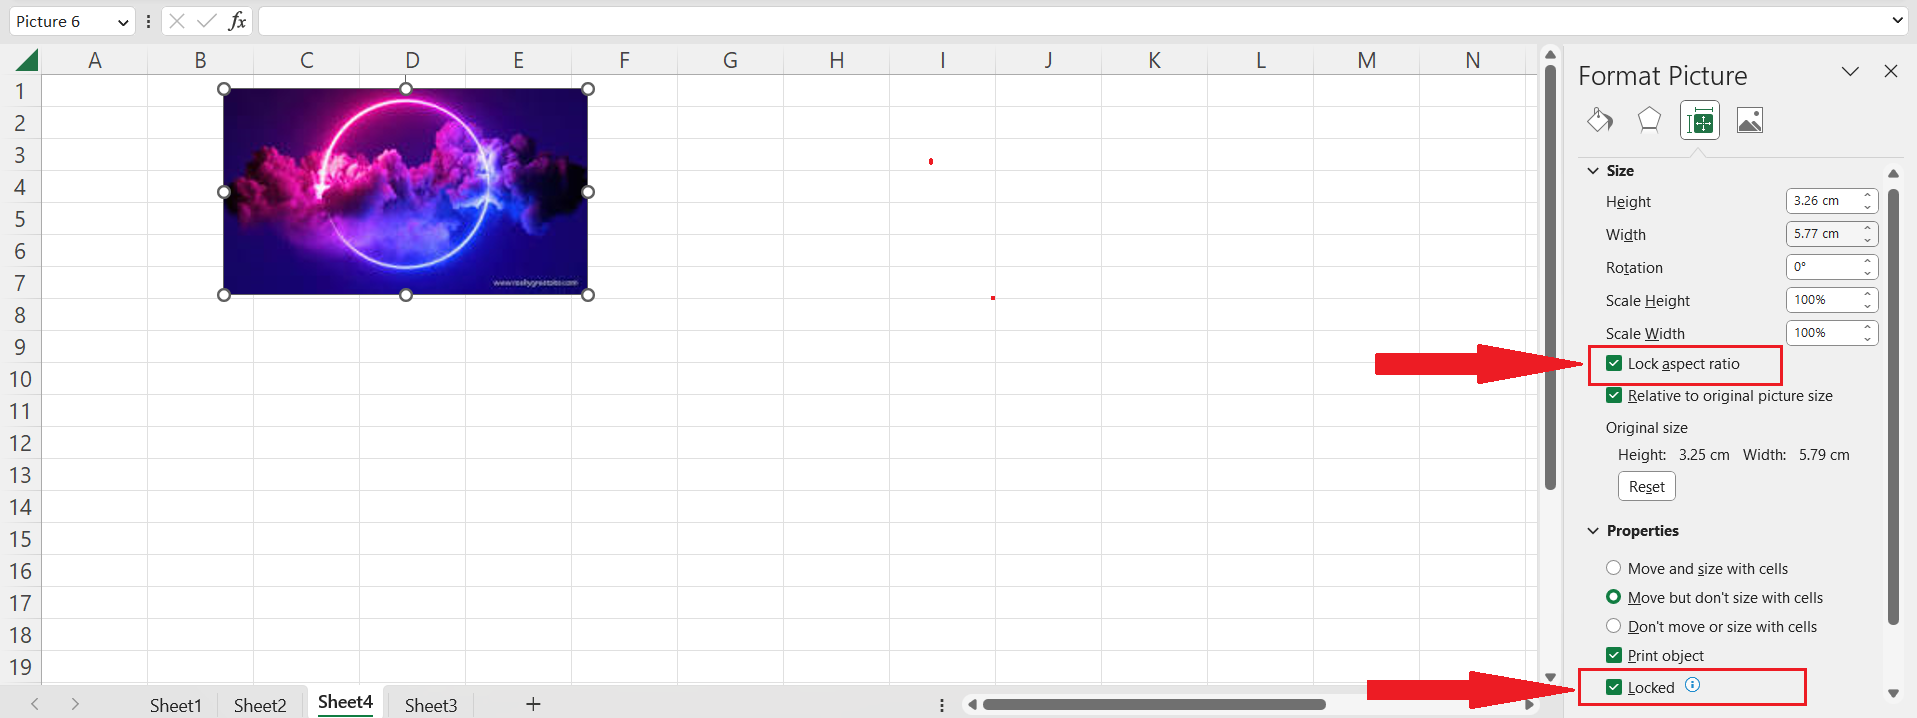
– In the “Size” section check the box next to the “Lock aspect ratio” option.
– Now, check the box next to the option labeled “Locked” in the “Properties” section.
Step 6 – Now Protect the Sheet
– Locate the Review tab in the menu bar.
– Perform a click on the “Protect Sheet” option.
– Set a password and “Protect” the sheet.
Step 7 – Now Check if the Picture is Locked
– Now check the picture is locked.
– The picture will not get selected and neither it can be resized.


