
How to lock an image in an Excel cell
 By
SpreadCheaters
By
SpreadCheaters
In this tutorial, we will learn to lock images in an Excel cell. We have created a tourist guide that includes pictures of various locations in pain, along with their names. To ensure that the pictures stay in place and maintain their size even if the worksheet is changed, we have decided to use the “Move and Size with Cells” option to lock the pictures in their respective cells.

Locking an image in an Excel cell means that the image will be fixed in position and size, and will not move or change size even if you add or delete rows or columns in the worksheet. This is useful when you want to keep an image in a specific location and prevent it from being accidentally moved or resized.
Step 1 – Select the Picture
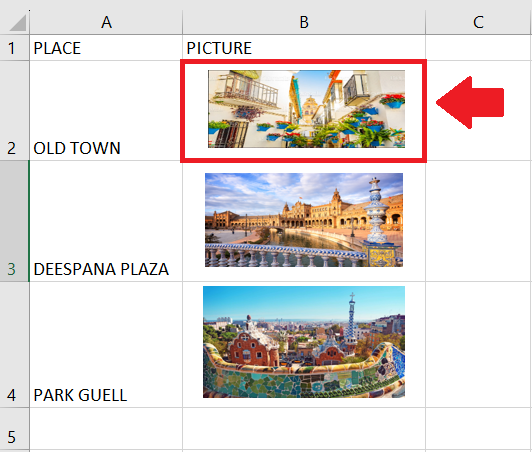
– Click on the cell containing the picture that you want to lock
Step 2 – Open the Context menu
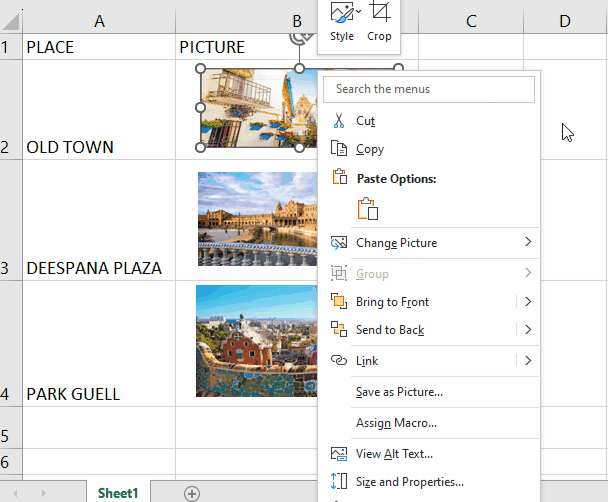
– After selecting the cell, right-click on the picture to open the Context menu
Step 3 – Click on the Size and Properties Option
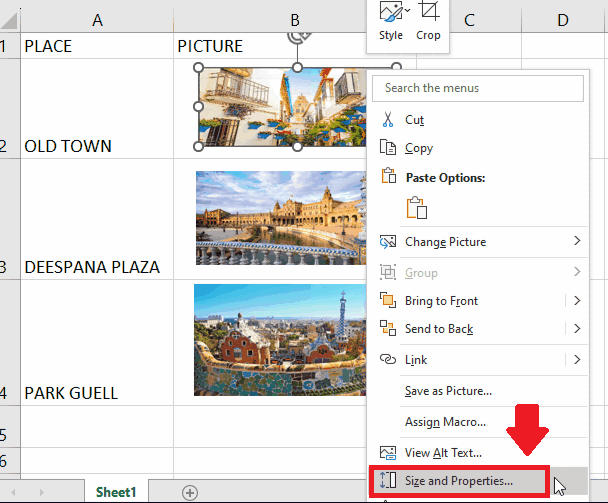
– From the Context menu, click on the Size and Properties option and a dialog box will appear
Step 4 – Click on the Properties option
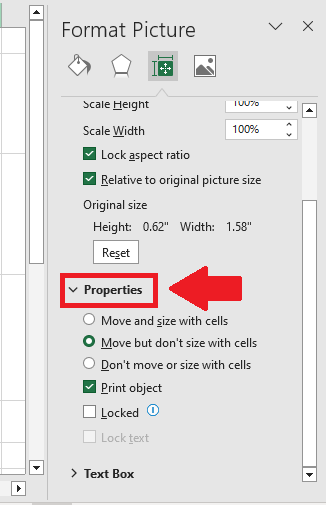
– From the dialog box, click on the Properties option, and a drop-down menu will appear
Step 5 – Click on the Move and Size with cell option
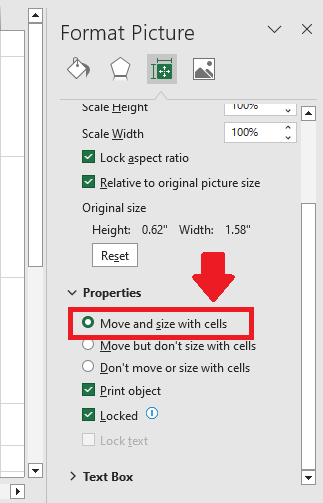
– From the drop-down menu, click on the check box of the Move and size with cell option


