
How to insert picture in Google Sheets
 By
SpreadCheaters
By
SpreadCheaters
To insert a picture in Google Sheets means to add an image file, such as a JPG, PNG, or GIF, into a cell or the background of a sheet within Google Sheets. This can be useful for adding visual elements to your spreadsheets, such as logos, charts, graphs, or other images to help make your data more engaging and easier to understand.
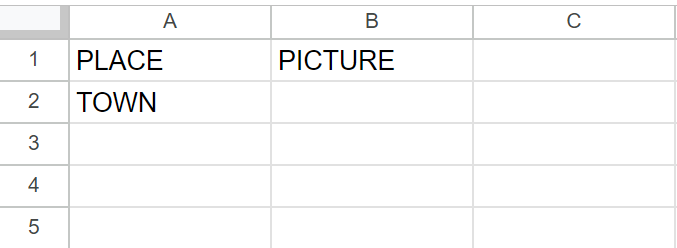
In this tutorial, we will learn how to insert picture in google sheets. In our data set the name of a place (Town) is shown. We want to show a picture of this place. We can insert picture in the cell as well as over the cell. For this, we will use the Insert Image option. The following steps will guide you to use the Insert Image option
We’ll use the Insert Image option from Inert tab. The Insert Image dialog box in Google Sheets provides several options to choose from to insert an image. Here is an explanation of each option:
Upload: This option allows you to upload an image from your computer. Clicking the “Upload” option opens a file browser window that enables you to browse and select an image from your local computer or device. For our case, we’ll be usign this option only. However, you may use the option whatever suits you best.
Webcam: This option allows you to capture an image using your computer’s webcam. When you click on “Webcam”, a new window will open, and you can take a photo by clicking the “Capture” button. You can then insert the image into your Google Sheets.
Link: This option allows you to insert an image from a web link. You will need to enter the URL of the image in the “Image URL” field and click “Select” to insert the image into your Google Sheets.
Photos: This option allows you to insert an image from your Google Photos library. When you click on “Photos”, a new window will open that displays your photos. You can select the image you want to insert and then click “Insert” to add it to your Google Sheets.
Google Drive: This option allows you to insert an image from your Google Drive. When you click on “Google Drive”, a new window will open that displays your files. You can select the image you want to insert and then click “Insert” to add it to your Google Sheets.
Google Images: This option allows you to search for images on the web using the Google Images search engine. When you click on “Google Images”, a new window will open, and you can enter your search query. You can then select the image you want to insert and click “Insert” to add it to your Google Sheets.
Overall, these options provide a variety of ways to insert an image into your Google Sheets, giving you the flexibility to choose the source of your image that works best for you.
Method 1: Insert Picture over Cells
Step 1 – Select the Cell
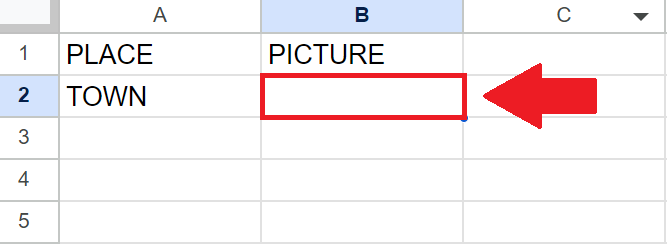
- Select the cell in which you want to insert the picture
Step 2 – Click on the Insert tab
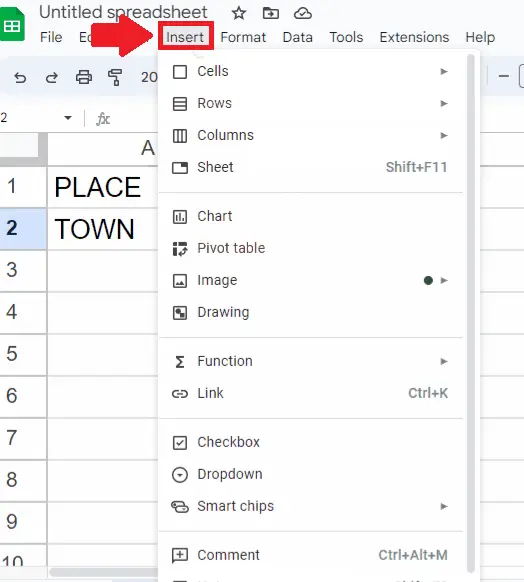
- After selecting the cell, click on the Insert tab and a dropdown menu will appear
Step 3 – Click on the Image option
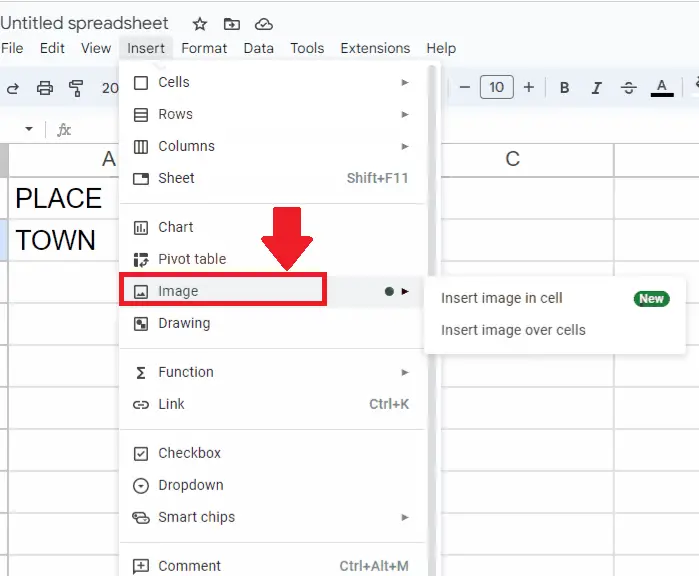
- In the dropdown menu, click on the Image option and a right-side menu will appear
Step 4 – Click on the Insert Image Over cells option
- In the right side menu, click on the Insert Image Over cells option and a dialog box will appear.
Step 5 – Click on the Browse option

- In the dialog box, click on the Browse option, and a dialog box showing the data of your device
Step 6 – Select the Picture

- Select the picture from the dialog box (by double-clicking on it) to get the required result
Method 2: Insert a Picture in the Cell
Step 1 – Select the Cell

- Select the cell in which you want to insert the picture
Step 2 – Click on the Insert tab

- After selecting the cell, click on the Insert tab and a dropdown menu will appear
Step 3 – Click on the Image option

- In the dropdown menu, click on the Image option and a right-side menu will appear
Step 4 – Click on the Insert Image in cells option
- In the right side menu, click on the Insert Image in cell option and a dialog box will appear
Step 5 – Click on the Browse option
- In the dialog box, click on the Browse option, and a dialog box showing the data of your device
Step 6 – Select the Picture

- Select the picture from the dialog box (by double-clicking on it) to get the required result


