
How to insert a header in Google Sheets
 By
SpreadCheaters
By
SpreadCheaters
In today’s tutorial we’ll learn how to insert a header in Google Sheets. Google Sheets are different from Excel in that Google Sheets don’t have a visible header in any type of view until you decide to print the sheet. So, it is a little tricky to insert predefined or custom headers in Google Sheets. Follow along the steps to insert a header in Google Sheets.

Inserting headers in the print of Google Sheets is very useful because it makes it easier to identify what information is on each page of your printed spreadsheet, making it more organized and user-friendly. By using headers we can provide context for the data being printed, helping the reader understand the information they are viewing. We may use them to include information like the company name, logo, or date, which can help reinforce your brand and give your printed spreadsheets a professional look.
Step 1 – From File Menu locate Print option
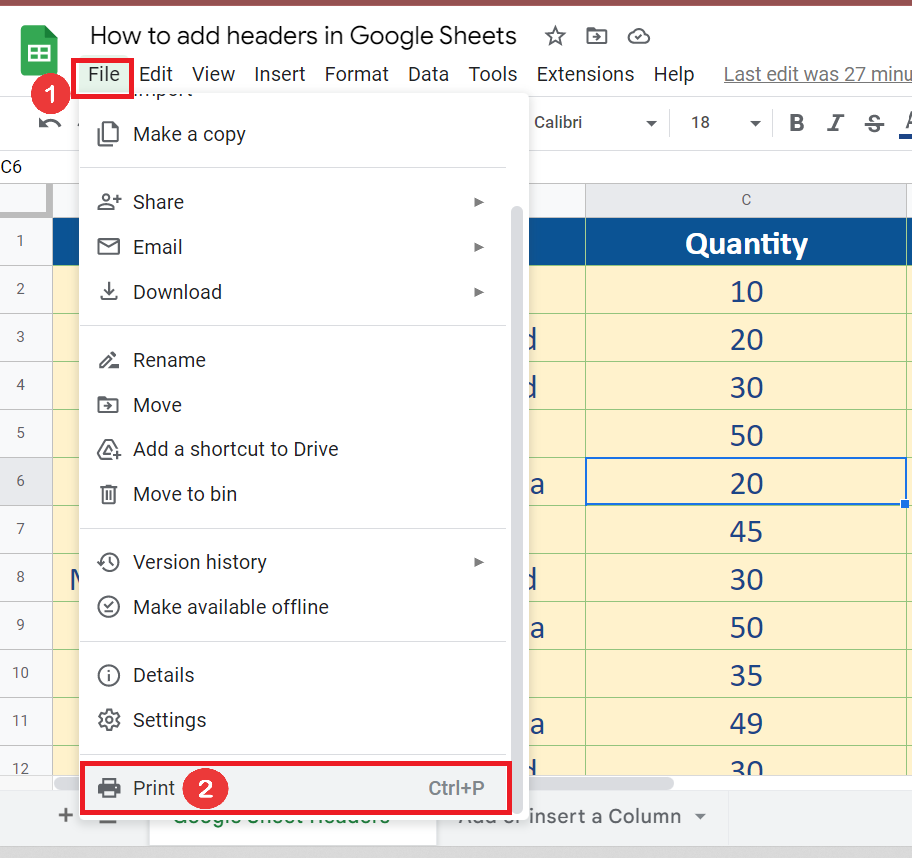
– From the main list of tabs, click on File tab.
– Locate the print option and click on it. Alternatively you can press CTRL+P.
Step 2 – Locate Headers and Footers in print settings
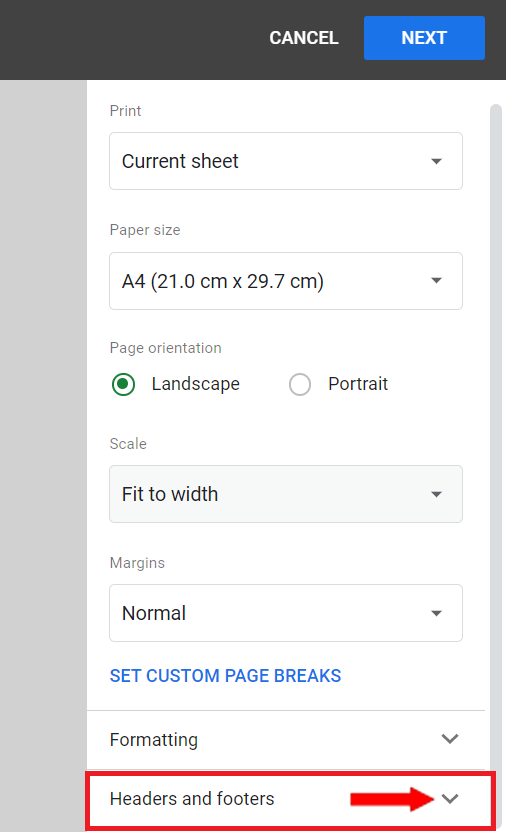
– From the print settings menu, locate and click on the Headers and Footers menu.
Step 3 – Choose predefined or custom header
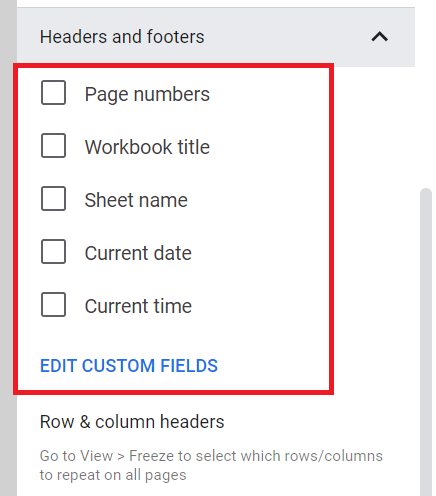
– From the new list of option, you can choose from any of the following options;
Page numbers
Workbook title
Sheet name
Current date
Current time
EDIT CUSTOM FIELDS
– Depending upon your choice from the options Google Automatically decides whether to put it in Header or Footer. For example, if you choose Page numbers Google will automatically put those at the bottom of the page and Workbook title will always be placed at the top of the page.
Step 4 – Change the position of preset option
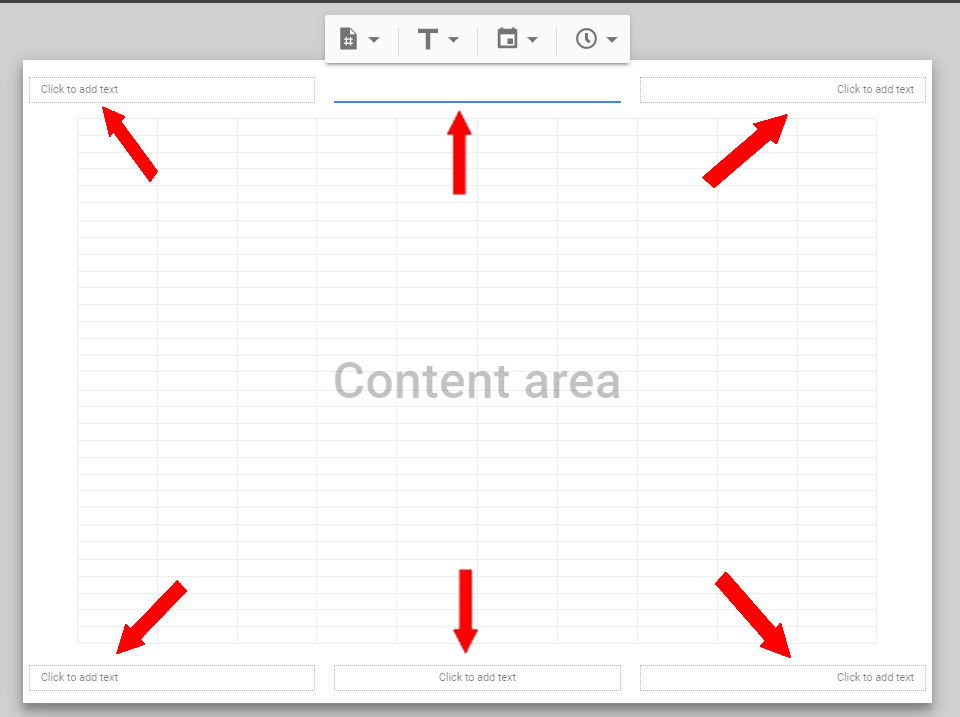
– If you want to change the position of a preset option or add any custom text to a header or footer, click “Edit Custom Fields.”
– The print view on the right will change and allow you to edit the text boxes in the header or footer. Click a box to make any changes to your header or footer.
Step 5 – Finalize your settings
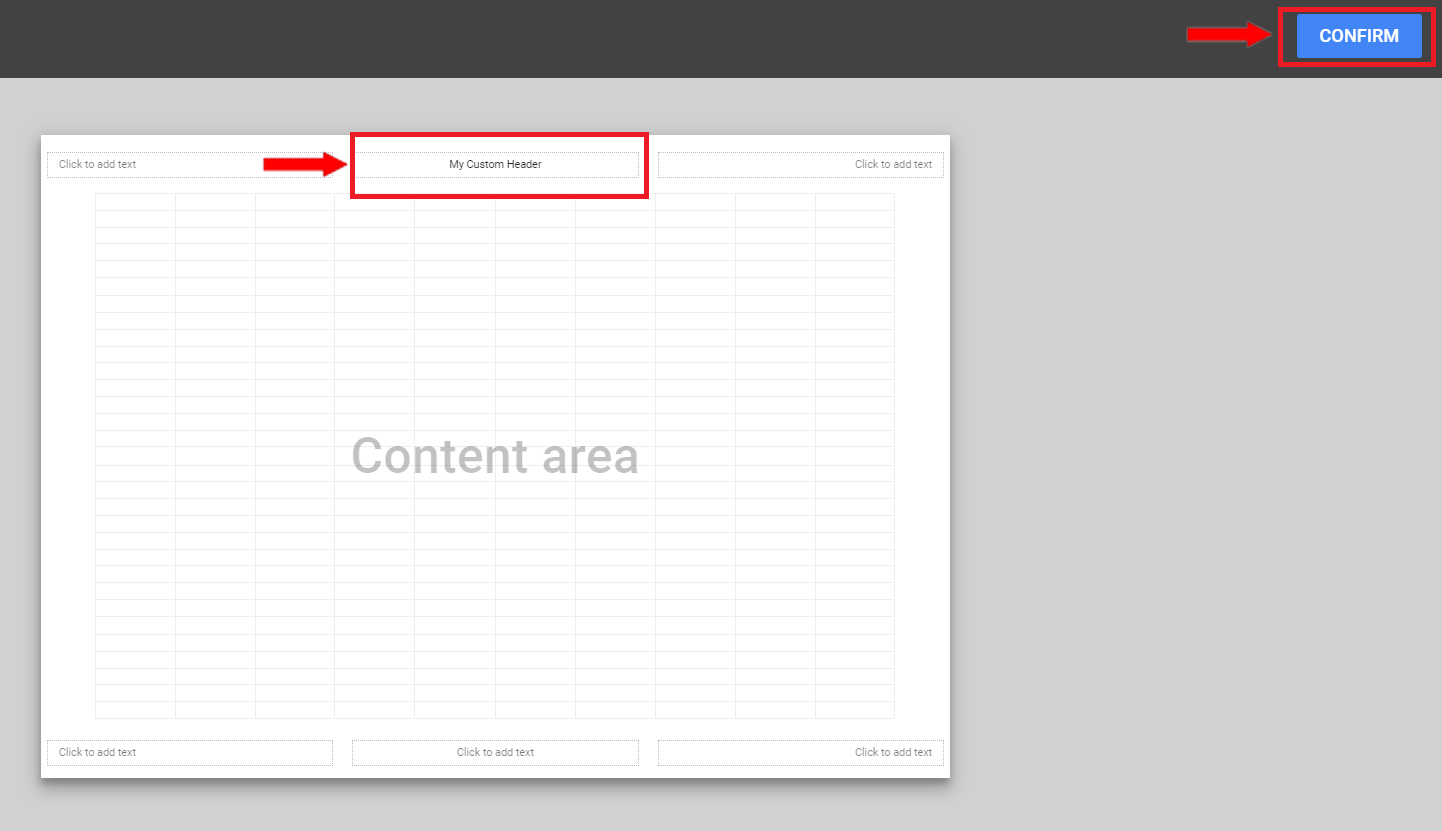
– After inserting the text of your choice, press the CONFIRM button to finalize the settings as shown above.
Step 6 – Print the sheet
– If you are happy with the final preview then press the next button and it will take you to the printer settings to finally print the document.


