
How to insert a column to the right in Excel.
 By
SpreadCheaters
By
SpreadCheaters
Page last updated:
29/06/2023 |
Next review date:
29/06/2025
Inserting a column to the right of an existing column is a simple and necessary task in Excel. This can be useful when you need to add new data or formulas to your spreadsheet without disrupting the existing structure.
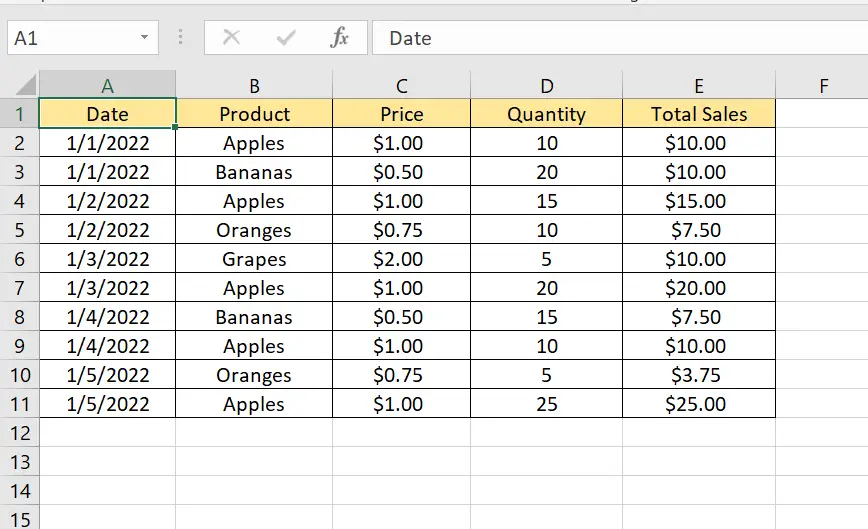
Here we have a dataset, in this dataset, we have five columns containing the Date, Product, Price, Quantity, and Total Sales. In this tutorial, we will learn how to insert a column to the right in Excel but first let’s take a look at the Dataset.
Method – 1 Use the Fill handle.
Step – 1 Select the column.
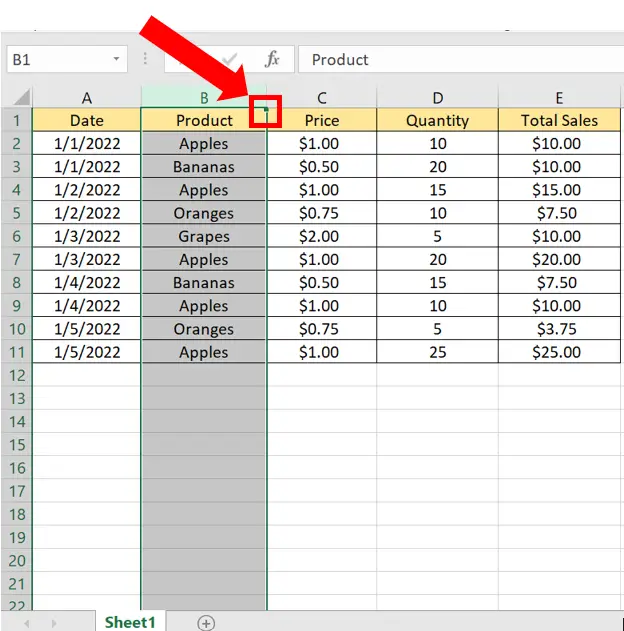
- Select the column where you want to add the right column.
- Click on the Fill Handle located at the top right corner of the selected column.
Step – 2 Insert the column.

- When you hover the cursor over the Fill Handle, you will see a black plus icon.
- When you press and hold the Shift key while on the Fill Handle, the icon will change to two bars with arrows. This indicates you can insert a column.
- Now drag the arrow to the right side of the selected column.
- A column to the right of the selected column will be added.
Method – 2 Insert a column to the left using the Insert command
However, if you want to insert the column to the left of an existing column then you may follow the method described below.
Step – 1 Select the column.
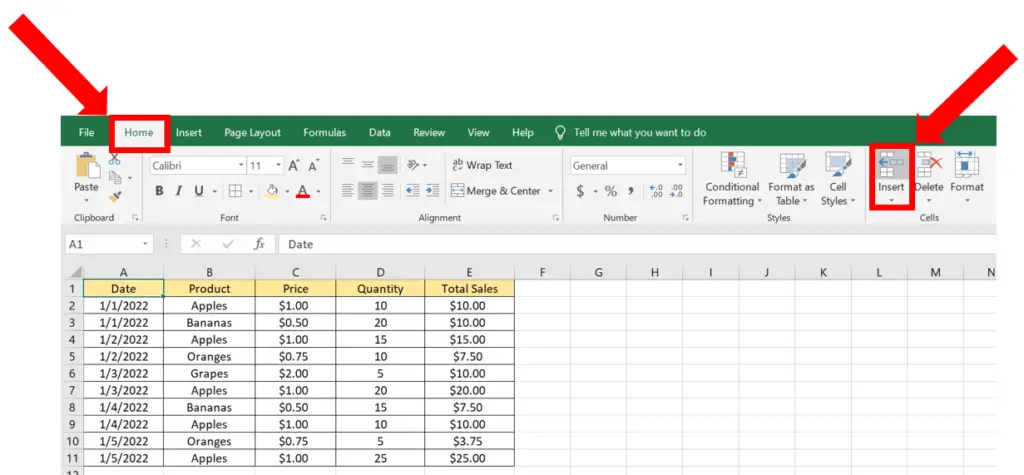
- Select the column where you want to insert the column.
- If you want to insert the column to the right of the Product column then select the Price column.
- Go to the Home tab.
- Then click on the Insert Cells command in the Cells group.
Step – 2 Insert the column.

- Clicking on the Insert Cells command will reveal a dropdown menu.
- Then click on Insert Sheet Columns.
- A column will be added to the right of the Product column.


