
How to insert column using VBA in Excel
 By
SpreadCheaters
By
SpreadCheaters
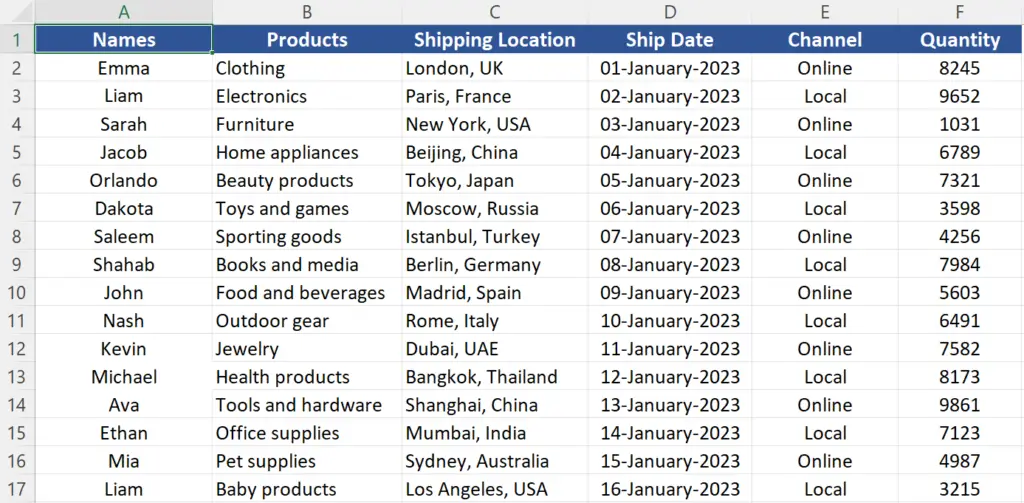
In today’s tutorial, we’re going to learn how to insert a column before any column in excel by using VBA code. We have the following dataset of a large data set consisting of names of the people who are shipping different products on some dates along with their channel of selling and location on which they are shipping products. This dataset will be used as an example for learning today’s tutorial.
In this dataset above we’re going to use VBA code to insert a column before column C to add a space between the columns to organize data. Follow the steps to learn this simple tutorial.
You would need to insert a column in Excel through VBA when you want to automate the process of adding a new column to your worksheet. This can be useful when you have a large amount of data and you need to frequently add new columns, or when you have a repetitive task that requires inserting new columns.
Step 1 – Enable Developer Option
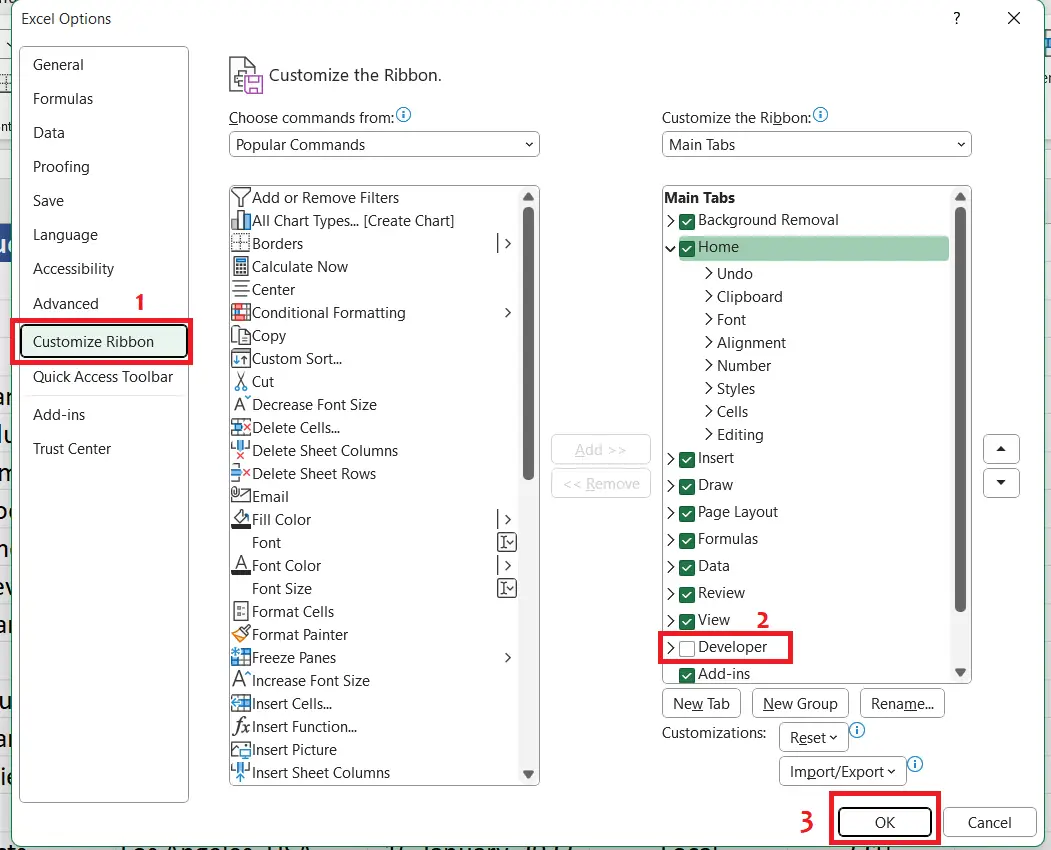
– Click on File and then click on Options.
– In Options click on Customize Ribbon.
– Check the Developer check box in the Main Tabs section.
– Click OK.
Step 2 – Open VBA Editor
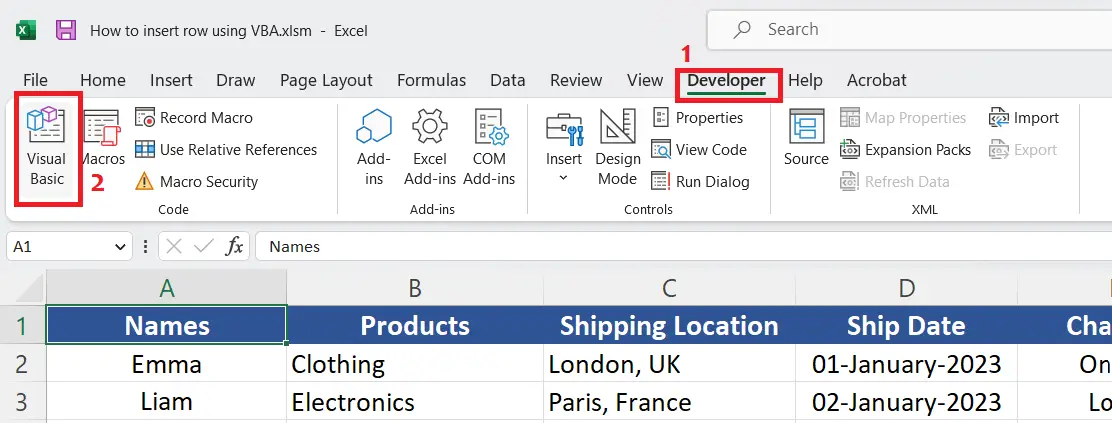
– From the Developer tab click on the Visual Basic option or you may press the ALT+F11 shortcut key to open the VBA Editor.
Step 3 – Insert Column using VBA Code

– The VBA Editor is a white window where you can write any code to automate your tasks. We’ll use a very simple command to insert a column in the active workbook. To use the insert command effectively, you need to specify a cell in the column before which you wish to insert the new column.
– Following code can be used to insert the column before Column C in the current sheet as shown in the image as well. To run the code press F5 or if you want to run the code from inside the Editor then press the green play button.
Sub vba_add_column()
Range(“C1”).EntireColumn.Insert
End Sub


