
How to create column headers in Google Sheets
 By
SpreadCheaters
By
SpreadCheaters
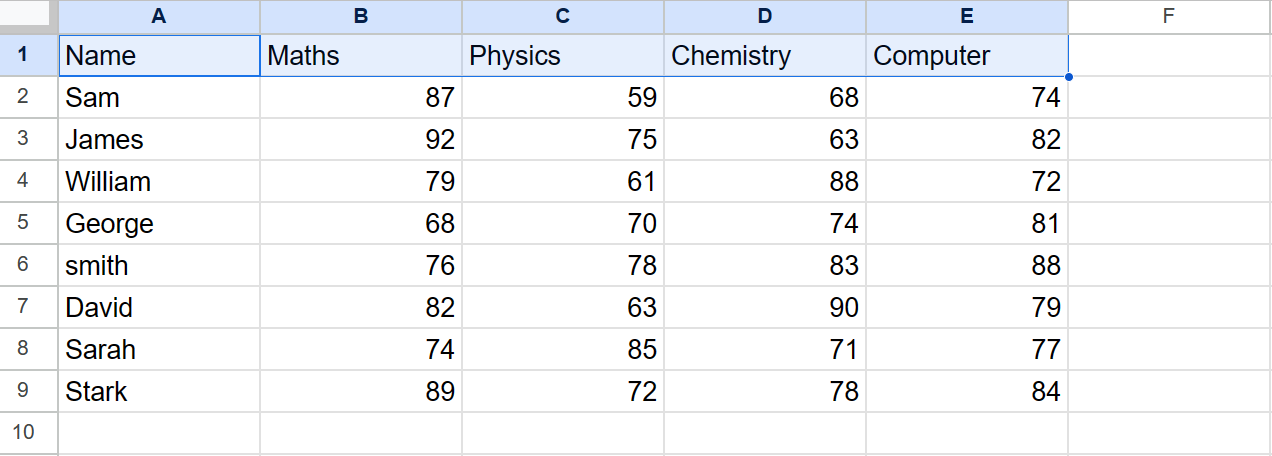
Our dataset includes the marks of students in various subjects, along with their names but without headers. We want to add headers to make it meaningful. For this we will add a row in the start and type the Headers.
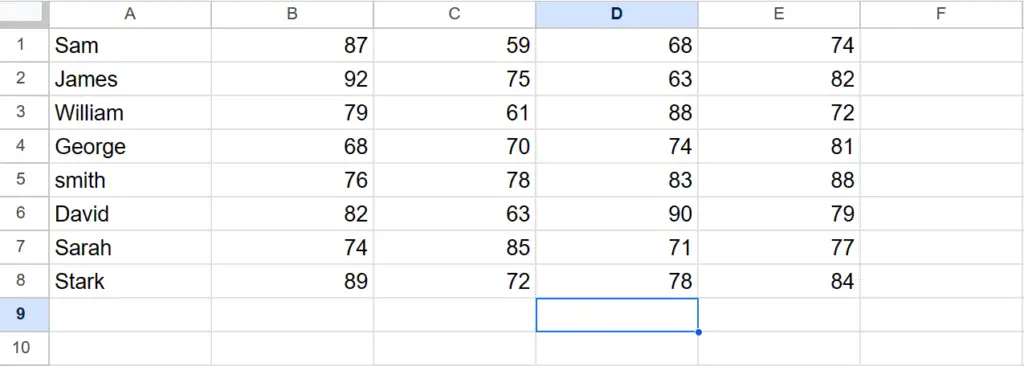

In Google Sheets, column headers are the labels given to each column to help identify the contents of each column in a spreadsheet. These headers are usually placed in the first row of the sheet and can be used to sort, filter, and manipulate data in the sheet. They provide a quick and easy way to navigate through the sheet and make sense of the data.
Step 1 – Select the First Row
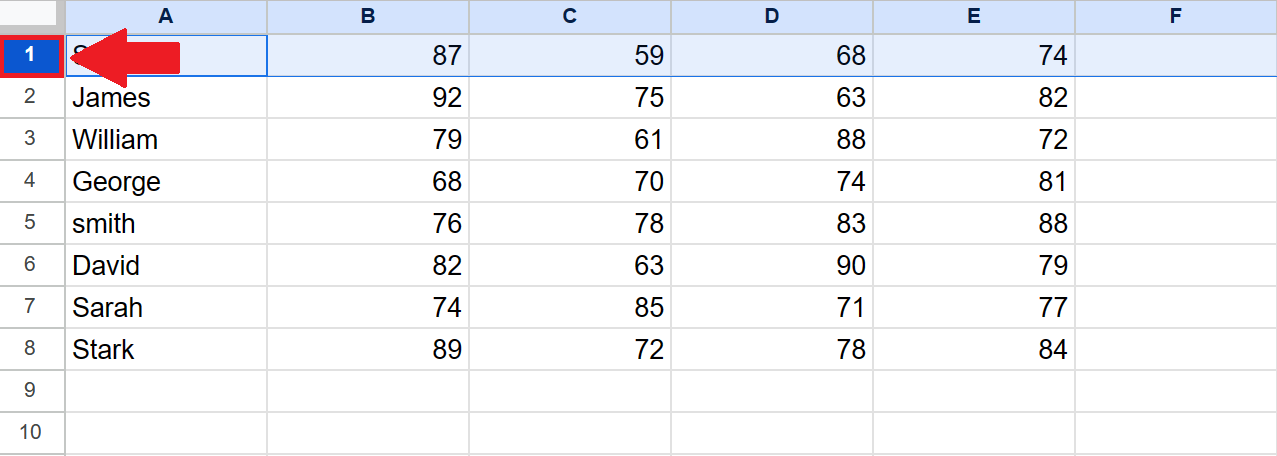
– Select the first row by selecting the Row header
Step 2 – Open the Context menu
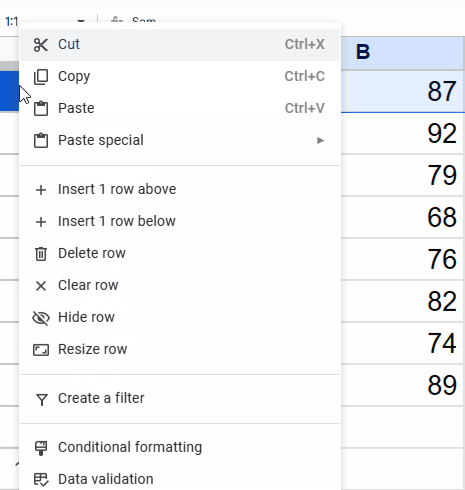
– After selecting the row, right click anywhere on the first row and a context menu will appear
Step 3 – Click on the Insert 1 row above option

– From the context menu, click on the Insert 1 row above option and a blank row will appear at the top
Step 4 – Type the Headers
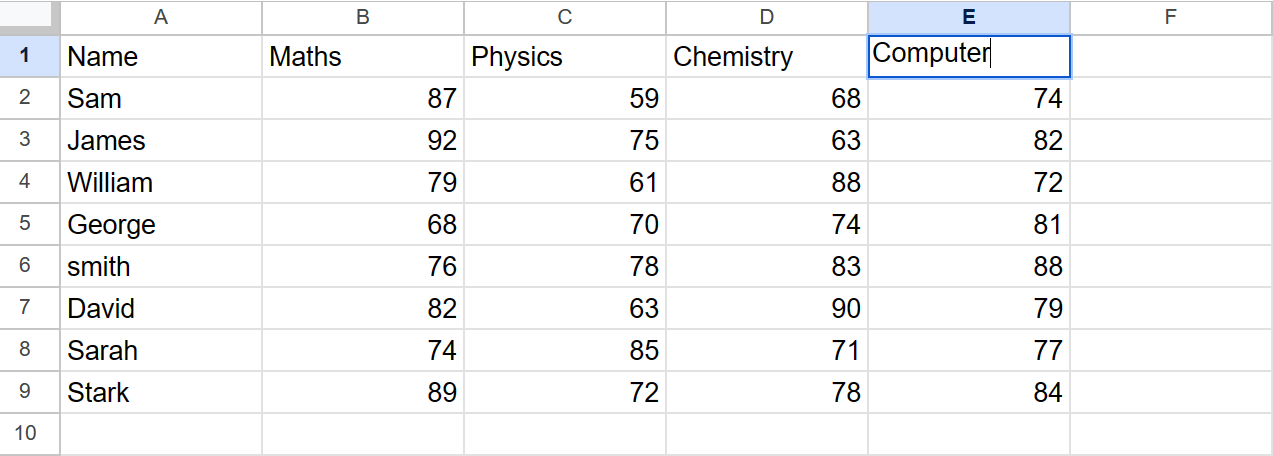
– After the blank row will appear, now you can type the column headers you want for each the column as per your requirements.
Step 5 – Select the Row
– After typing the headers, select these headers
Step 6 – Click on the Bold option
– After selecting the Headers, click on Bold option to makeit prominent.
– You can also change the fill color of the header row by clicking the option very next to changing the text color in the list of menus.


