
How do I get my Excel spreadsheet to fill the whole page?
 By
SpreadCheaters
By
SpreadCheaters
Adjusting the print settings to make an Excel spreadsheet fill the whole page when printing is important because it enhances readability, optimizes paper usage, ensures consistent presentation, improves data visualization, and maintains a professional appearance. By maximizing the use of available space and presenting the content in a clear and visually appealing manner, it facilitates better understanding, cost efficiency, consistency in communication, and a polished look for both personal and professional purposes.
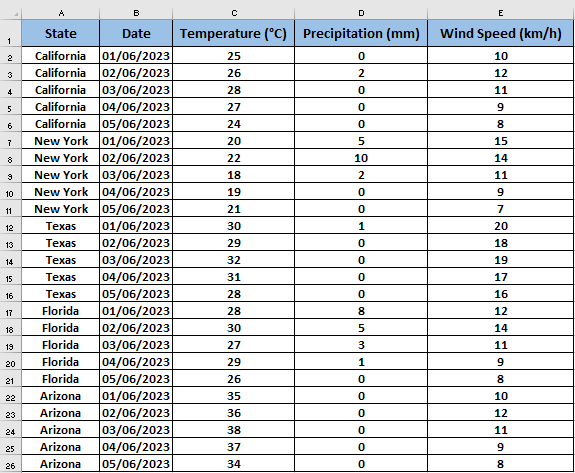
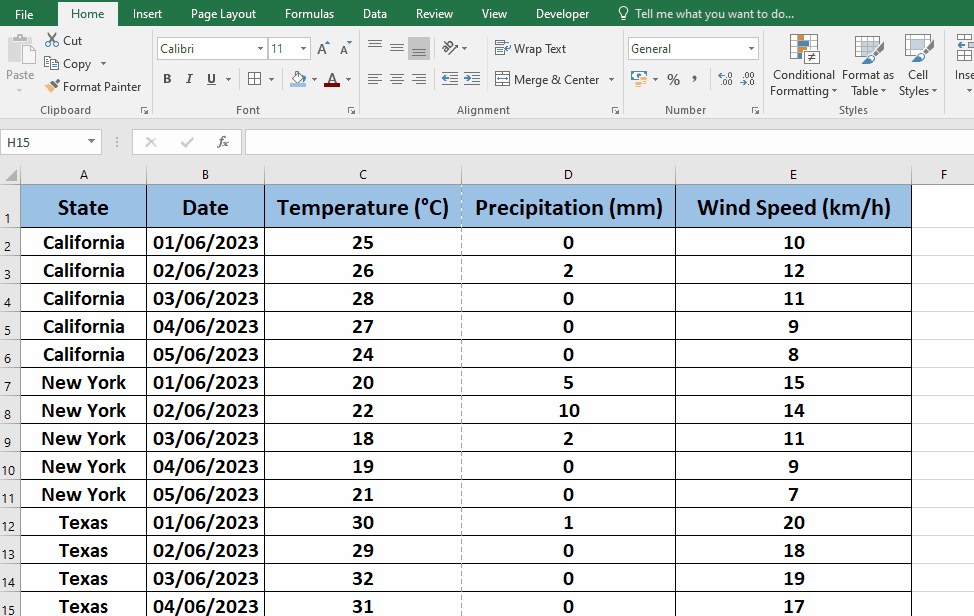
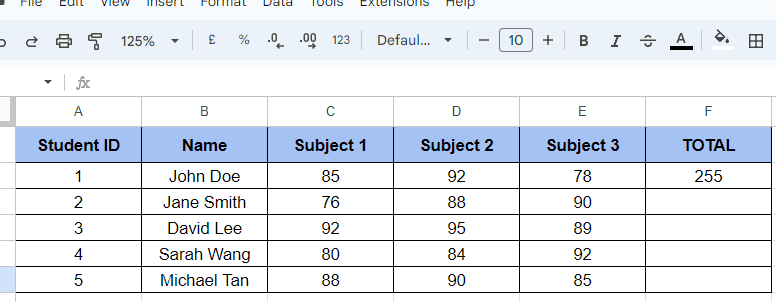
The provided weather dataset offers a glimpse into the diverse weather conditions across several states. California experiences mild temperatures and minimal precipitation, while Arizona and Texas face hotter temperatures without any recorded rainfall. New York and Florida fall somewhere in between with moderate temperatures and occasional showers. Now we will learn how to get the spreadsheet to fill the whole page by following the simple steps below. Let us now look at our data set
Method – 1 using page layout
By modifying the print settings in Excel to ensure your spreadsheet occupies the entire page, you can enhance the layout and maximize visibility of the content during printing. This process includes setting the print area to encompass the entire worksheet, selecting the suitable paper size, and adjusting the margins to make efficient use of the available space. By following these steps, you can achieve professional-looking printed documents that offer improved readability and optimize paper consumption.
Step – 1 Open Page Setup dialogue box
• Access your Excel spreadsheet.
• Navigate to the “Page Layout” tab situated in the Excel ribbon at the top.
• Within the “Page Setup” group, locate and click on the small Dialog Box Launcher positioned at the bottom right corner. This action will open the Page Setup dialog box, allowing you to modify additional settings.
Step – 2 Change page layout
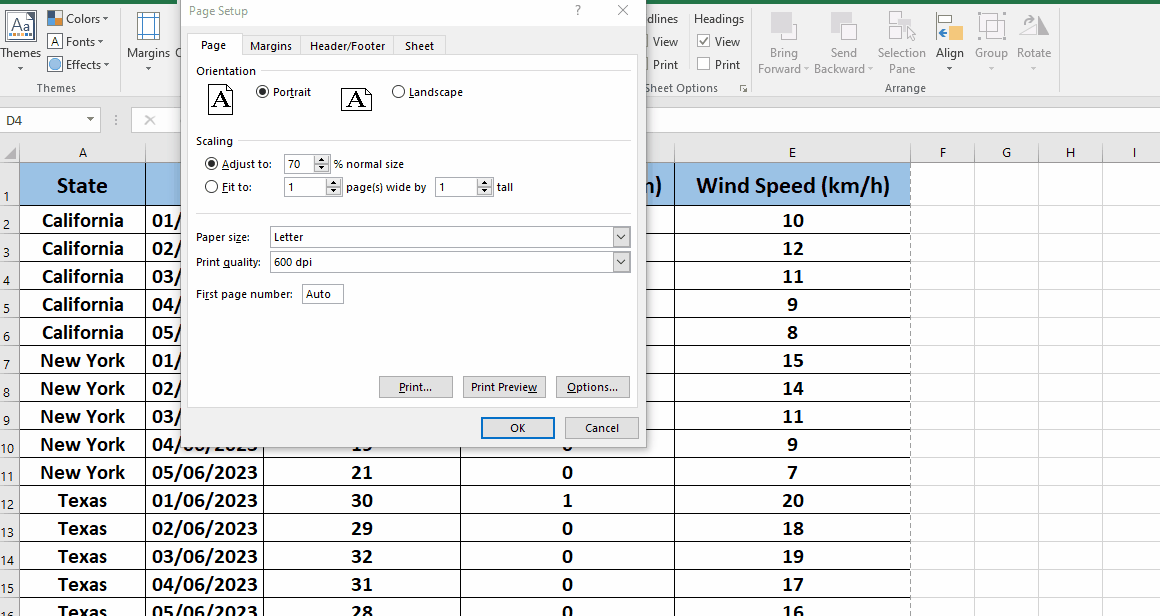
• Access the Page Setup dialog box by navigating to the Page tab.
• Within the Scaling section, choose the “Fit to” option.
• To fit your document on a single page, specify “1 page(s) wide by 1 tall” in the Fit to boxes.
• Confirm your selections by clicking the OK button located at the bottom of the Page Setup dialog box.
Method – 2 Using Scale to Fit Group to Stretch Excel Spreadsheet to Full Page Print
The “Scale to Fit Group” feature in Excel provides a convenient way to stretch a spreadsheet to fit a full page when printing. By selecting the “Fit Sheet on One Page” option, Excel adjusts the size of the spreadsheet to fill the printable area of a single page, ensuring that all the content fits within the page boundaries.
Step – 1 Go to Scale to Fit group.
- Begin by opening your worksheet.
- Access the Page Layout ribbon and locate the “Scale to Fit” group.
- Within the “Scale to Fit” group, adjust the Width and Height settings to “1 page” to ensure the spreadsheet fits a single printed page.
- Finally, click on the Drop-Down Arrow to confirm and apply the changes.
Step – 2 Change page layout.
- At this time, a dialog box named Page Setup will appear.
- Now, you need to select the Print Preview option from that Page Setup dialog box.
Conclusion:
In conclusion, adjusting the print settings in Excel to make your spreadsheet fill the whole page when printing offers several benefits. It allows for optimal use of space, improving readability and making it easier to analyze the data. It ensures consistency in presentation, creating a professional appearance across printed documents. Additionally, it contributes to cost and resource efficiency by reducing paper usage. By implementing these adjustments, you can enhance the effectiveness and impact of your printed spreadsheets while optimizing the overall printing process.


