
How to use Set Range in Excel VBA
 By
SpreadCheaters
By
SpreadCheaters
In this Tutorial we will learn how to Set Range using VBA (Visual Basic for Applications), we can perform many operations using Set Range but for this example will add numbers from 1 to 10 in a cell as an example.
Follow the Steps below.

VBA (Visual Basic for Applications) is a programming language that is built into Excel and other Microsoft Office applications. VBA allows users to write custom code to automate tasks, manipulate data, create user forms, and interact with other applications. VBA code can be written in the Excel VBA editor, which provides a development environment for creating, testing, and debugging VBA code. With VBA, users can create macros, which are sets of instructions that automate repetitive tasks, and add custom functions and procedures to Excel.
Step 1 – Enable Developer Option
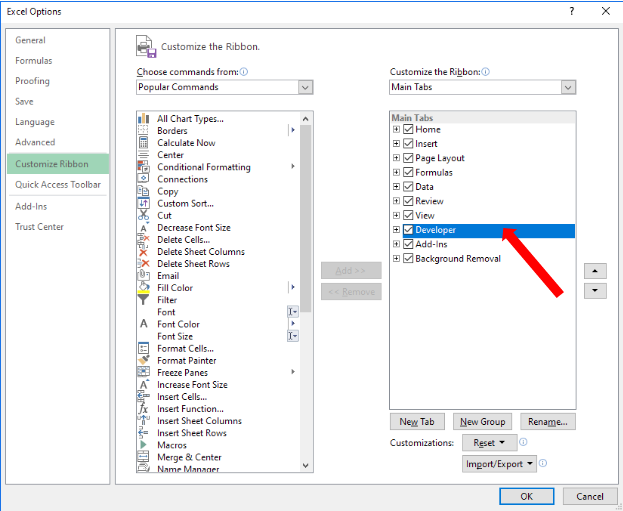
– Click on File and then click on Options.
– In Options click on Customize Ribbon.
– Check the Developer check box in the Main Tabs section.
– Click Ok.
Step 2 – Open VBA Editor
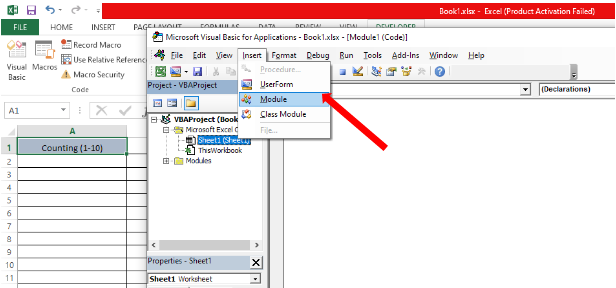
– From the list of main tabs go to the Developer tab.
– Click the Visual Basic icon.
– To start coding add a module using the Insert tab and then click on Module.
Step 3 – Use Set Range in the code to set working area
– First of all create a function Tutorial_SetRange().
– Declare a variable of Range type with the name myRange.
– Select the range of cells on which operation is to be performed Using syntax
Set myRange = Range(“Start_cell_of_range : End_cell_of_range”).
– For increasing the value in every upcoming cell a loop is used. For every iteration loop will increase the value by one until the last cell in Range.


