How to use import text wizard in Excel
In this tutorial we will learn how to use the excel text import wizard. The Text Import Wizard is a powerful tool in Excel for importing data from various formats such as text, CSV, and other file types. In this case, we will only import text files. Here is a step-by-step guide for using the Text Import Wizard in Excel:

Excel is a powerful and widely used spreadsheet application developed by Microsoft. It allows users to store, organize, and analyze data. Excel also provides powerful tools and features for creating charts, graphs, and pivot tables.
Step 1 – Select the file and import

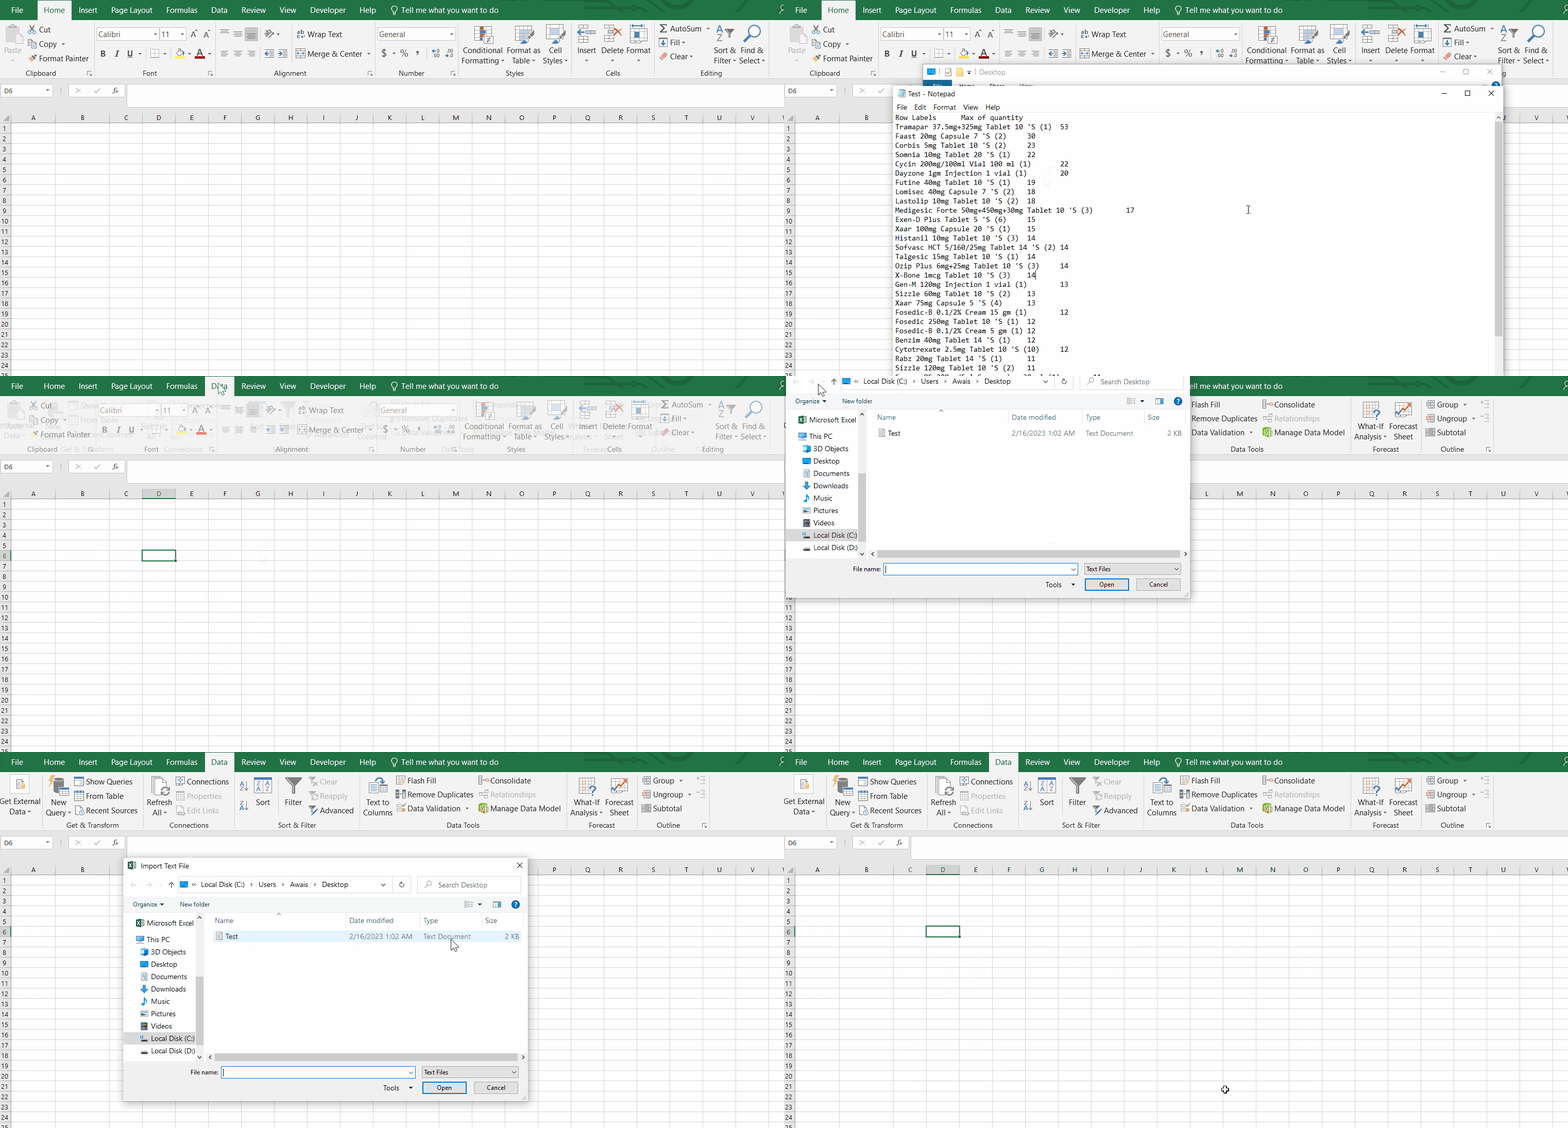
– Open the file that you want to import.
– From the Data tab, click the “Get Data” button.
– Select “From Text” from the drop-down menu.
– A dialog box will appear.
– Choose the file that you want to import and click “Open”.
Animation is given above.
Step 2 – Set the data type and formats

As you will select the file a new dialogue boxes will appear for data types and to set formats , below is the procedure;
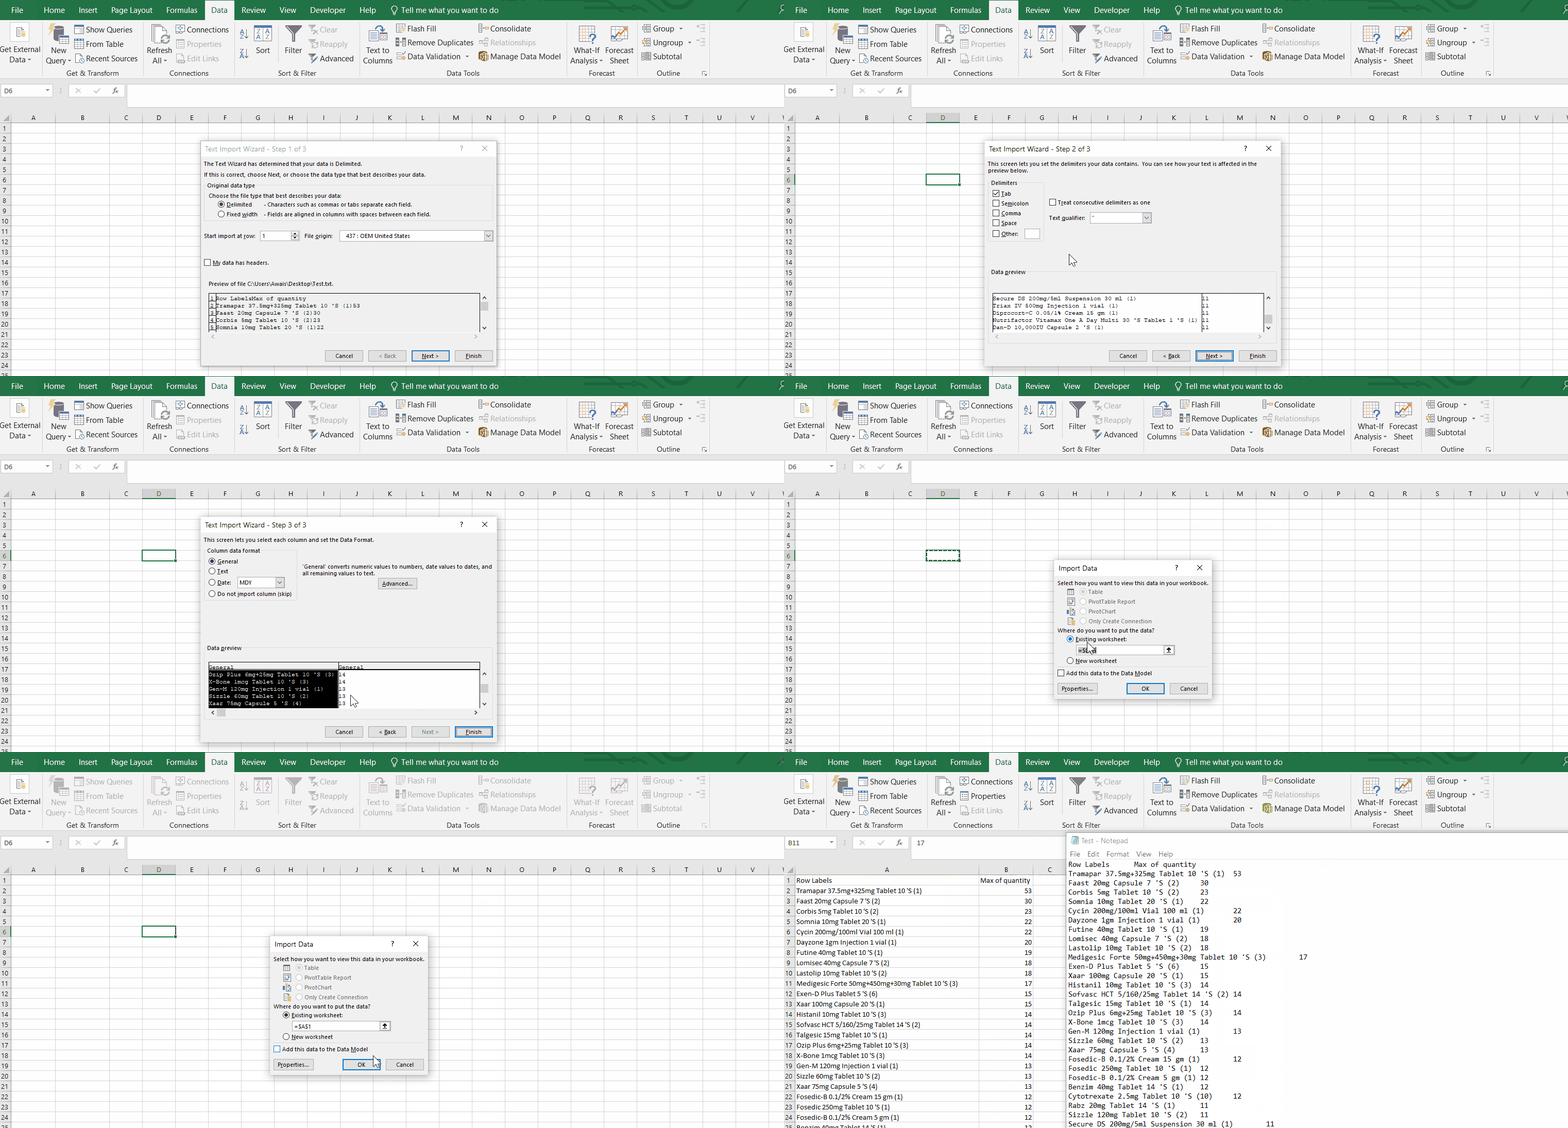
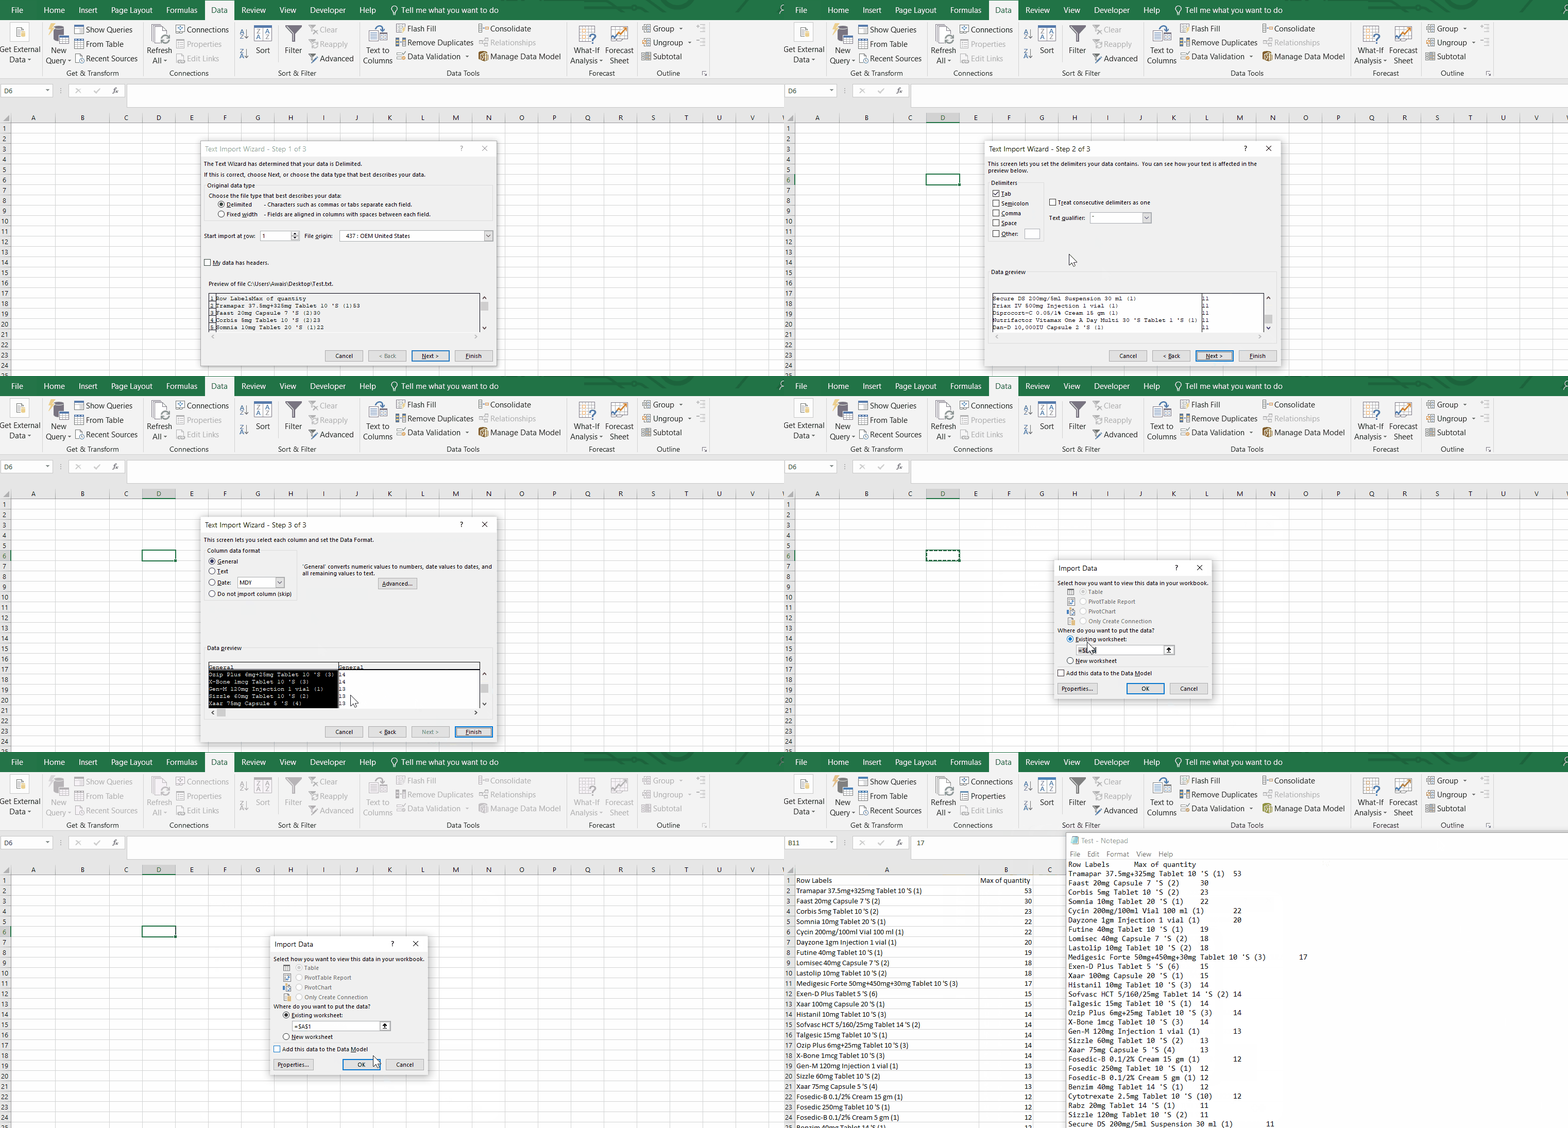
– A new dialogue box will appear.
– Select the original data type as Delimited or Fixed Width.
– In my case , I will select the Delimited , click next.
– A new dialogue box will appear showing the Data Preview . If it is according to your requirements click next or use other delimiters given above.
– A new dialogue box will appear showing the Data formats. In this case i select General
– Click the finish button.
– A dialogue box will appear, set the destination cell and sheet to import the data. In this case we selected the Existing sheet and Cell A1.
– Click OK, data will be imported.
Animation is given above.


