
How to use If Else Formula in Excel
 By
SpreadCheaters
By
SpreadCheaters
To use the “IF” function properly we need to understand the syntax of the formula and what parameters it requires to work. So let’s see the structure of the formula first and then we’ll apply this to a data set to see the formula in action.
Structure of IF Function:
The structure of the IF function in Excel is fairly simple and easy to comprehend. The generic formula of an IF Function is given below;
=IF(Logical_Test_Condition, Result_if_true, Result_if_false)
This function requires the following three parameters, which are explained below one by one.
- Logical_Test_Condition:
The first parameter is the logical test condition which will be evaluated by the formula. When constructing a test condition we can use the following logical operators to evaluate a logical scenario;
- = (equal to)
- > (greater than)
- >= (greater than or equal to)
- < (less than)
- <= (less than or equal to)
- <> (not equal to)
- Result_if_true:
The formula evaluates the logical condition and if the condition is found correct (true) then this value will be chosen to appear as a result.
- Result_if_false:
This is the value which will be chosen as a result, when the test condition is found incorrect (false) after being evaluated in the formula.
How to use the IF then Formula:
Now that we understand the structure of the formula and know what parameters are required by the formula, it is the time to implement the formula and see the results. So let’s look at a very simple example to know how the function operates.
Example 1:
Let’s assume that we have a set of numbers ranging from 1 ~ 100. We want to assign categories to the numbers based upon their values. Let’s say we have a criteria that any number exceeding 50 will be considered as “Large” and all other numbers less than 50 will be considered “Small”. Then this is the perfect case where we can apply the “IF” function. The data set is shown below,
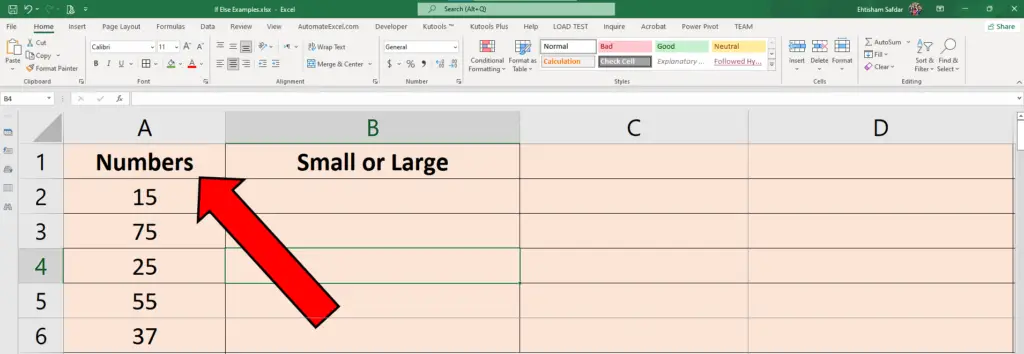
Microsoft Excel is a very useful software when it comes to manipulating data sets. It offers very handy features to make logical decisions based on the data set values. “IF” function in Microsoft Excel provides the facility to make simple or complex logical decisions based on particular cell values.
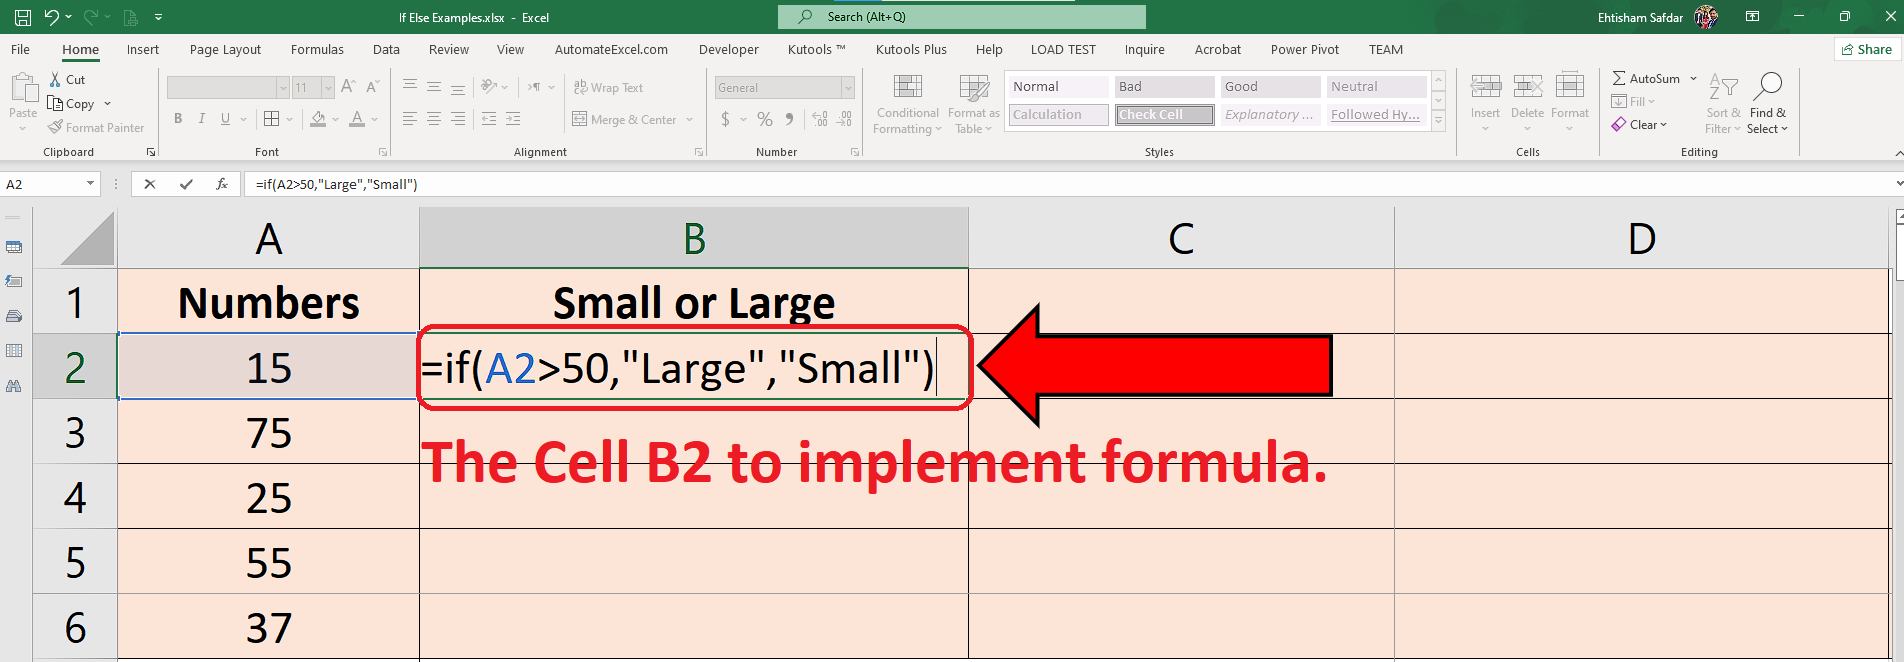
Step 1- Select the cell and write the formula

– Select the cell where you want to implement the formula. In our case it will be B2.
– Now double click in the cell and write the formula in it as shown in the figure above and press enter.
=if(A2>50,”Large”,”Small”)
– As soon as you press the enter button, you will see the result of this formula in cell B2 which will be “Small” as shown in the picture below.
Step 2 – Extend the formula to work in other cells
– To implement the formula to the rest of the data, don’t write the formula all over again.
– Just select the bottom right corner of cell B2, where the formula was implemented.
– Drag down till the last row.
– This will automatically populate the formula in all these cells, as shown in the animation above;


