
How to use GO TO function in Excel
 By
SpreadCheaters
By
SpreadCheaters
In this tutorial we will learn how to use go to function in Excel and what it does. Basically GO TO is dialogue box which allows you to quickly select all cells that meet certain criteria, such as cells containing: Formulas (numbers, text, logicals, errors)
Below are the Steps by which we can enable the GO TO function and use its functionality.

Microsoft Excel is famous around the globe due to its fast calculation and numeric data manipulation by built-in tools and functions. It is also used for forecasting of a business in different dimensions. While working with large data in most cases we feel difficulty to move immediately to formulas , text only , numbers only or linked cells, to cover this problem Microsoft Excel provides a built-in tool to handle this problem.
Step 1 – Click the GO TO button and go to a specific cell
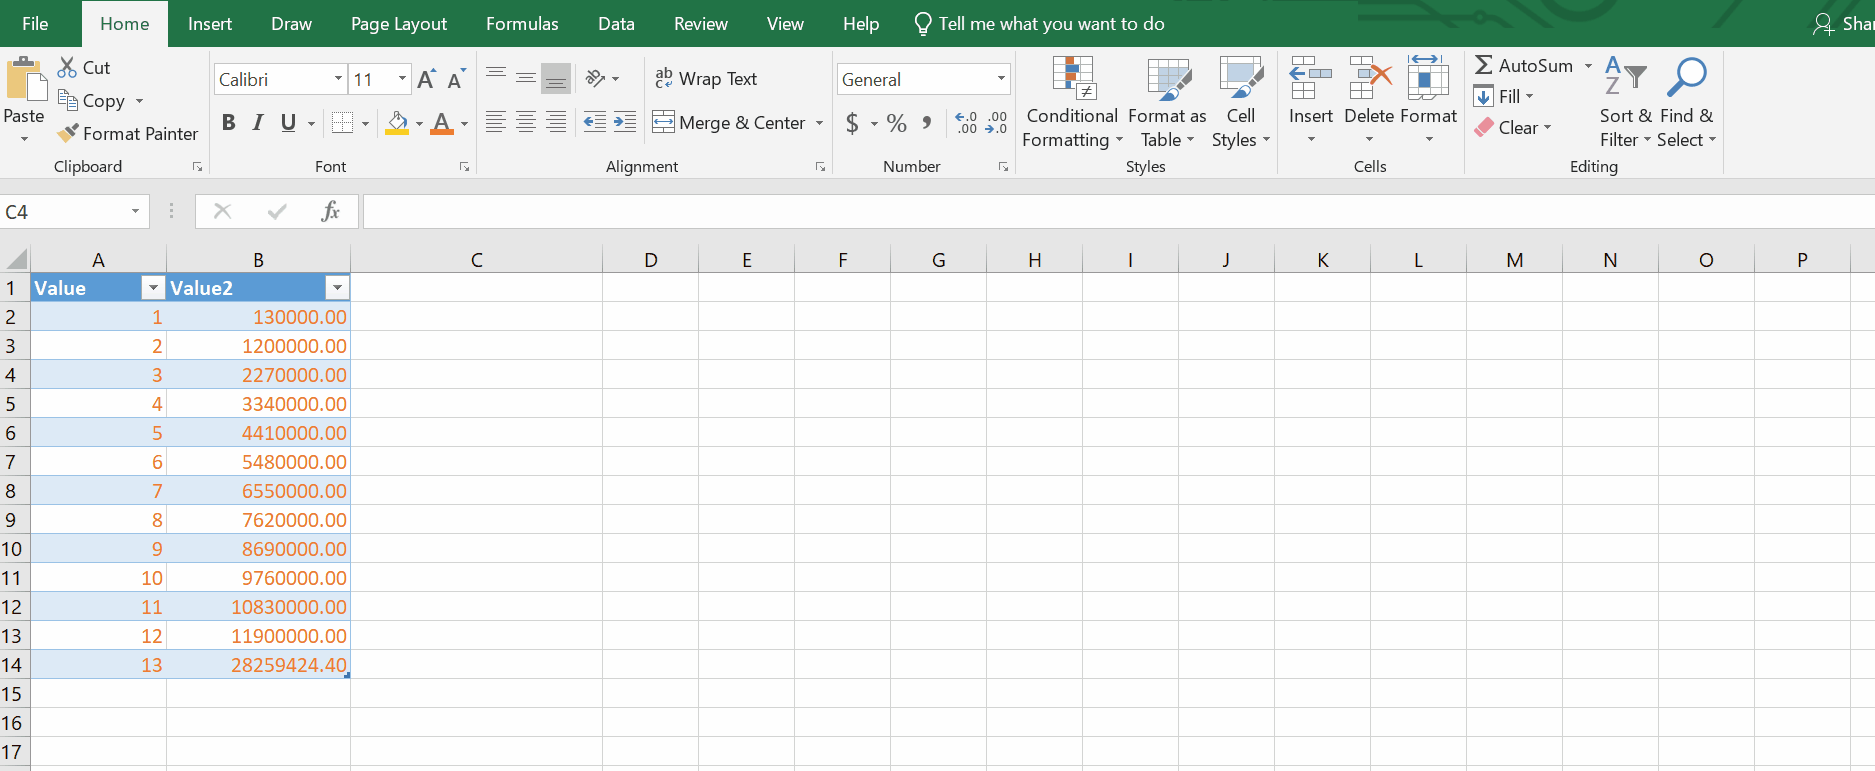
– Click on the Home tab.
– Go to the Editing cluster.
– Click on Find and Select .
– A dialog box will appear.
– Click on GO TO .
– A dialog box will appear with the heading of GO TO .
– Type any cell name in Reference .
– Click OK.
– As soon as you press the enter key, it will take you to the referred cell.
Step 2 – Go to specific cell in another sheet

– Click on the Home tab.
– Go to the Editing cluster.
– Click on Find and Select .
– A dialog box will appear.
– Click on GO TO .
– A dialog box will appear with the heading of GO TO .
– Type the name of the sheet with !(symbol) and the cell name.
– Click OK and it will take you to the desired cell of another sheet as shown above.
Step 3 – Go to specific row in same sheet
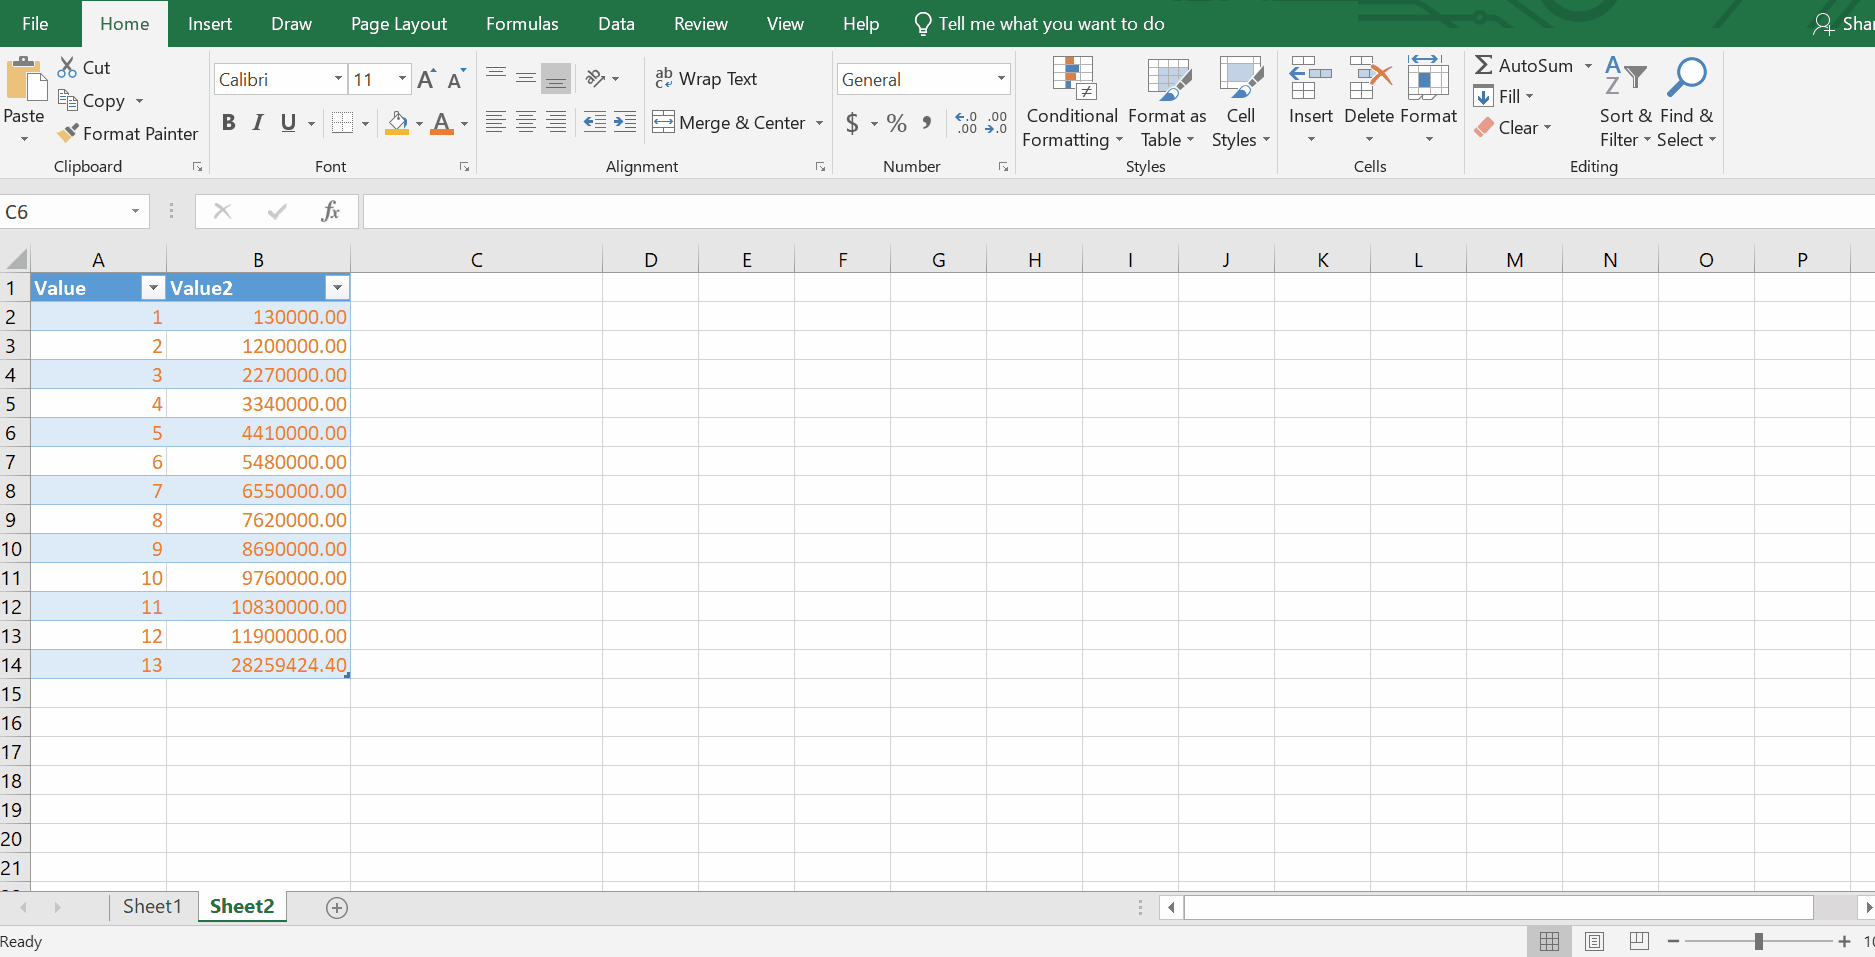
– Click on the Home tab.
– Go to the Editing cluster.
– Click on Find and Select .
– A dialog box will appear.
– Click on GO TO .
– A dialog box will appear with the heading of GO TO .
– Type the name of the Row. In this case we used 16:16
– Click OK.
Hence , we have used the GO TO tool of MS Excel by the above shown steps.
Bonus tip: We can also access the dialog by pressing shortcut keys. The F5 and CTRL + G.


