
How to use a barcode scanner in Microsoft Excel
 By
SpreadCheaters
By
SpreadCheaters
In this tutorial, we will learn how to use a barcode scanner in Microsoft Excel. It is a very simple process. Excel has a built-in feature that allows you to input data using a barcode scanner. This feature lets you scan a barcode and automatically input the data into an Excel spreadsheet.

Barcode scanners are devices that read and decode information from barcodes. Barcode scanners are commonly used in inventory management, point-of-sale, and other applications requiring quick and accurate data entry. This saves time and reduces errors in your data entry.
Step 1 – Attach the Barcode Scanner to the Computer
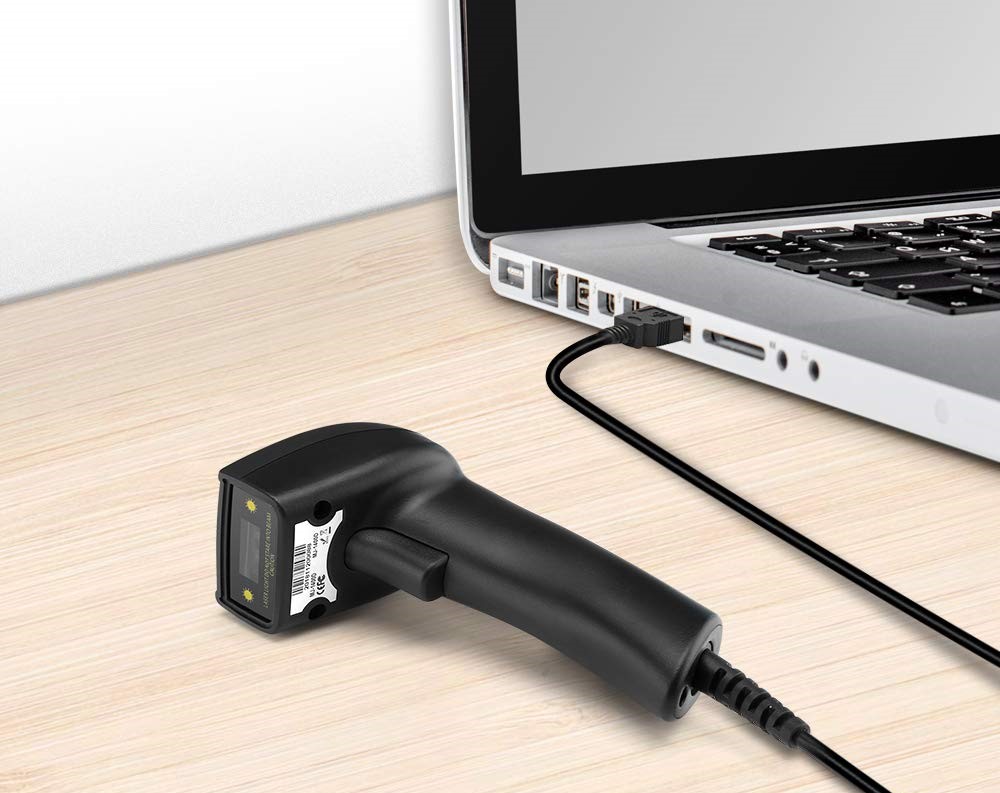
– Barcode scanners usually utilize either USB or Bluetooth connectivity to connect to your computer. It’s recommended that you follow The guidelines furnished by the maker to establish the connection between the scanner and your computer.
Step 2 – Launch an Excel document and Select a Targeted Cell
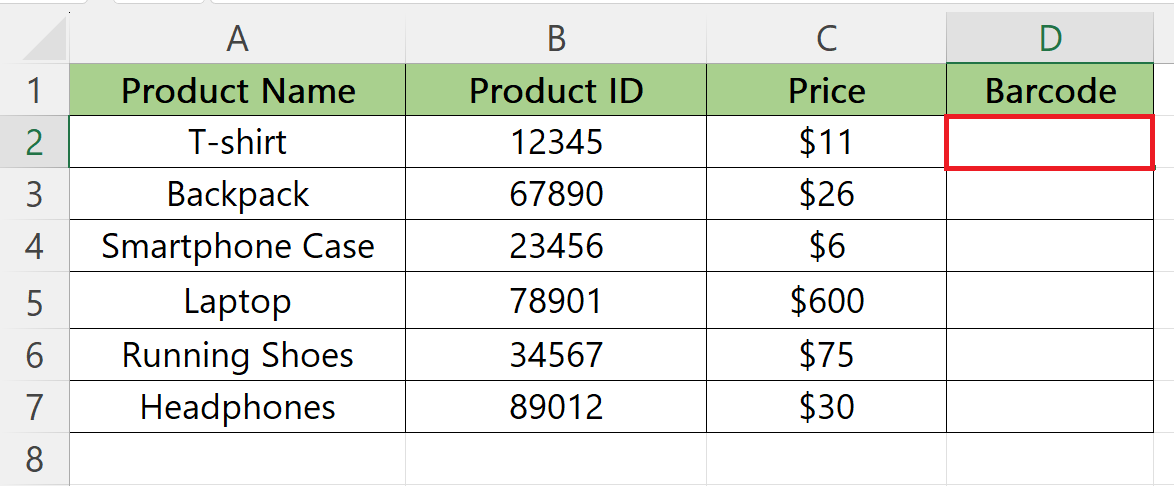
– Launch an Excel document in which the barcode scanner is to be used.
– Select a targeted cell.
Step 3 – Scan the Barcode using the Barcode Scanner

– Aim the scanner at the barcode you want to input into Excel and press the trigger.
– The data from the barcode will automatically be entered into the selected cell.
Step 4 – Repeat the Steps for Each Barcode
– Repeat the same steps for each barcode to be scanned.
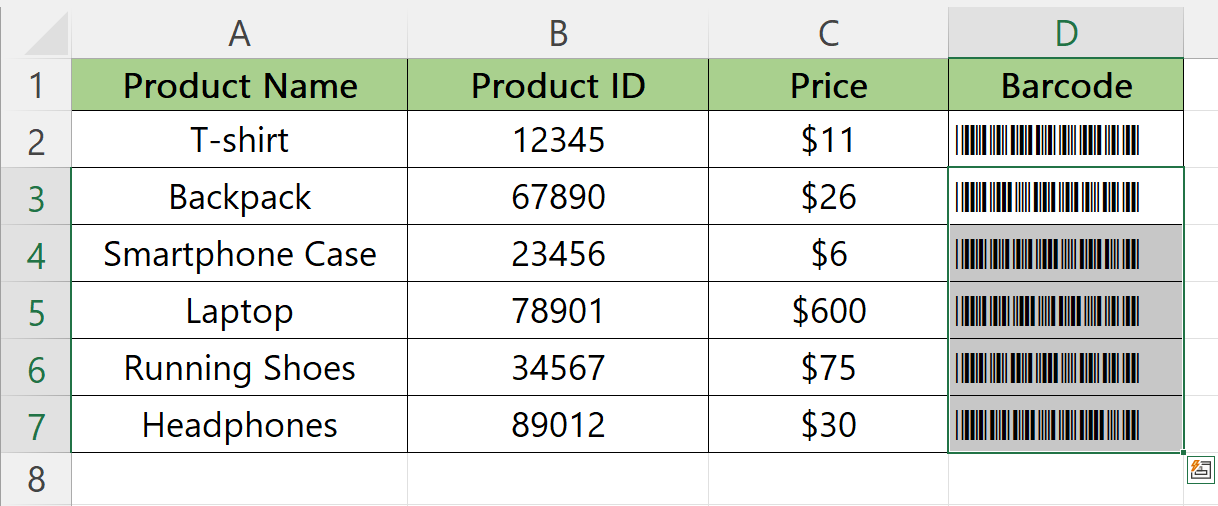
Step 5 – Select the Cells Containing Barcodes
– Select the cells containing barcodes.
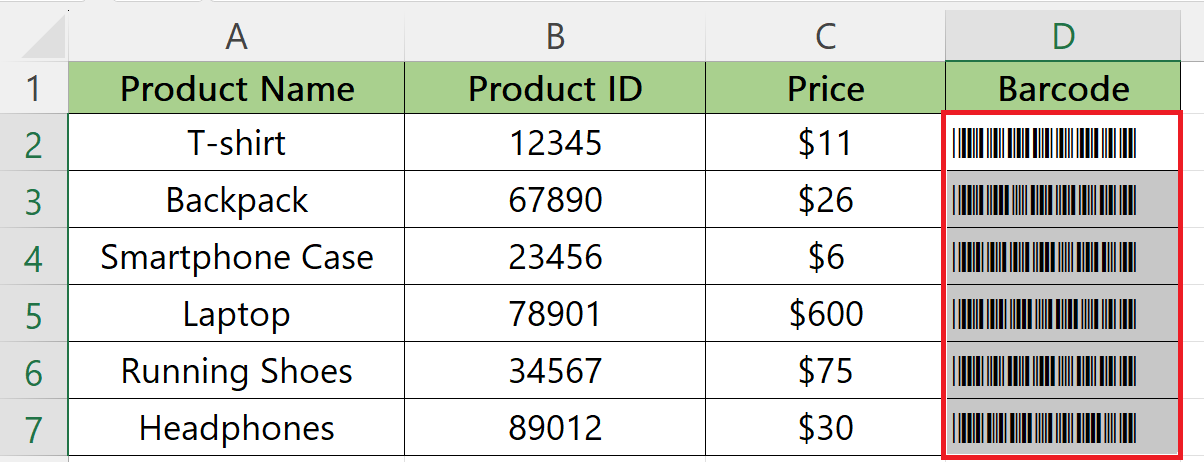
Step 6 – Change the Font
– In the Font group, select any font, we have selected Calibri font.
– The barcodes would be converted to the values.


