
How to Unformat Cells in Excel.
 By
SpreadCheaters
By
SpreadCheaters
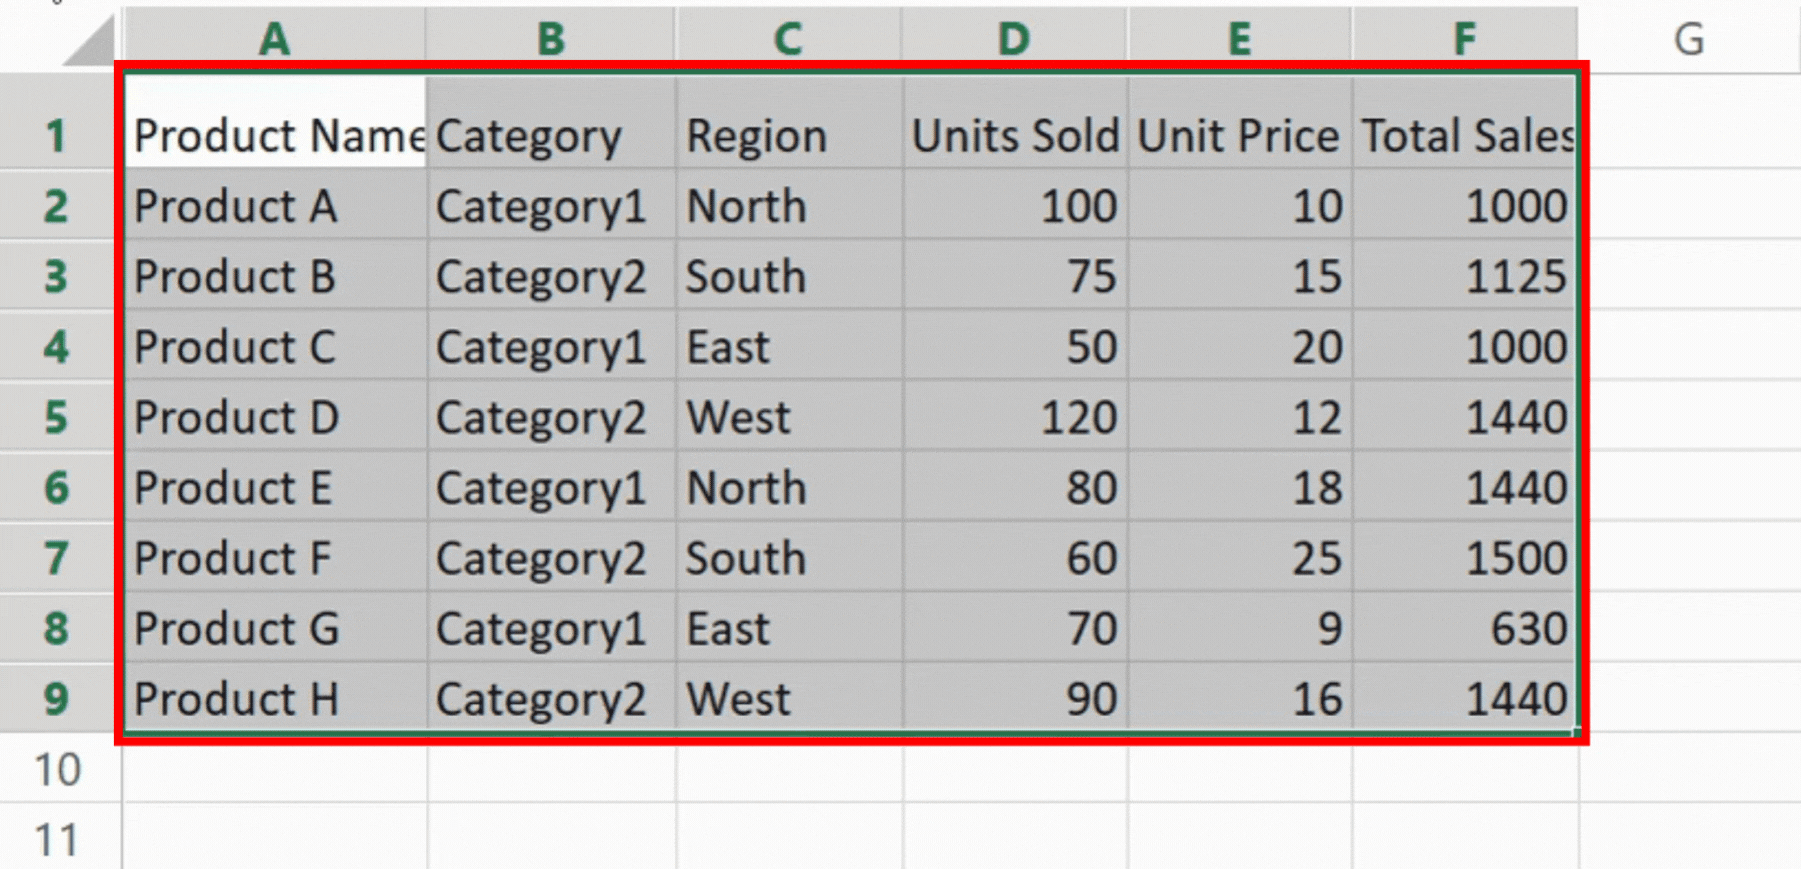
Let’s consider a sample data set containing sales data for various products in various regions for the sake of this demonstration. Columns like Product Name, Region, Units Sold, and Total Sales are included in the data set. To effectively illustrate the steps, we will concentrate on unformatting the cells in this data set throughout the manual.
Excel is a robust spreadsheet program frequently used for data organization and analysis. When using Excel, formatting cells to improve data presentation is crucial. Cellular formatting may occasionally need to be removed in order to return cells to their original appearance. This step-by-step tutorial will walk you through the unformatting procedure in Excel so you can go back to the default formatting for your cells.
Step 1 – Select the cells to unformat
– Open the workbook containing the data set in Microsoft Excel.
– Decide which specific cells or a range of cells you want to unformat.
– Hold the Ctrl key down while clicking on individual cells to select non-adjacent cells, or simply click and drag the mouse cursor to select the desired cells.
Step 2 – Locate the Editing section
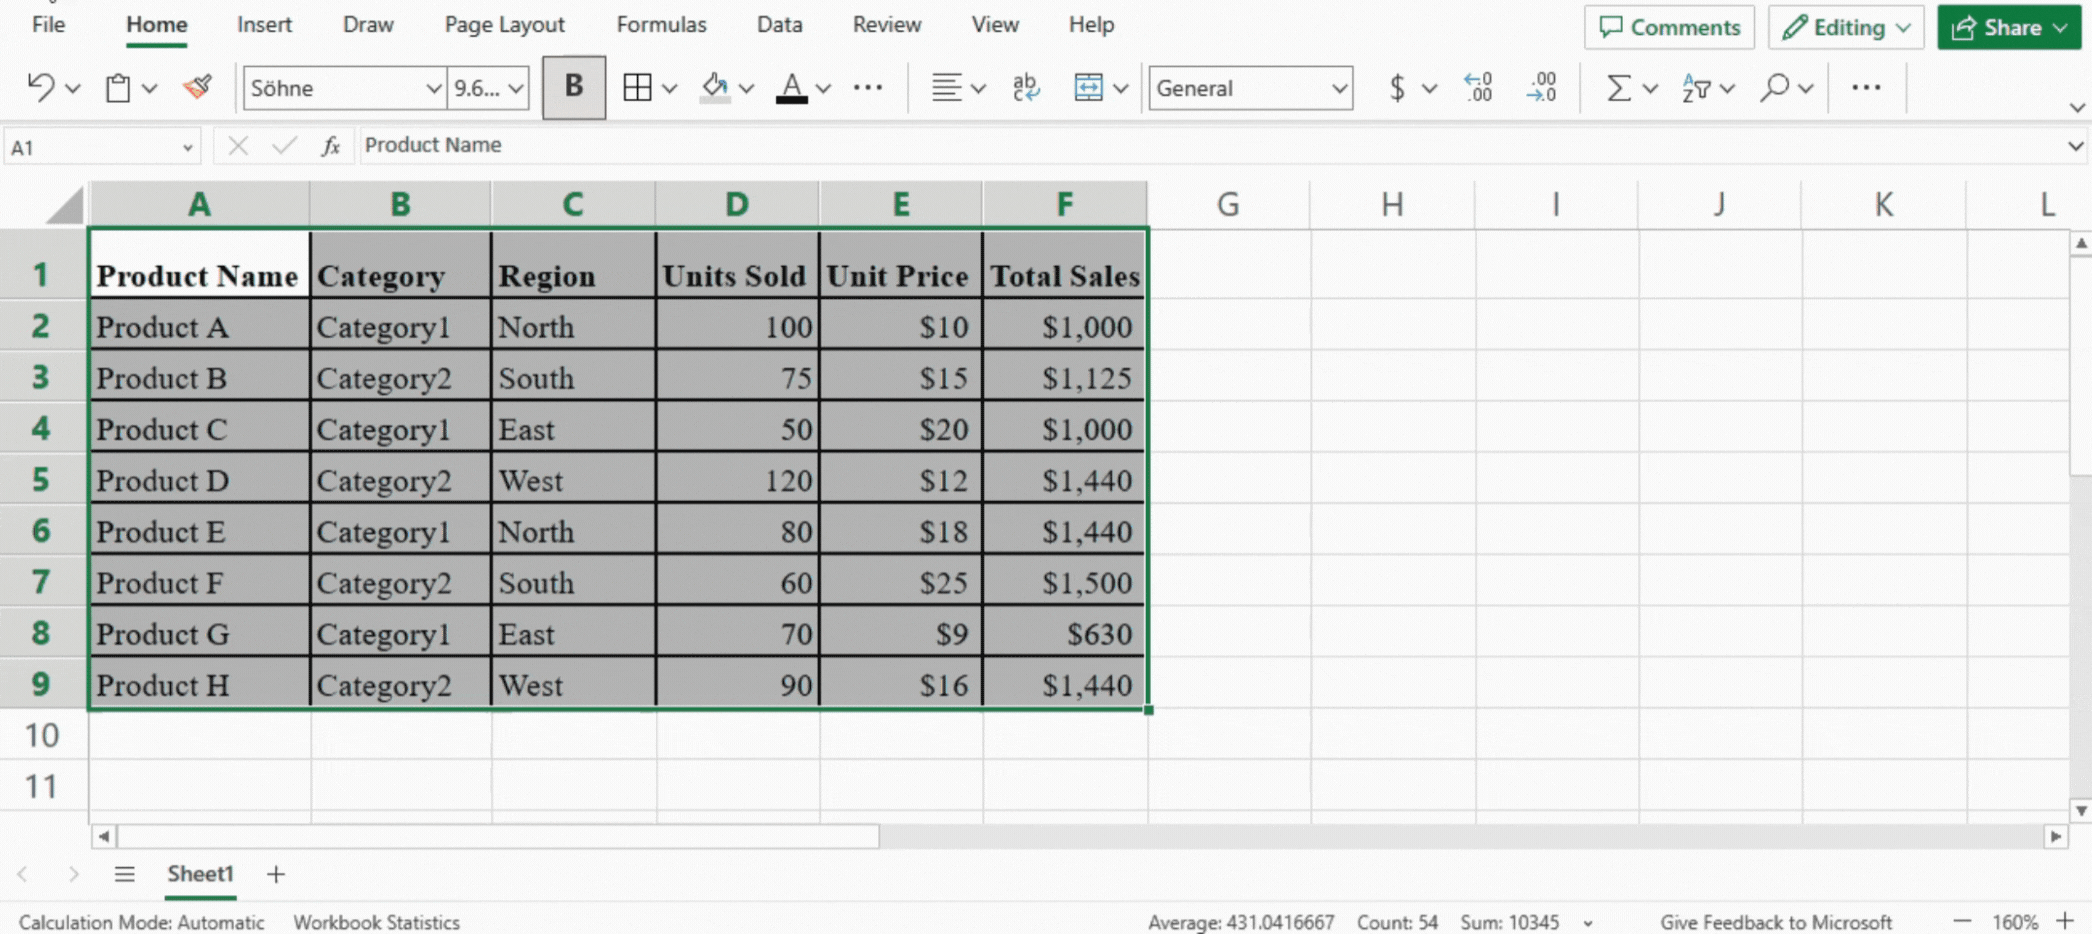
– Click the Home tab, the Excel ribbon’s Home tab can be found at the very top of the Excel window.
– Look for the group of buttons and commands labeled ‘Editing’ within the Home tab.
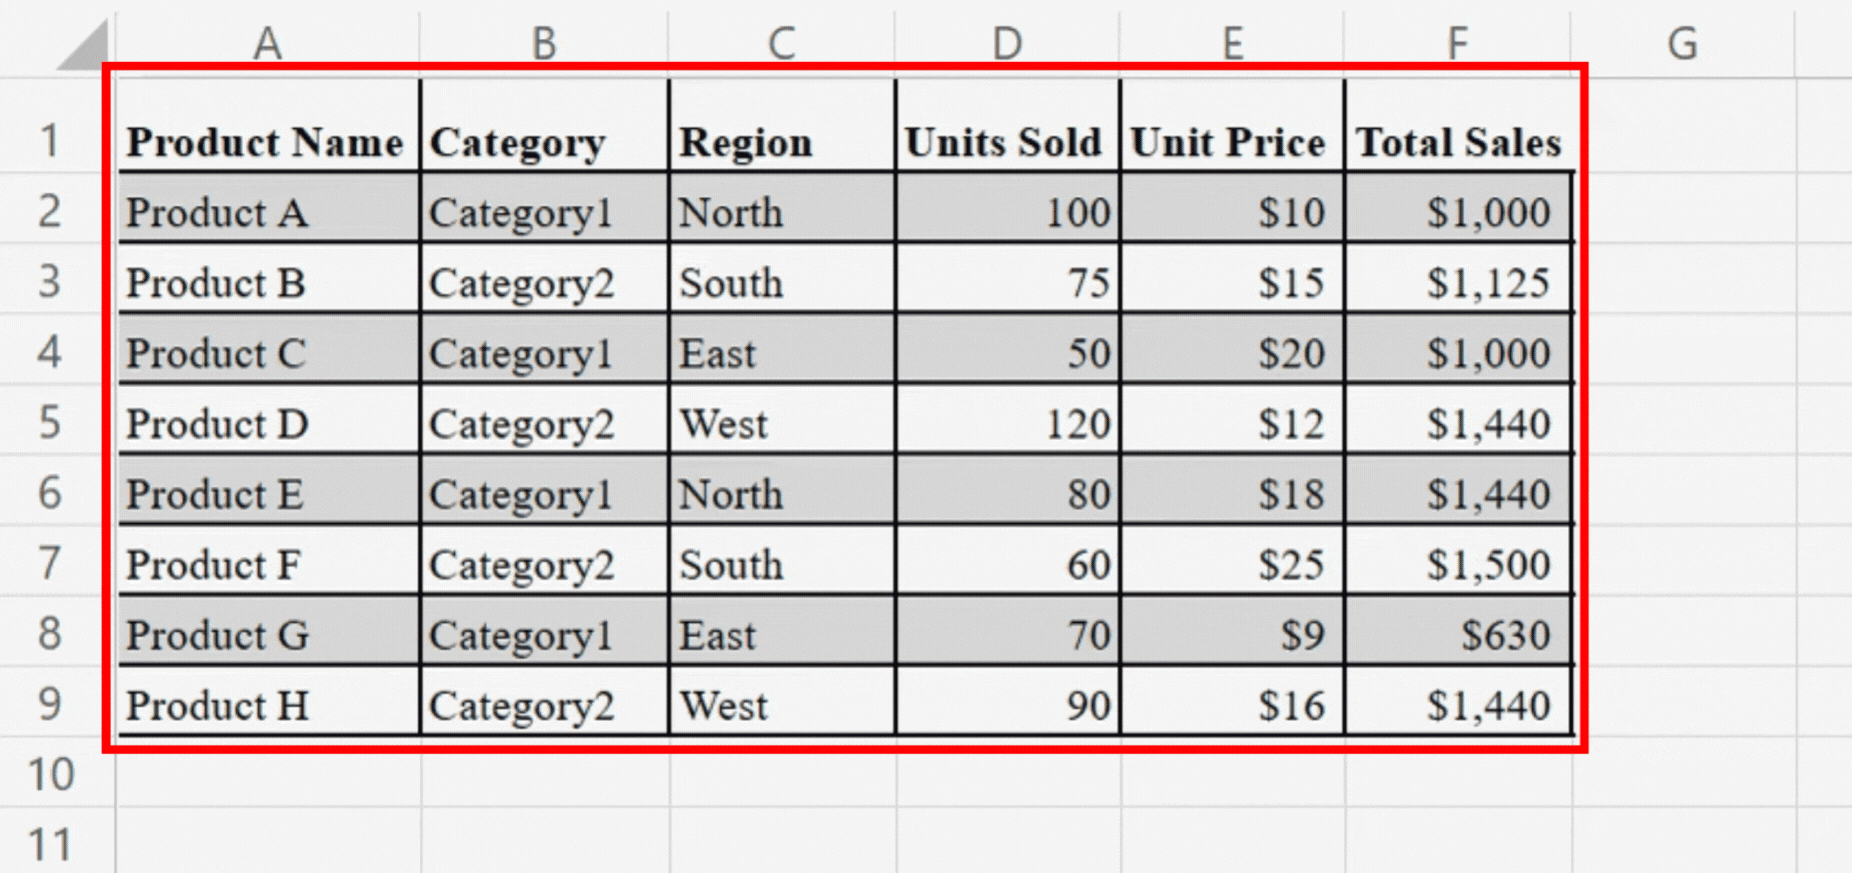
Step 3 – Remove Cell Formatting
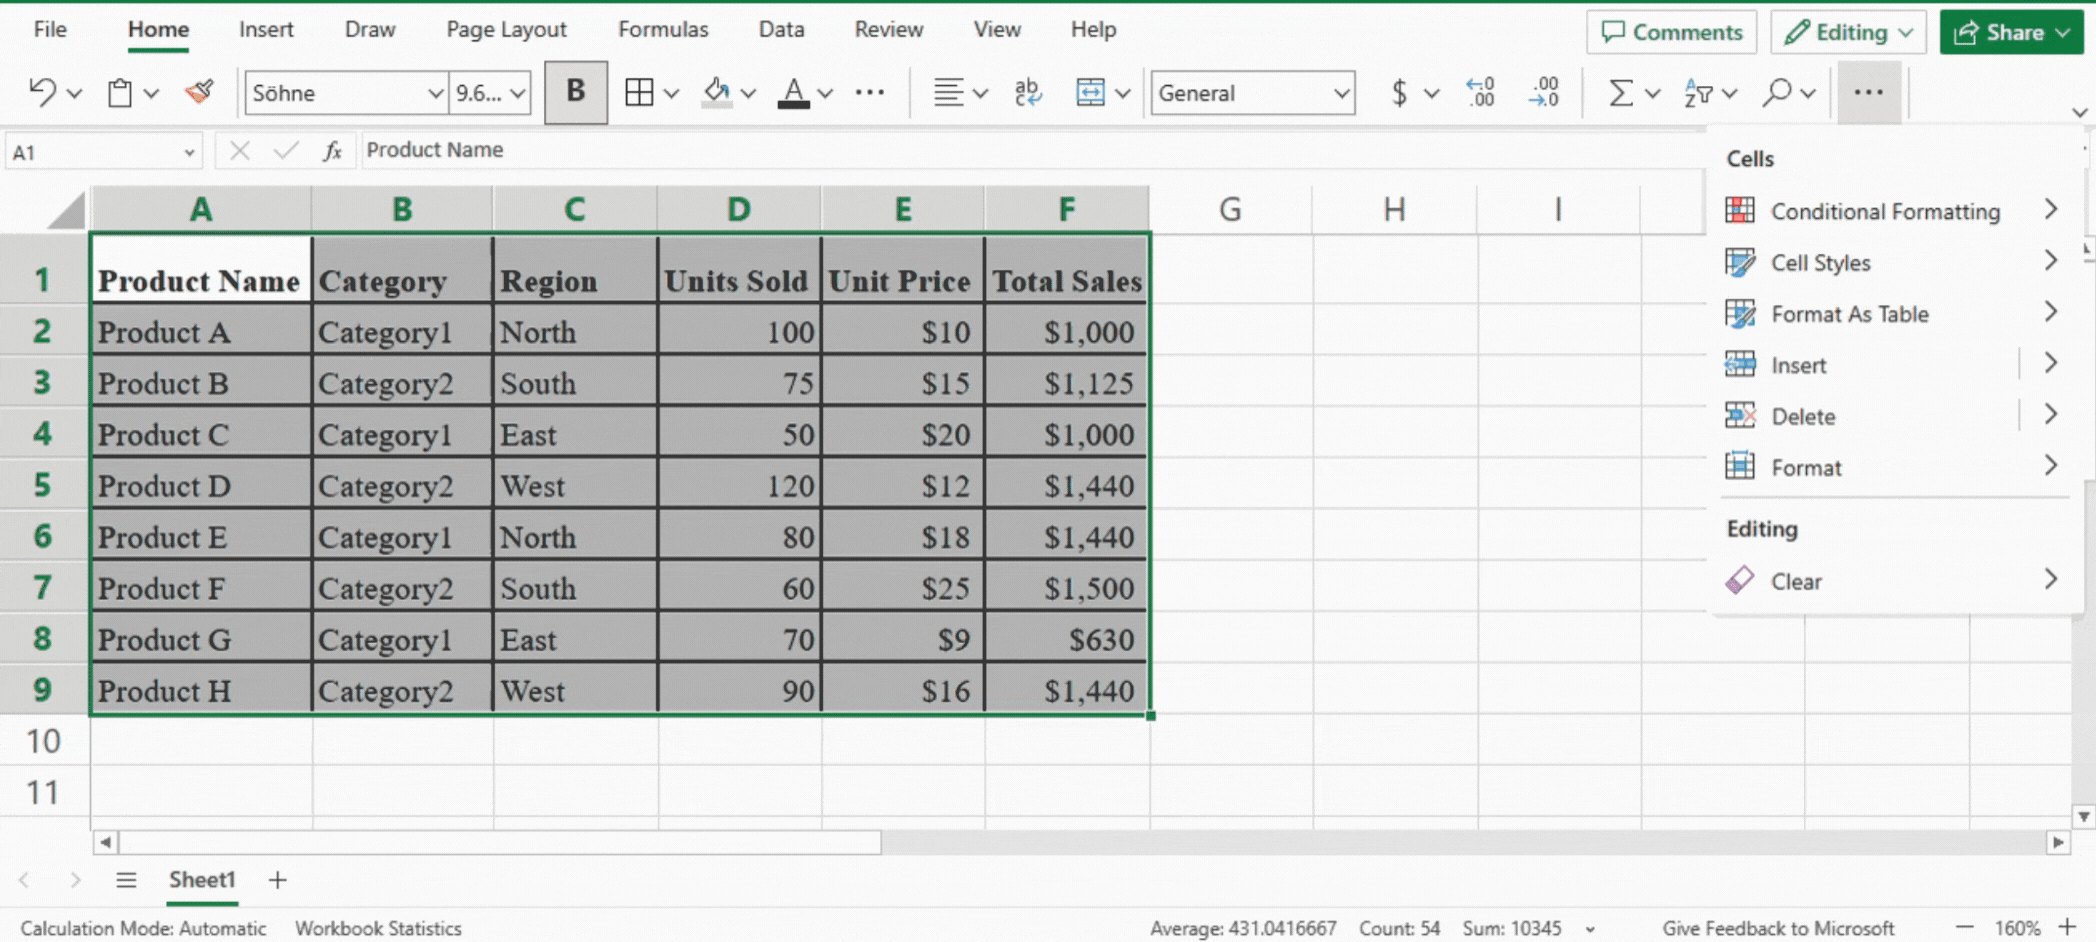
– Hover over the Clear option within the editing section.
– A drop-down menu will appear, choose Clear Formats from the drop-down menu.
– Keyboard Command ATL + E + A + F can also be used.
– The selected area will lose all formatting if you choose the Clear Formats option.
Step 4 – Verify Unformatted Cells
– Verify that the formatting has been eliminated by looking at the selected cells.
– The cells should now show up in their default format, displaying the unformatted raw data.


