
How to turn columns into rows in Excel
 By
SpreadCheaters
By
SpreadCheaters
You can watch a video tutorial here.

The ‘Transpose’ feature in Excel is used when you want to convert rows into columns and columns into rows. This is useful when you have a table with more columns than rows. By converting the columns into rows and making the rows into columns the data becomes easier to read. The ‘Transpose’ feature of Excel helps maintain the integrity of the data while performing this operation. This feature is one of the many ‘Paste Special’ options that Excel provides.
Step 1 – Copy the data
– Copy the data by pressing Ctrl+C or choosing Copy from the context menu (right-click)
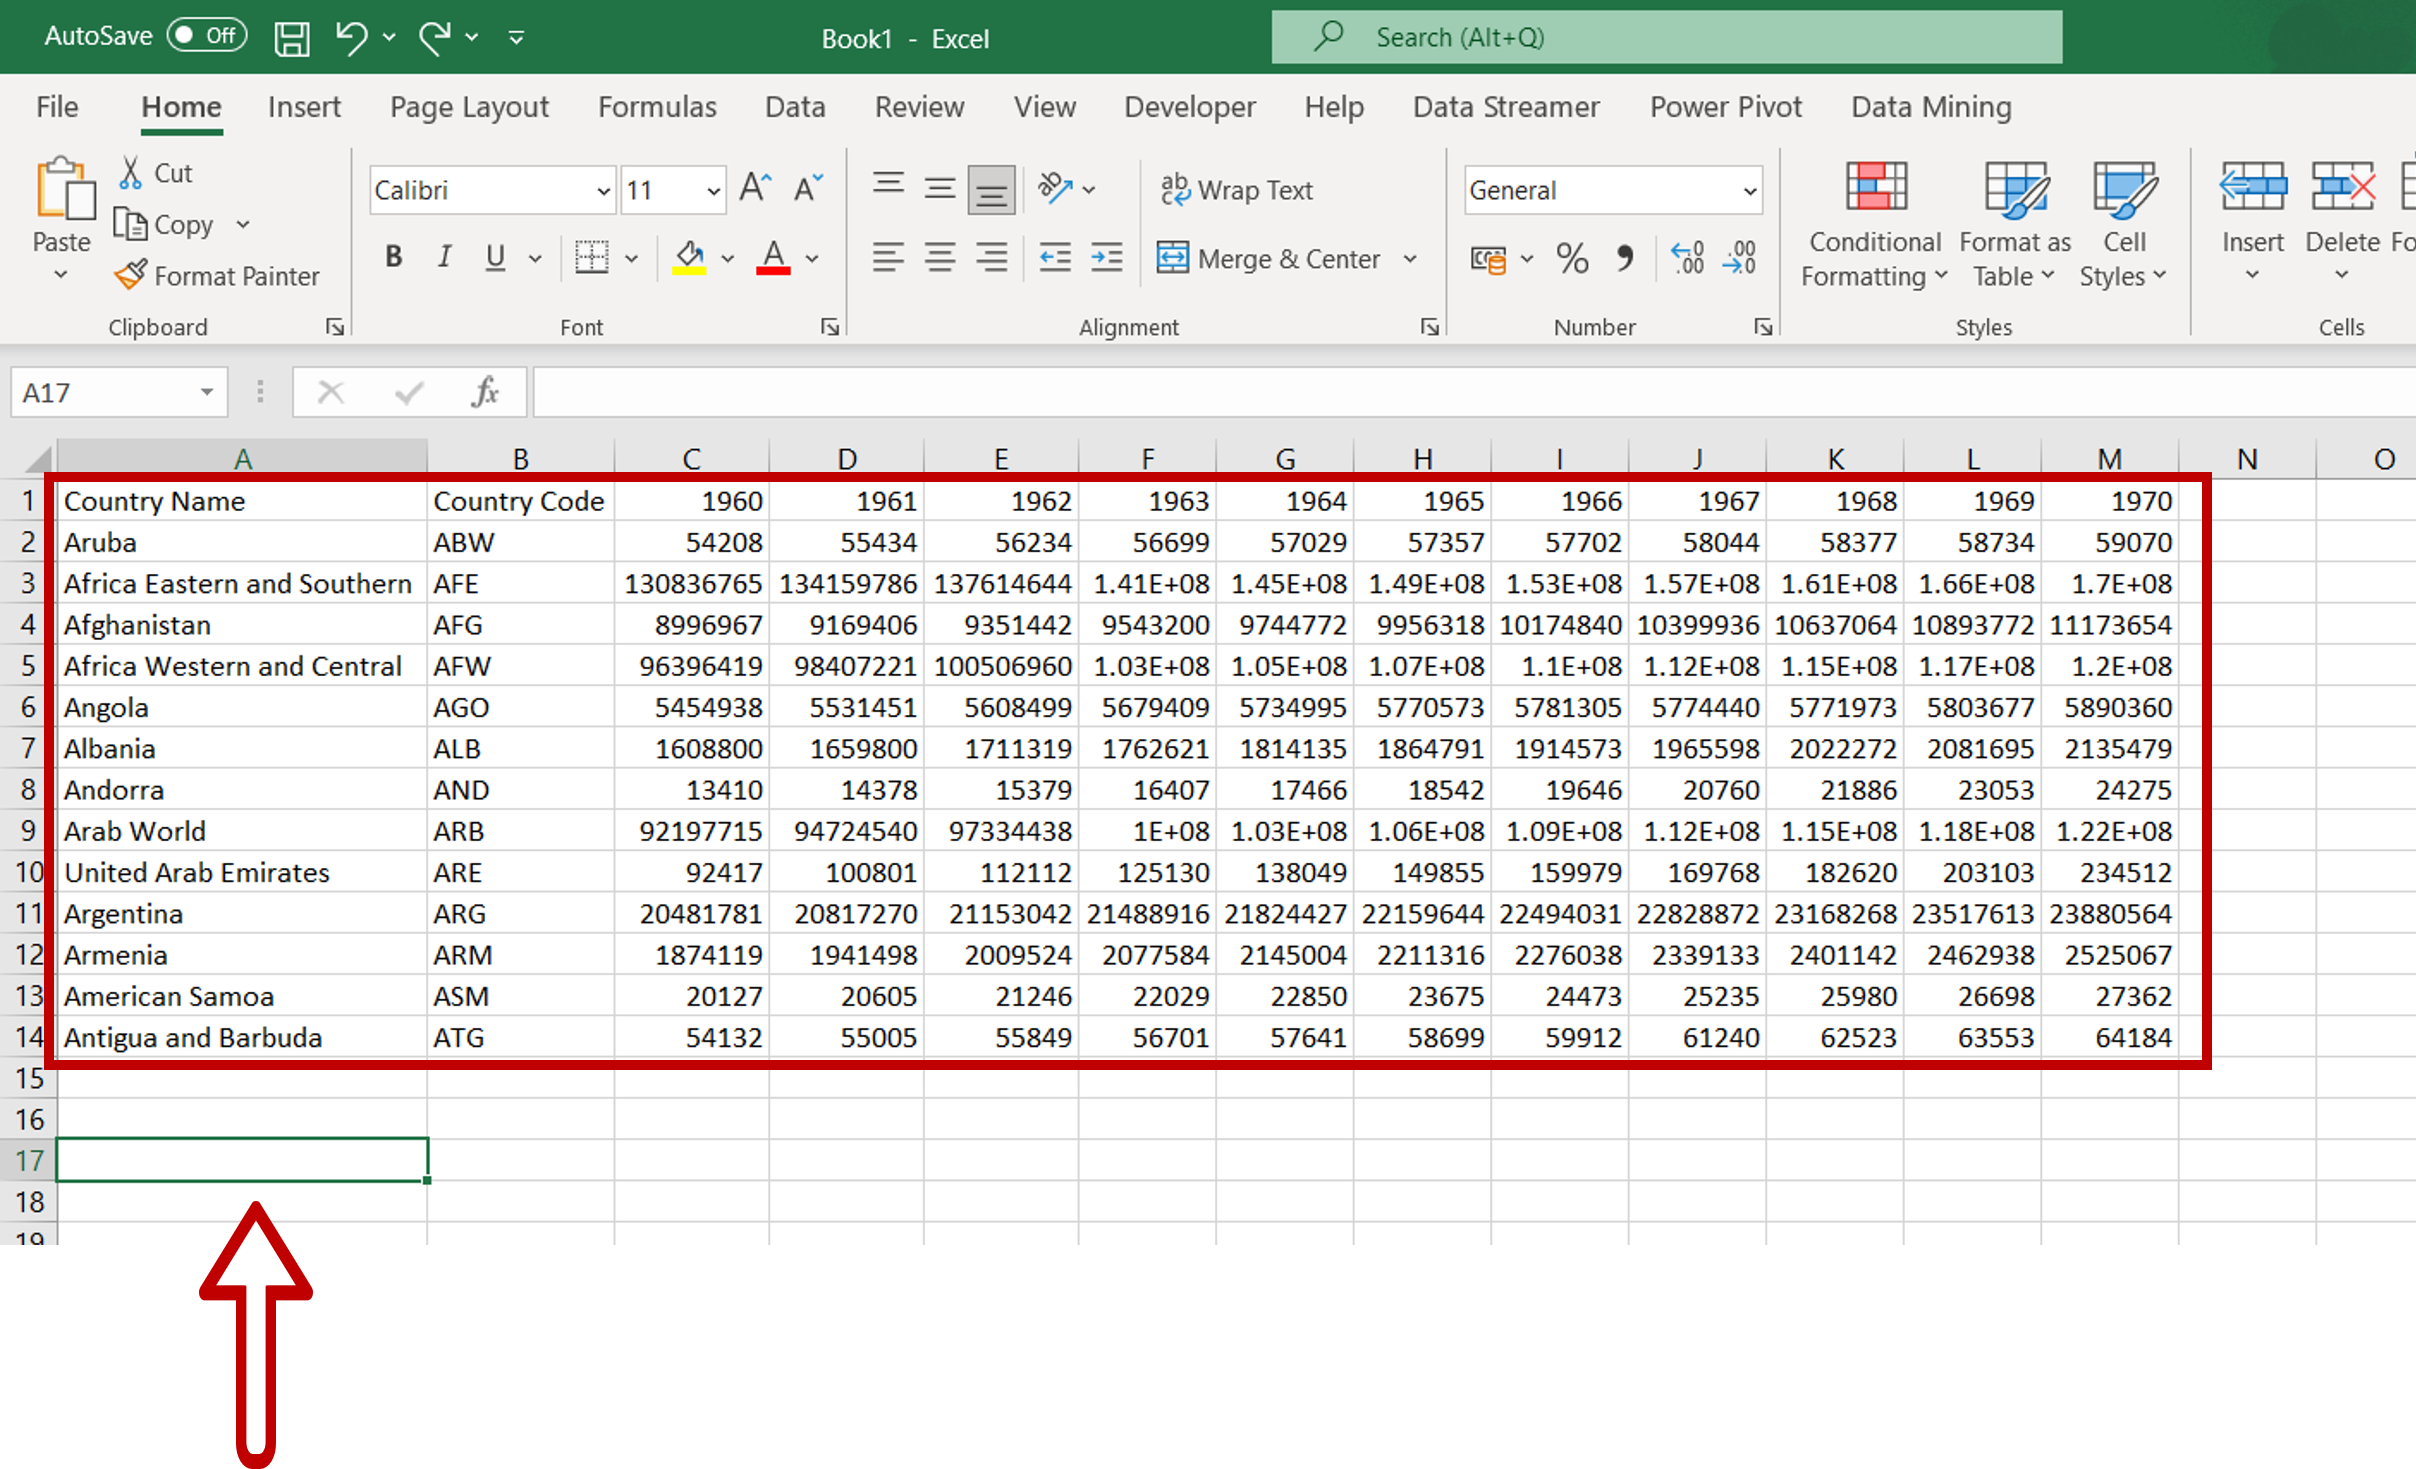
– Select the destination for the transposed data
Step 2 – Select the Paste Special option
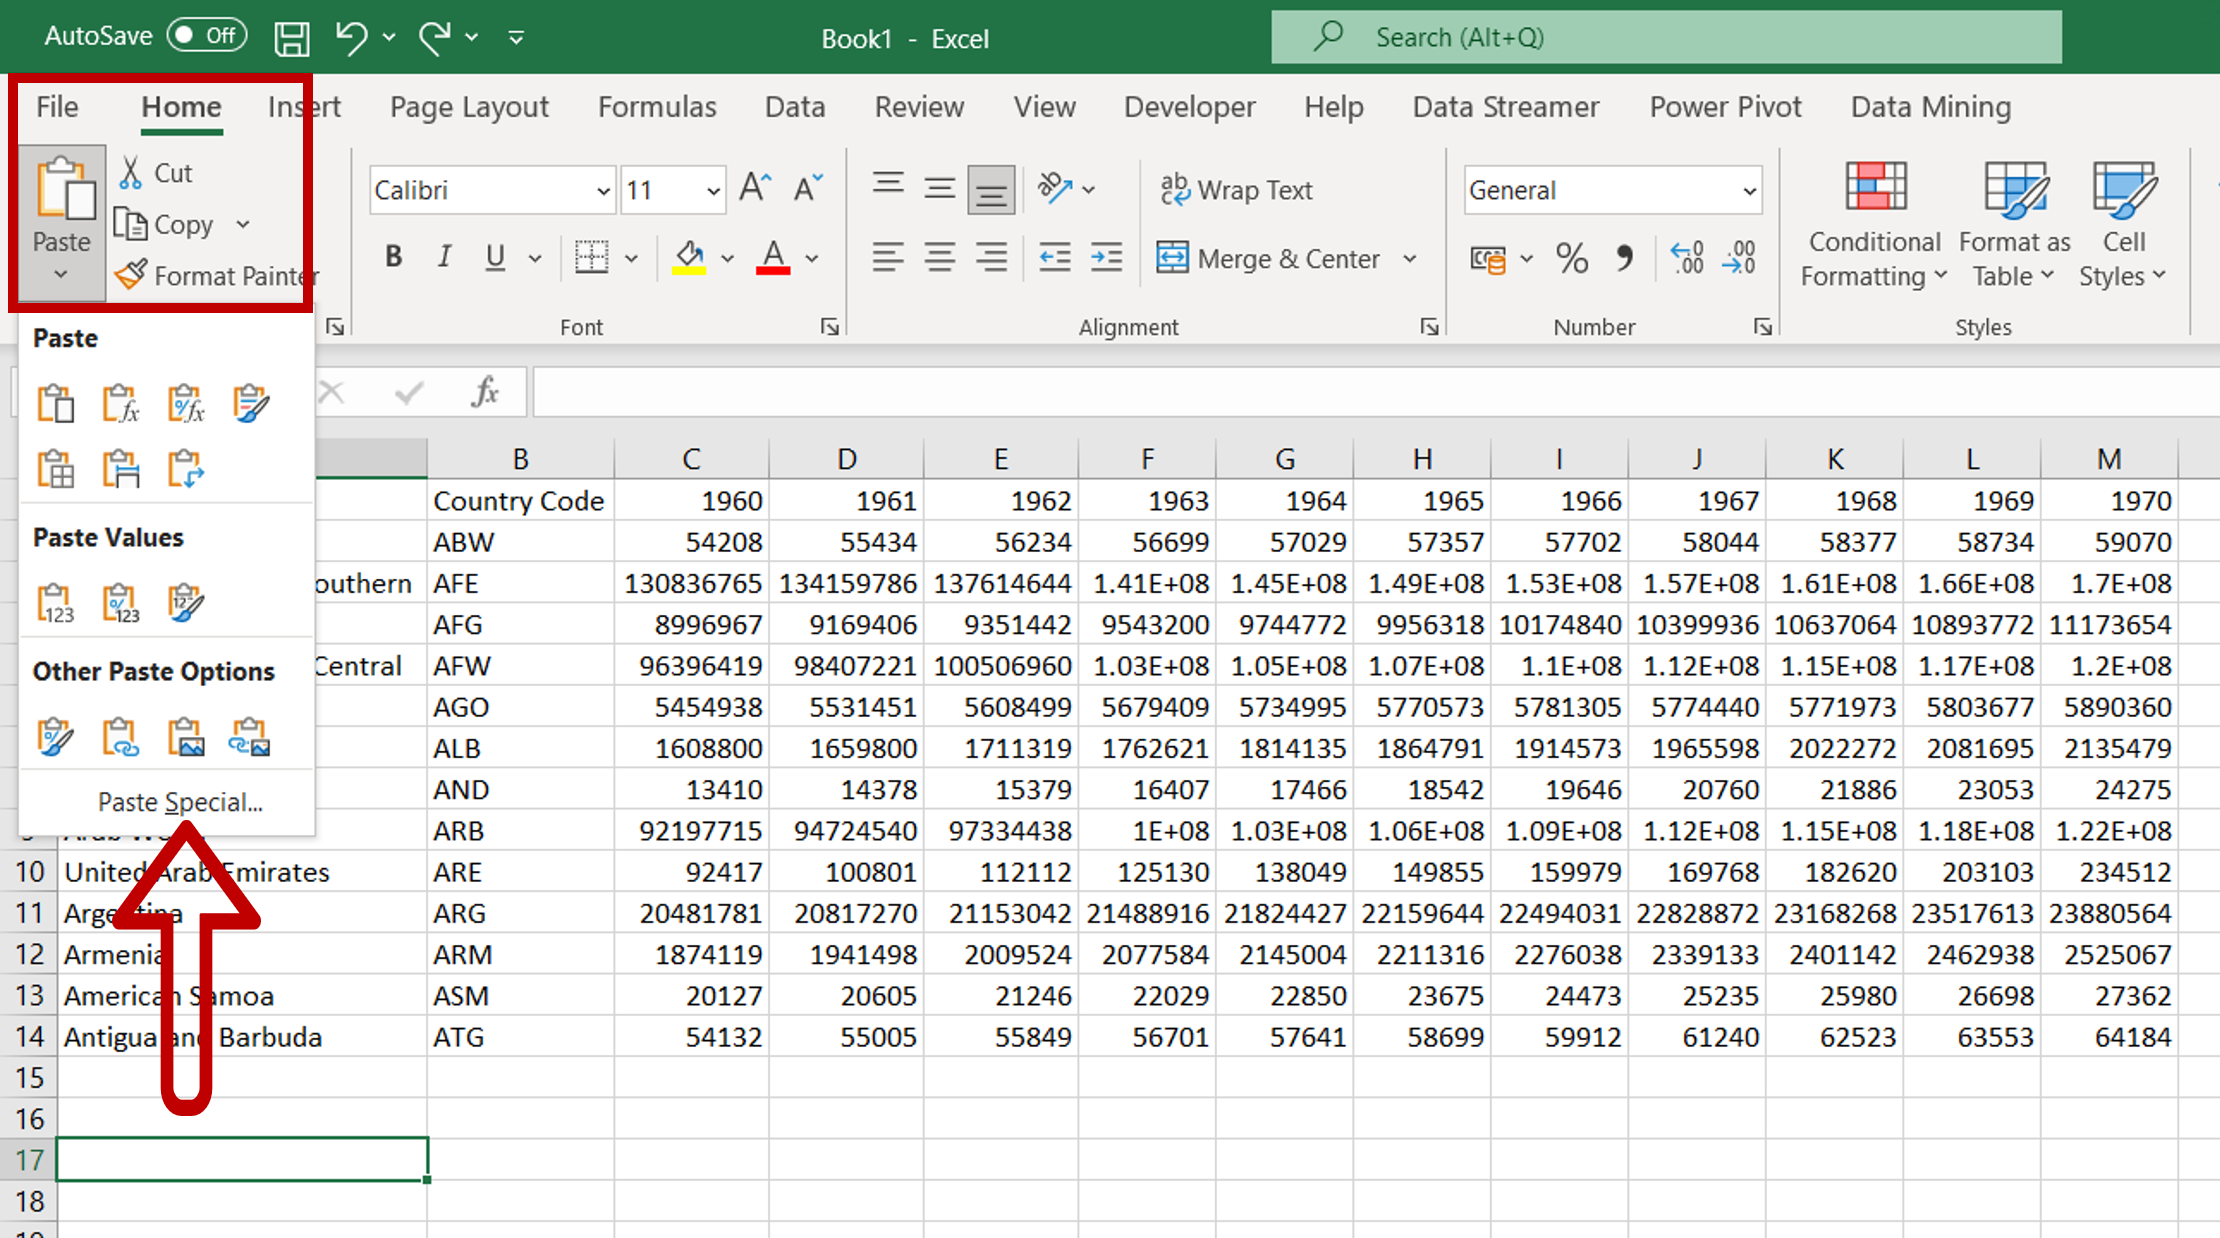
– Navigate to Home > Clipboard>Paste
– Select Paste Special
Note: The Paste Special option is also available on the right-click context menu
Step 3 – Transpose the data
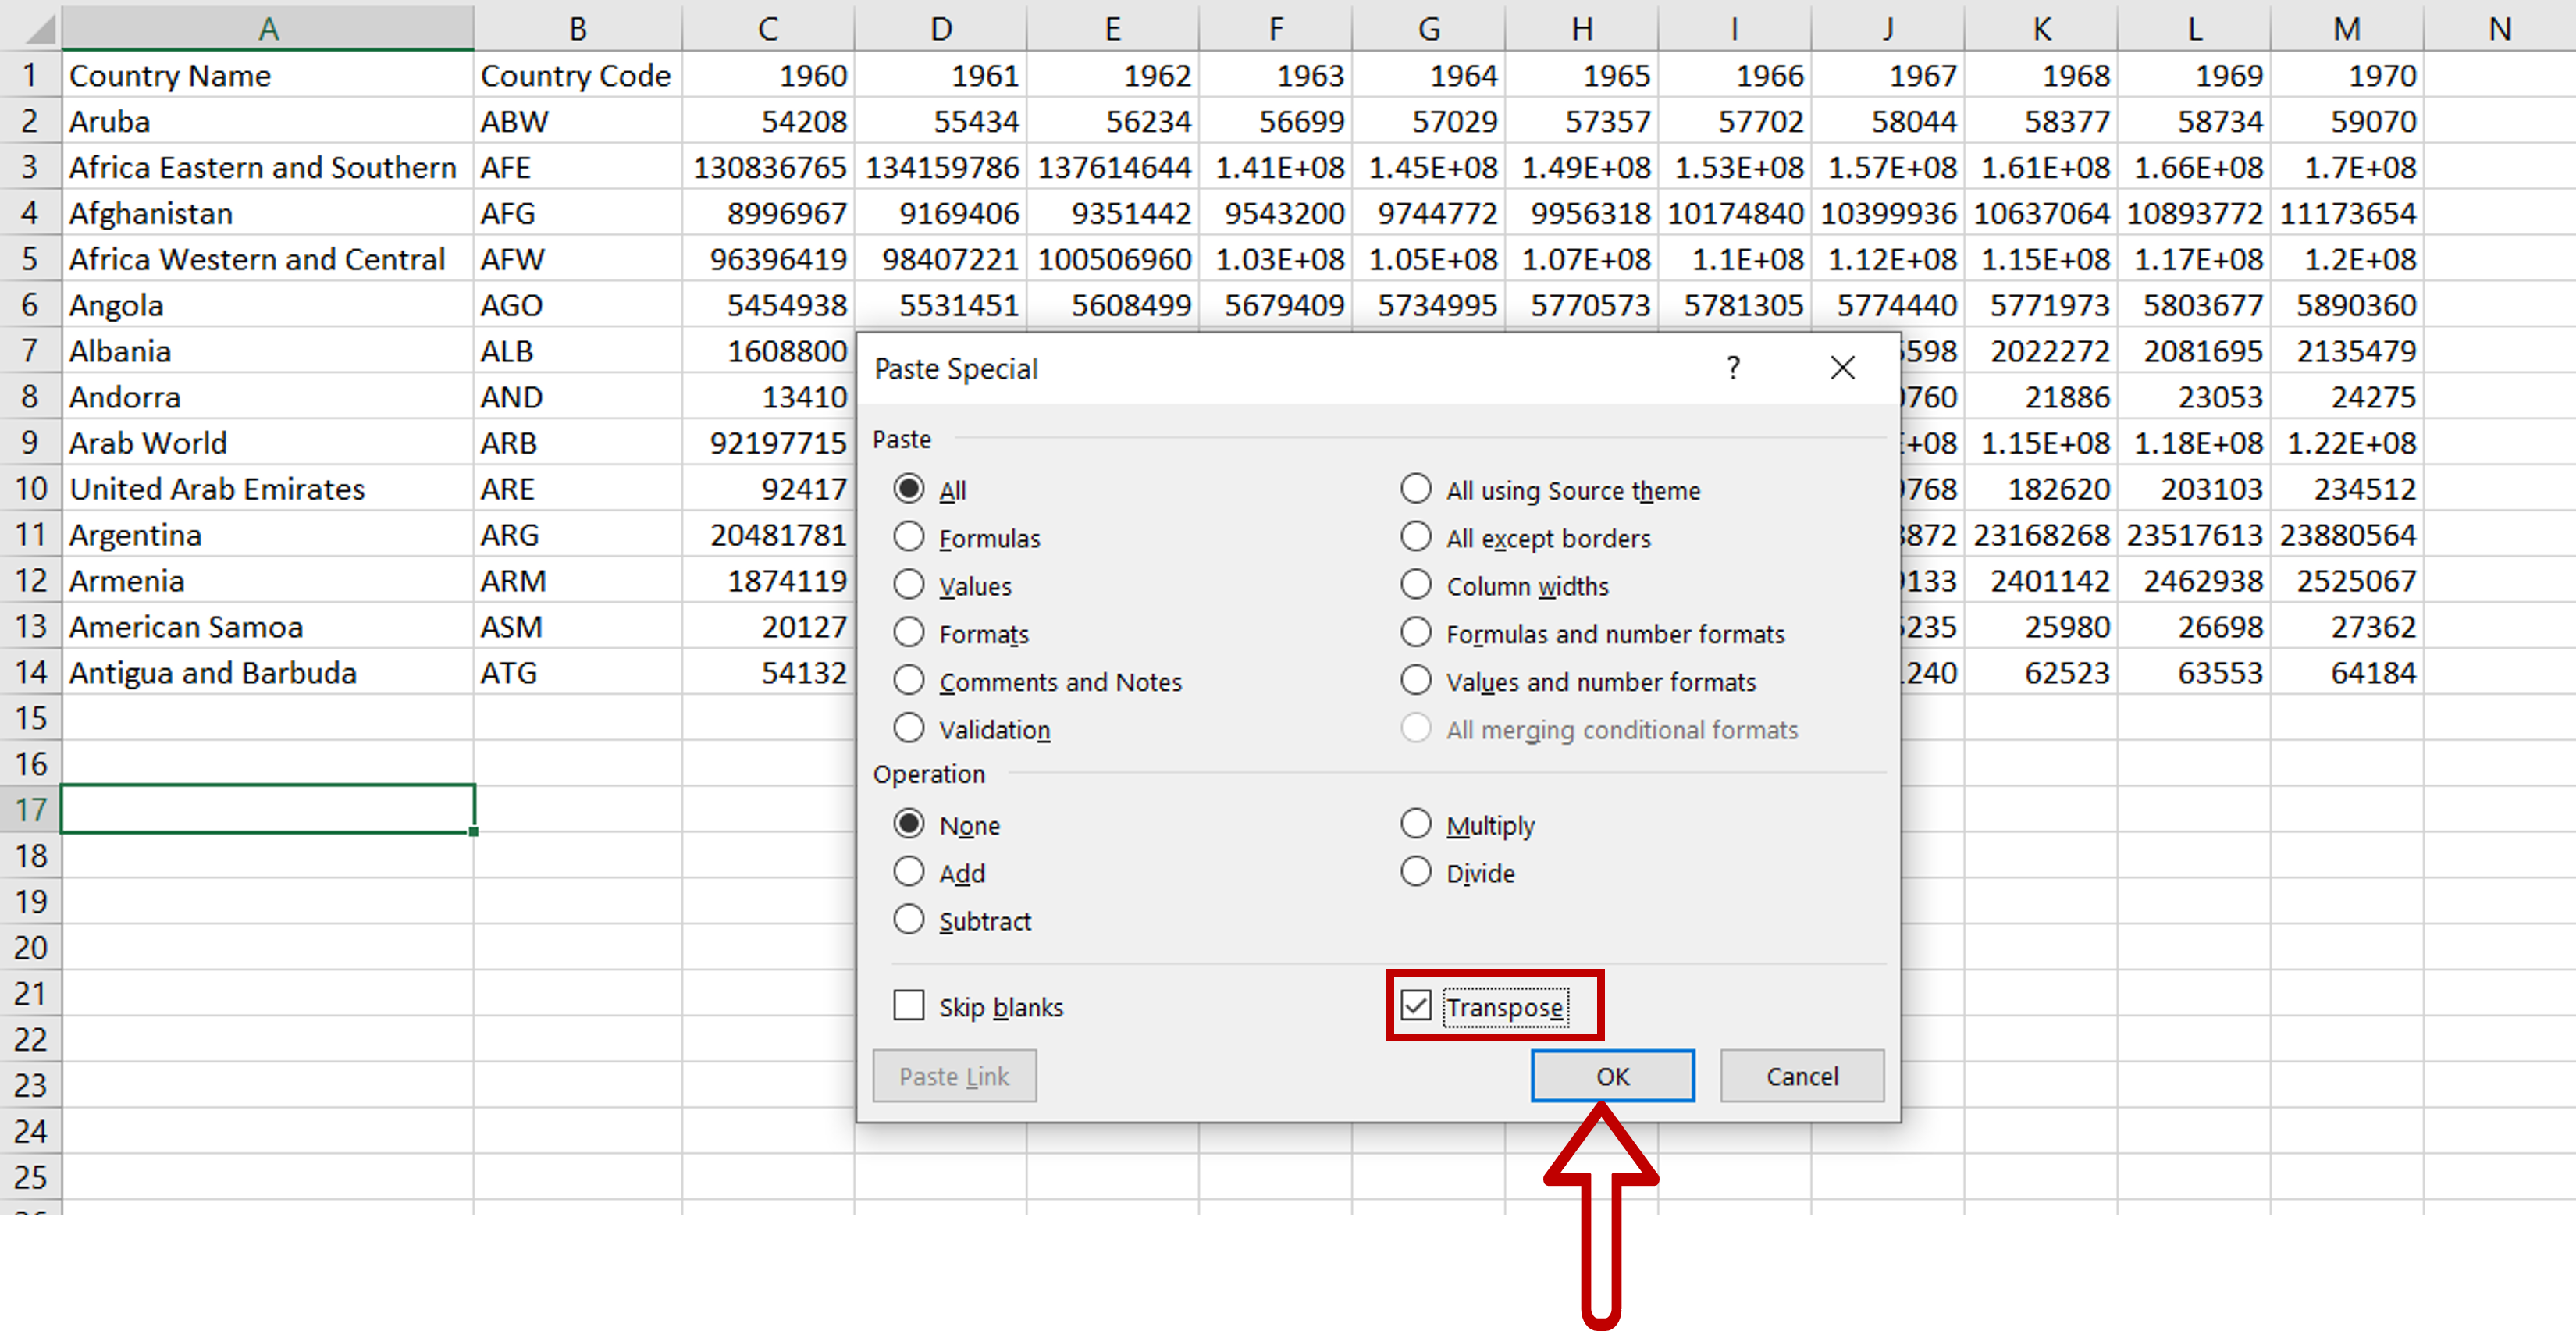
– In the window that opens, select ‘Transpose’
– Click OK
Step 4 – Check the data
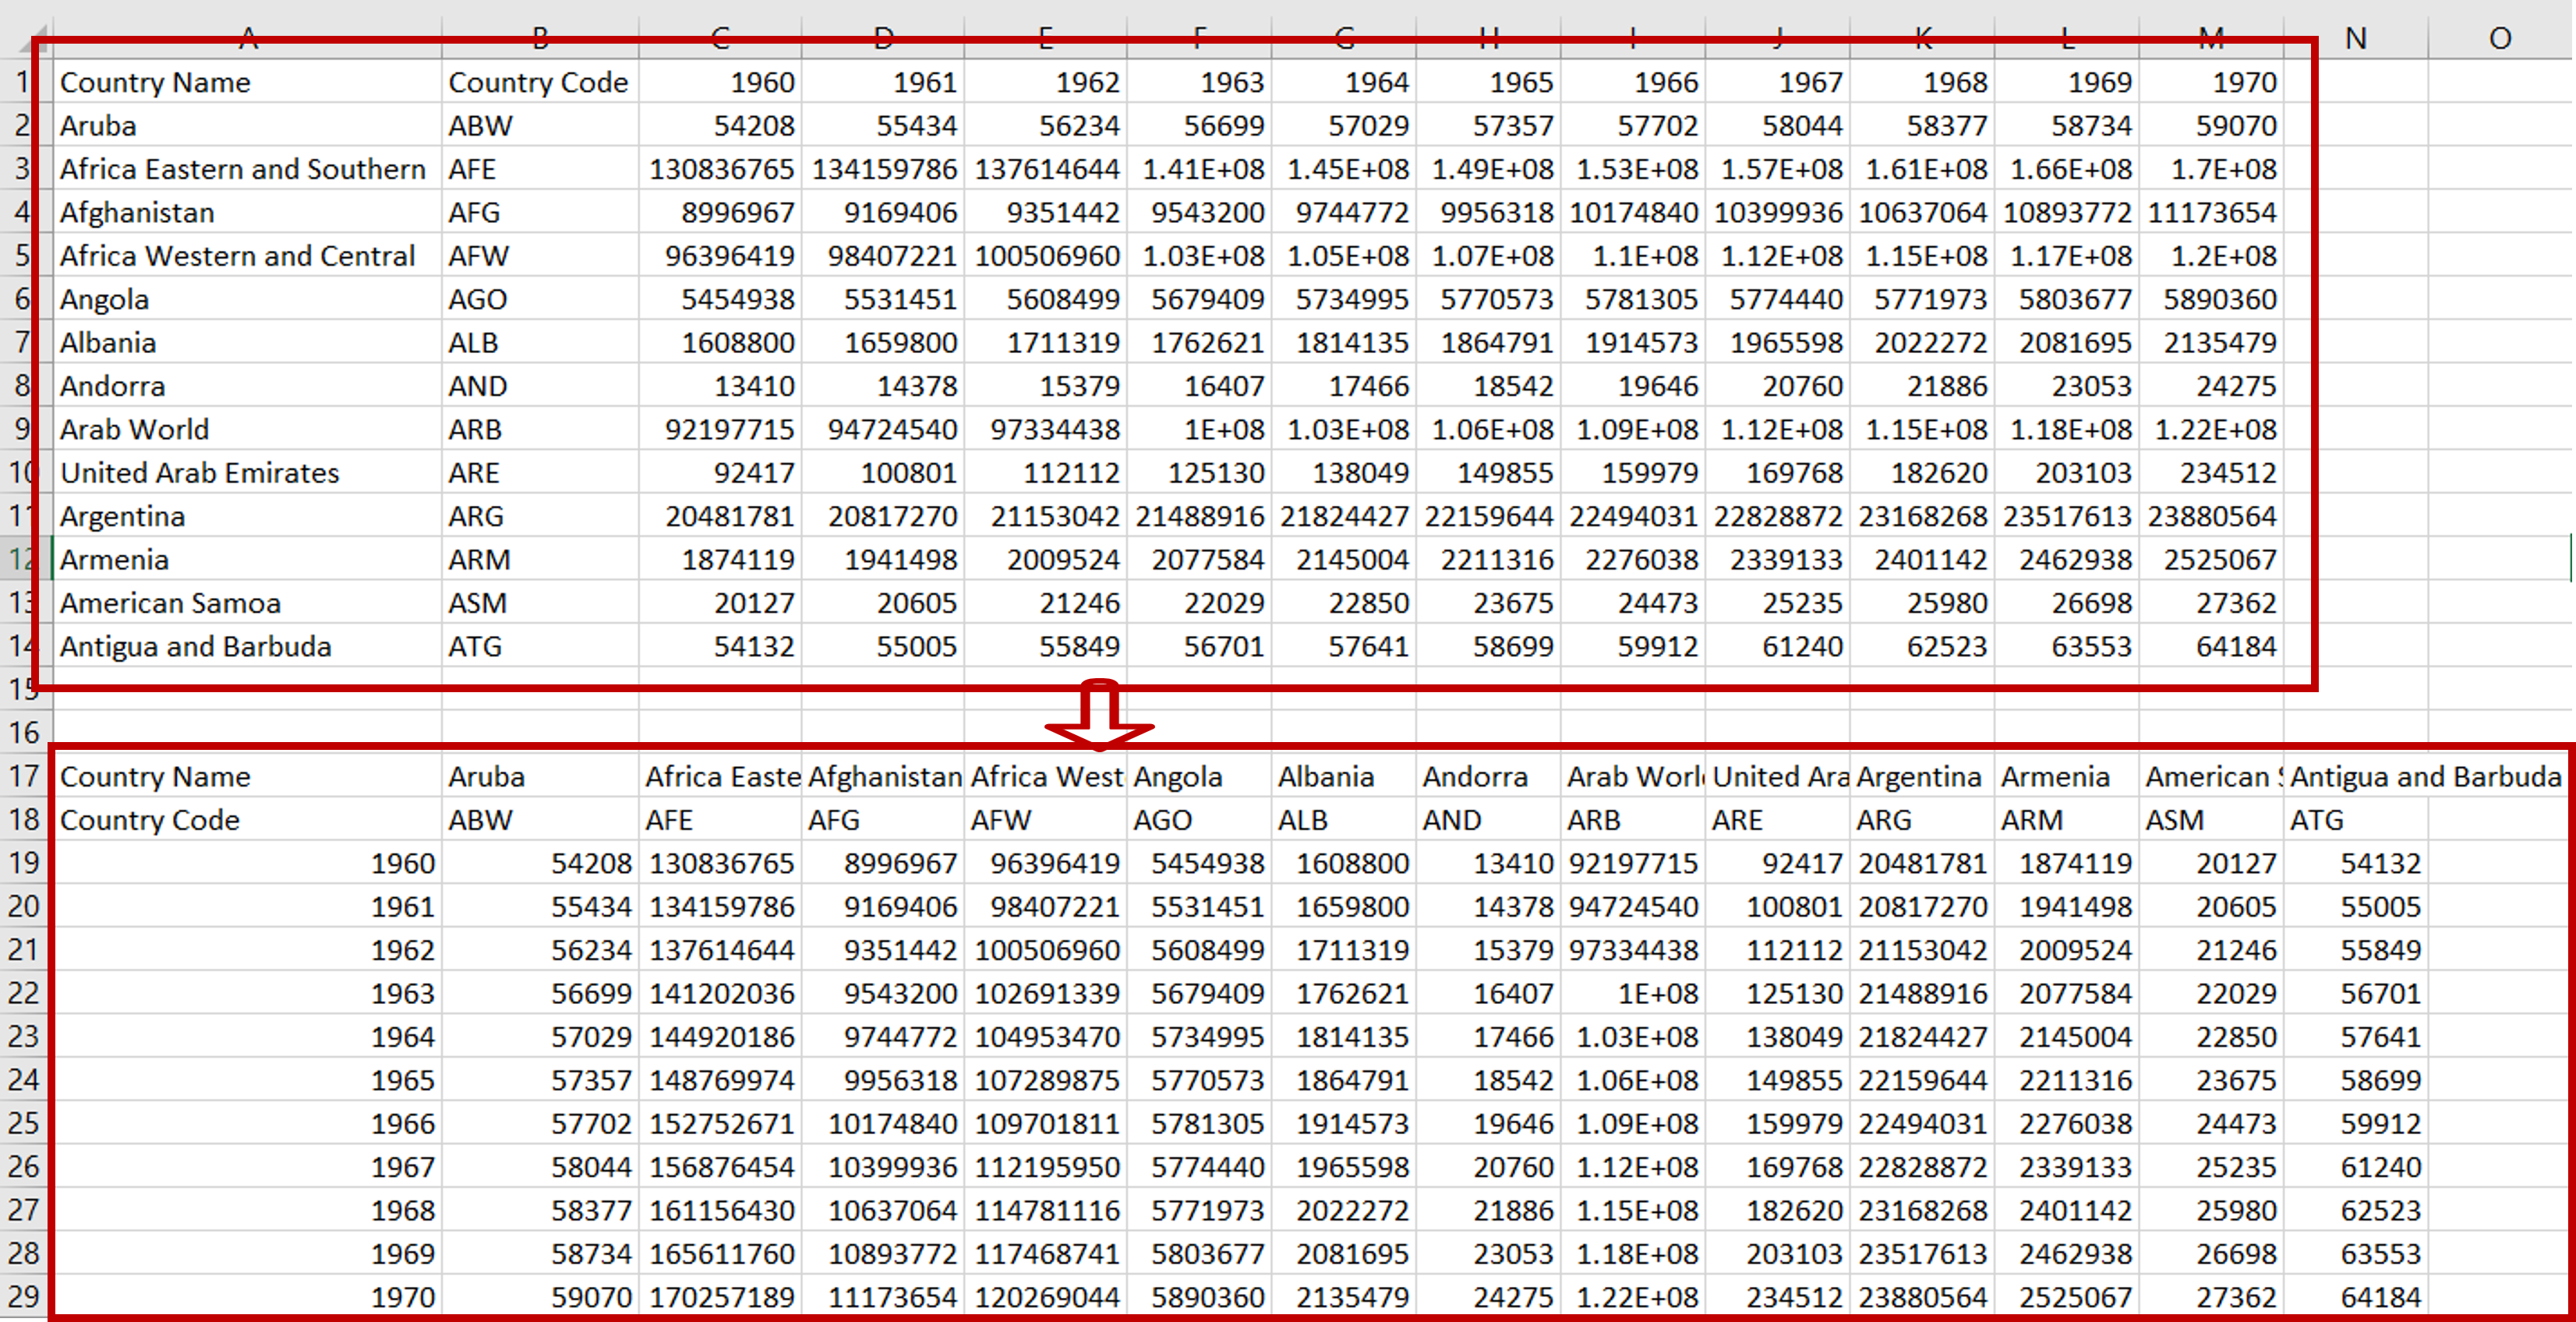
– The row names become column headers
– The column headers become the row names
– The integrity of the data is maintained


