
How to stretch a spreadsheet to full page print in Microsoft Excel
 By
SpreadCheaters
By
SpreadCheaters
Therefore, in this tutorial we will learn how to stretch a spreadsheet to full page print in Microsoft Excel. Stretching a spreadsheet to full page in Microsoft Excel is a useful technique to ensure that your data is legible and easy to read when printed. By stretching the spreadsheet to fit the entire page, you can avoid having to squint at small text or navigate through multiple pages to find the information you need.

Excel has over 750 million users worldwide, making it one of the most widely used software applications ever created. It is used by individuals, businesses, and organizations in virtually every industry, from finance and accounting to healthcare and education. We can save, share and print the Excel sheets just like any other document. Sometimes, we need to change the print layout in Excel to make the sheet look aesthetically appealing and presentable.
Step 1 – Select the Data
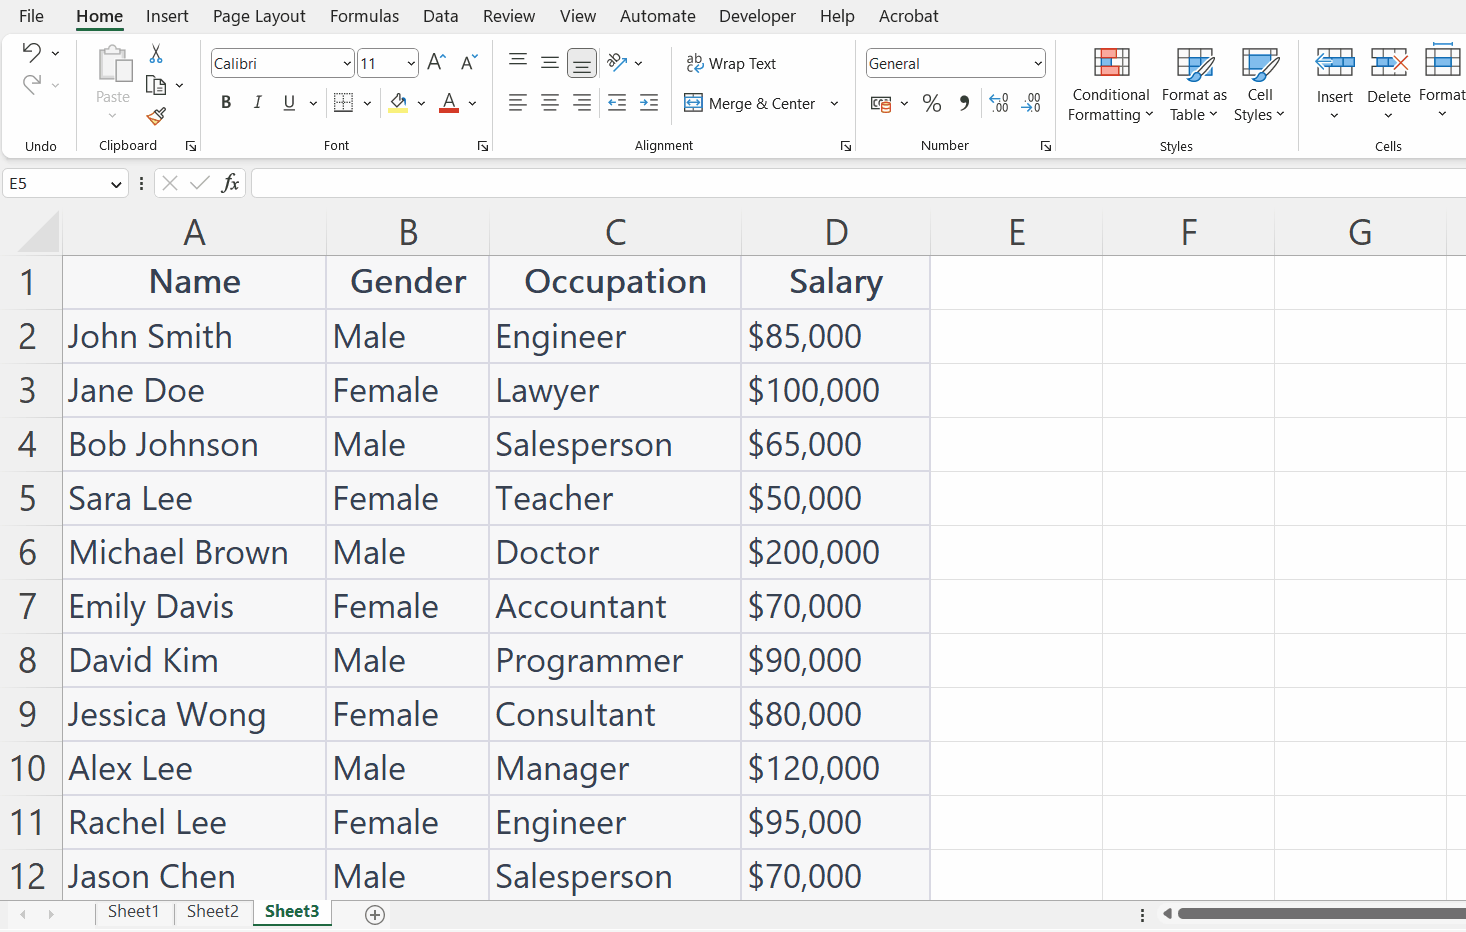
– Select the data using the “ Handle Select” and “Drag and Drop” method.
Step 2 – Go to the File Tab
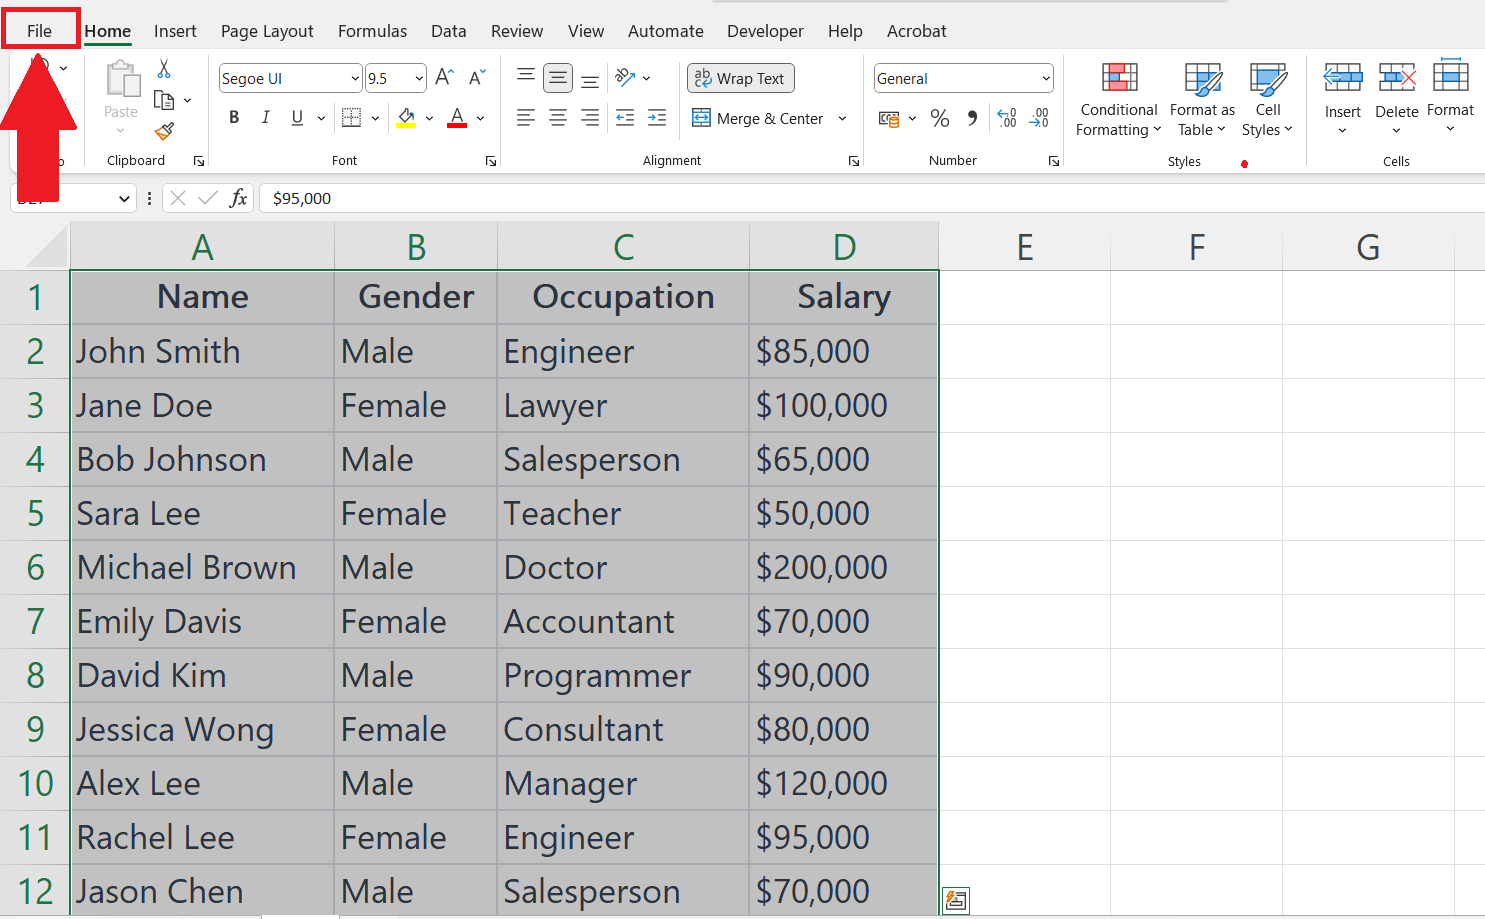
– Go to the File Tab in the menu bar.
Step 3 – Click on the Print option
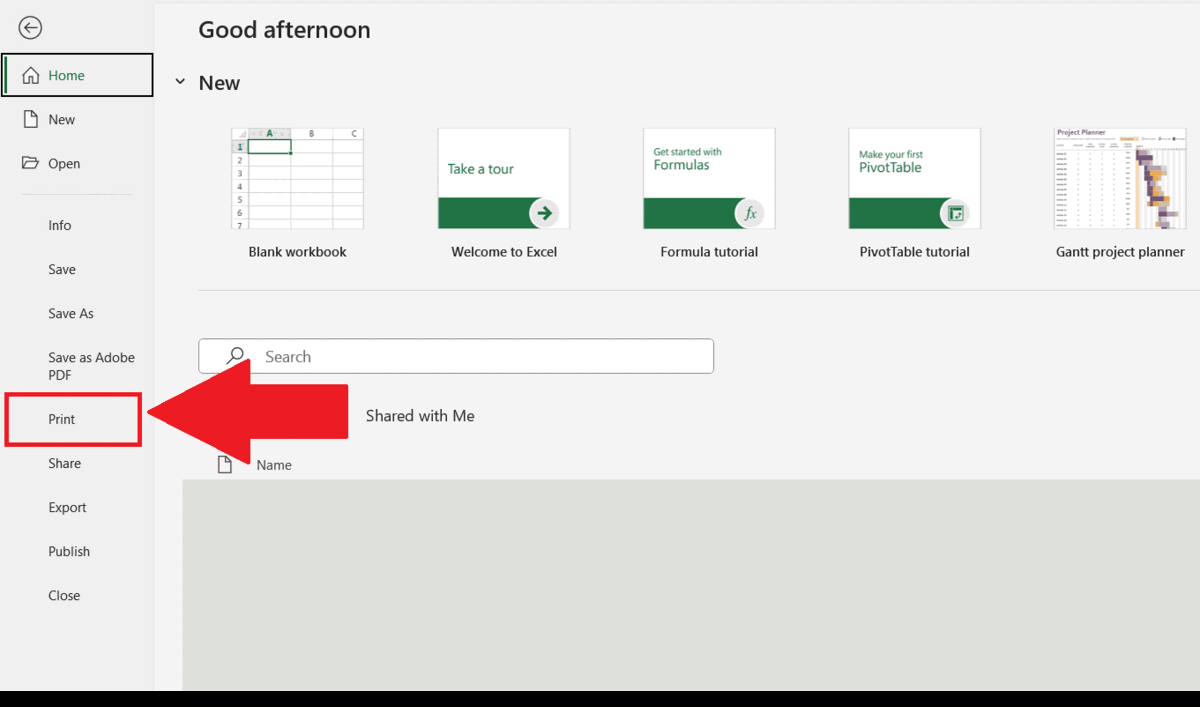
– Click on the Print option in the menu at the left of the page.
– The selected data will be visible inside a page.
Step 4 – Click on the Page Setup
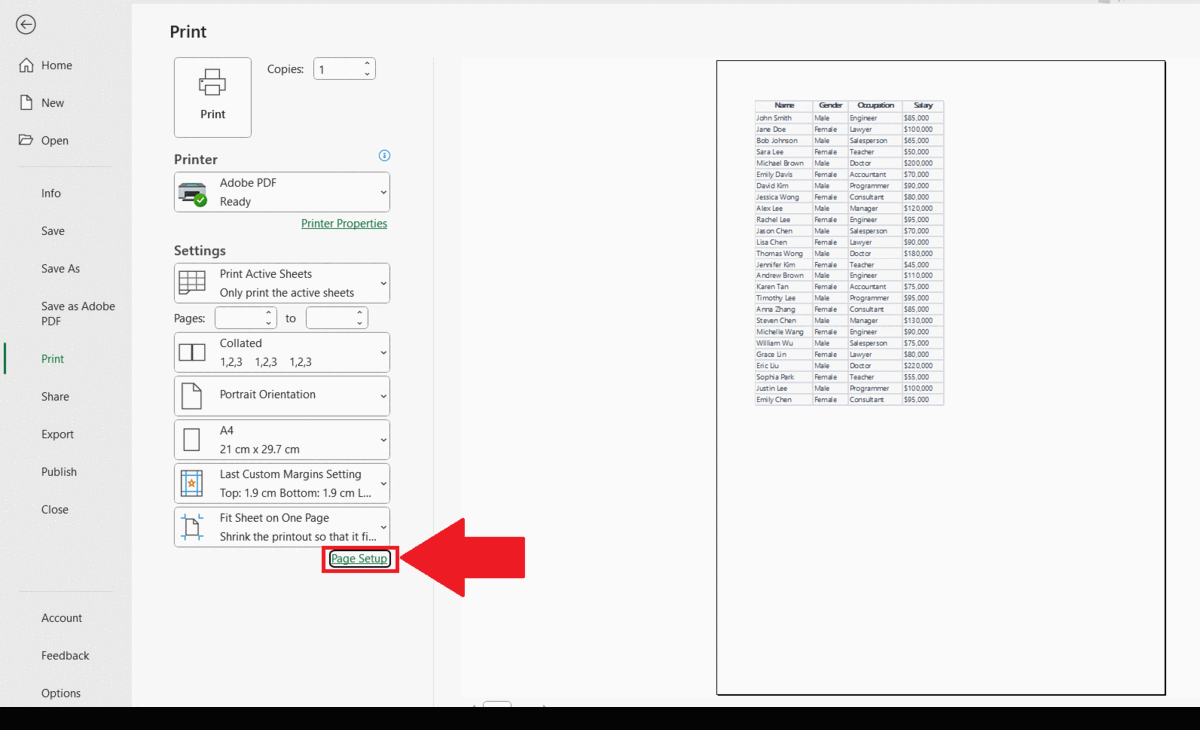
– Click on the Page Setup option in the bottom settings menu.
– Page Setup dialog box will appear.
Step 5 – Select the Adjust to option and Increase the Size
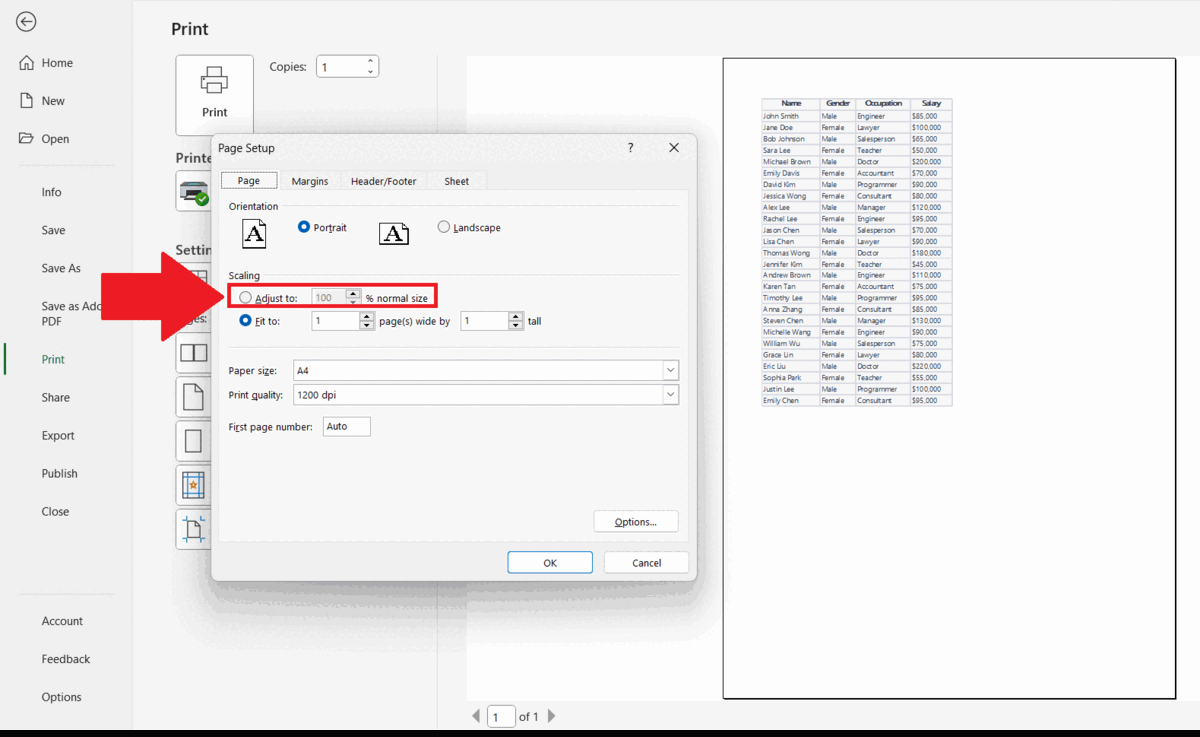
– Select the Adjust to option in the Scaling section.
– Increase the Size to stretch the spreadsheet until it fits the page.
Step 6 – Click on OK
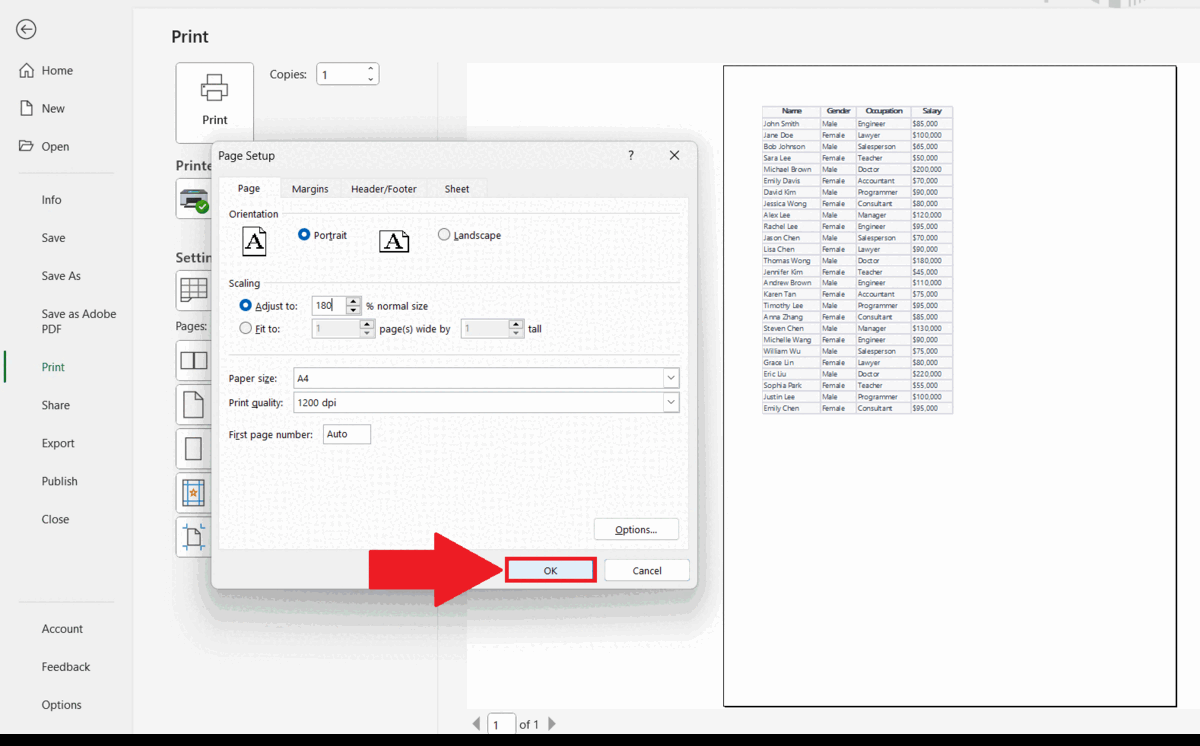
– Click on OK in the Page Setup dialog box.
– The Spreadsheet will be stretched to full page print.


