
How to split names in excel into two columns
 By
SpreadCheaters
By
SpreadCheaters
In this tutorial we will learn how to split names in Microsoft Excel. Splitting of names in Excel refers to the process of separating a full name into its individual components such as first name, last name, middle name, and title. This can be useful for organizing data and analyzing it based on specific attributes. There are many ways to split names in Microsoft Excel. In this data set we will split the names into two columns i.e. First name and the Last Name using the simplest of all methods without using any formulas or complex functions.
Excel allows users to organize and manipulate data in a variety of ways. Users can create and format spreadsheets, perform calculations, and analyze data using a wide range of built-in functions and formulas. Excel also provides users with tools for data visualization, such as charts and graphs, that make it easy to understand and communicate data.
Step 1 – Select the Data
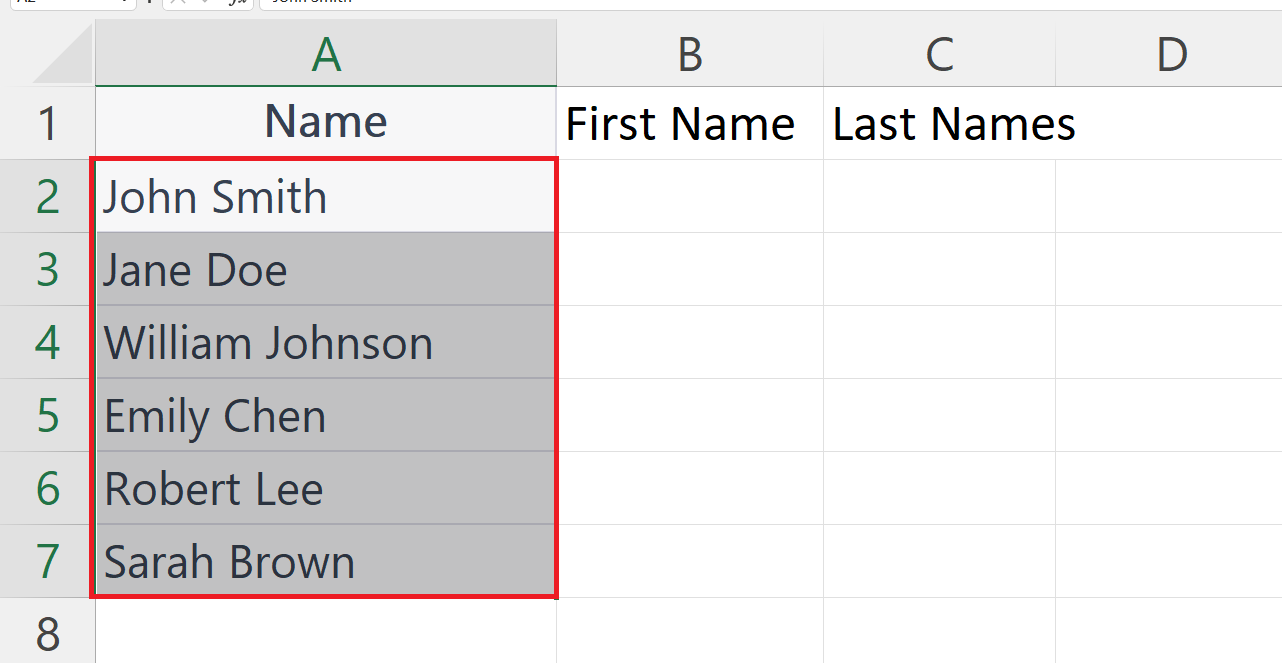
– Select the Data containing the names to be splitted.
Step 2 – Go to the Data Tab
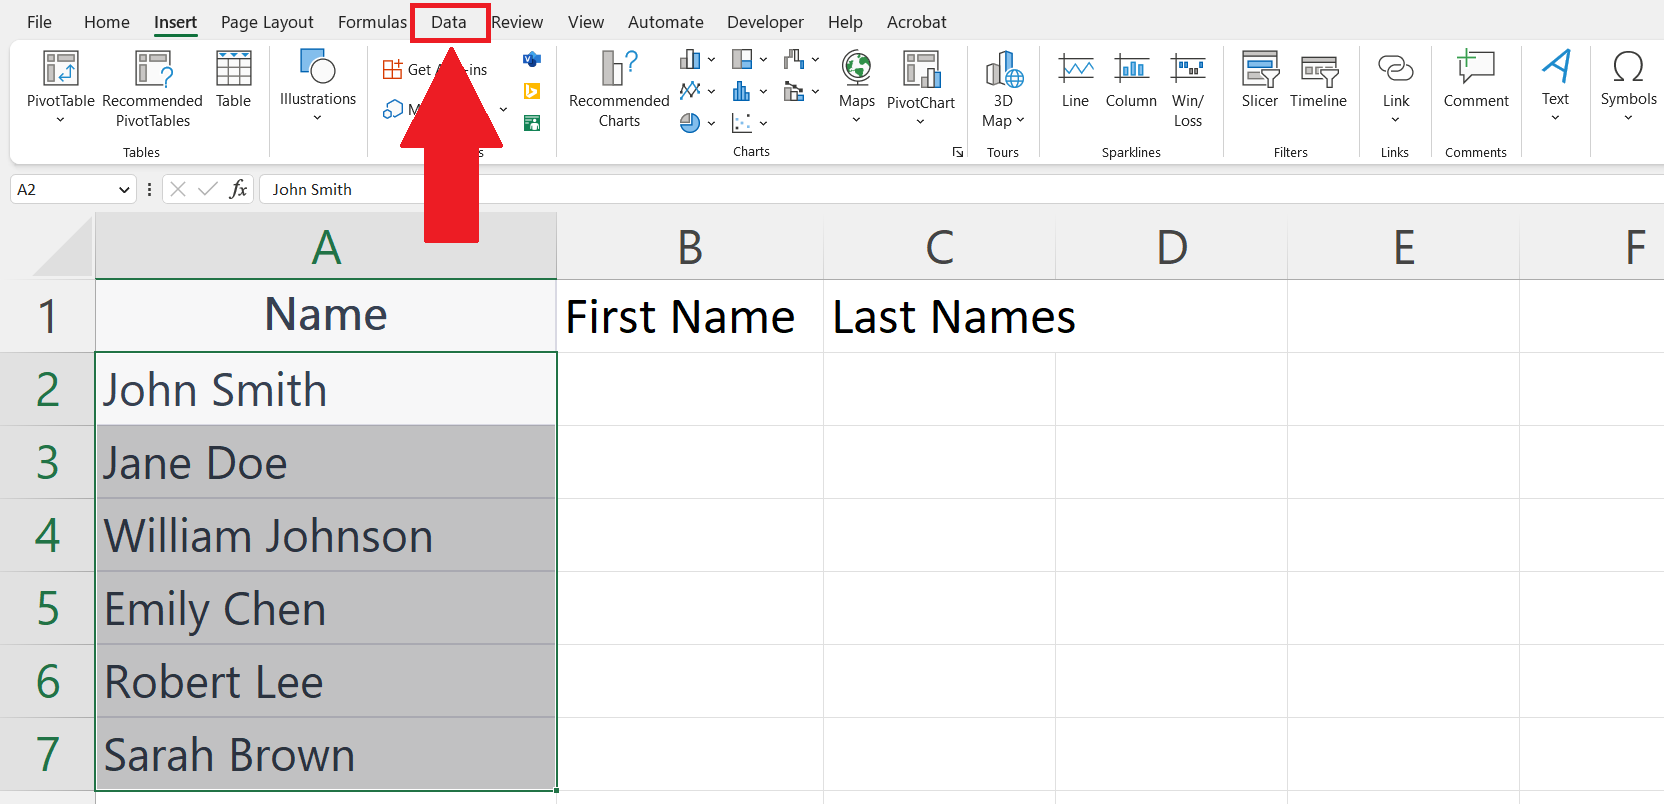
– Go to the Data tab in the menu bar.
Step 3 – Click on Data to Columns Button
– Click on the Data to Columns button in the data tools section.
– Convert Text to Columns Wizard will appear.
Step 4 – Select the Delimited option and Click on Next
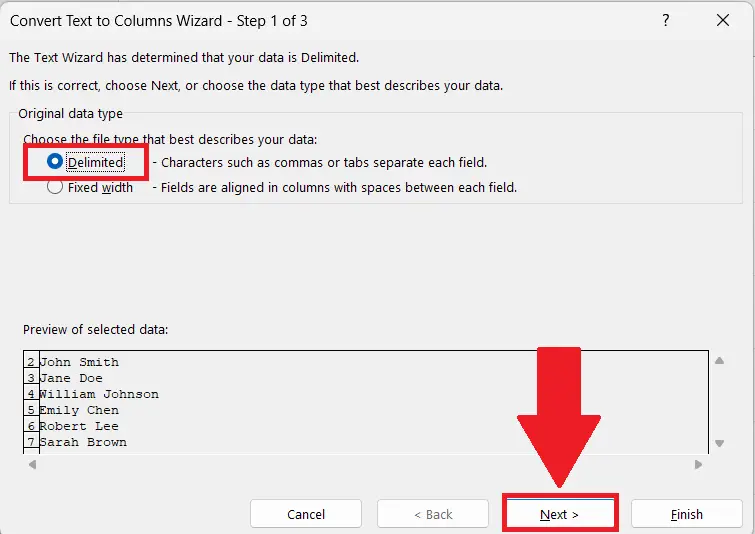
– Select the Delimited option.
– Click on the Next button.
Step 5 – Select the Delimiter and Click on Next
– Check the checkbox of suitable delimiter.
– You may enter the delimiter manually in the box right next to Others option.
– Click on the Next button.
Step 6 – Enter the Destination and Click on Finish

– Enter the desired destination where the splitted names should be printed.
– Click on the Finish button.
– The names will be splitted into two columns i.e. First Name and the Last Name.


