
How to sort from smallest to largest in Excel
 By
SpreadCheaters
By
SpreadCheaters
Page last updated:
27/04/2023 |
Next review date:
27/04/2025
Sorting data in Excel is an essential skill for anyone who works with spreadsheets. Whether you are analyzing sales data, organizing a contact list, or preparing. In this blog post, we will walk you through the process of sorting data in Excel from smallest to largest.
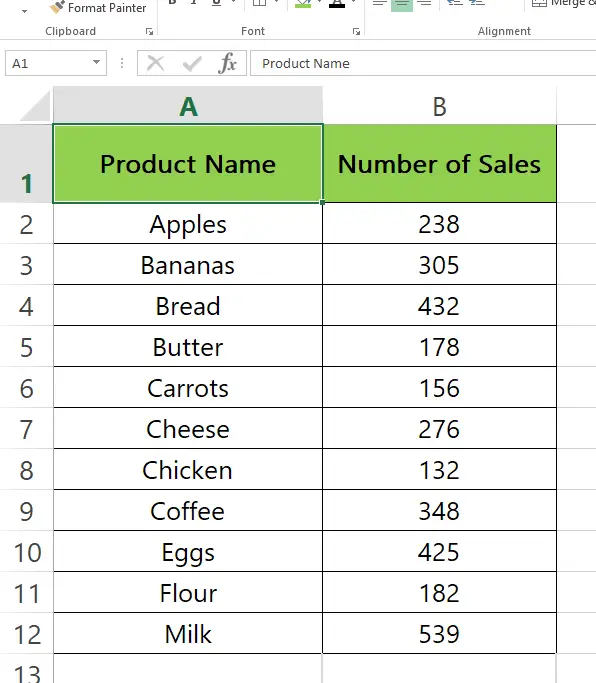
Here we have an example dataset that contains the Product Name and the Number of Sales. We will learn how to sort the data from smallest to largest using two different methods. Let’s have a look at the dataset above first.
Method – 1 Sort using Data Tab options
Step 1 – Select the column.

- Select the column you want to sort.
- Go to the Data tab in the Sort & Filter group and click on the icon shown above.
Step 2 – Apply the sorting.
- After you click on the icon Sort Warning menu will appear.
- Check the Expand the selection option to sort the rest of the data accordingly.
- Now click on Sort.
Method – 2 Sort from the context menu
Step 1 – Select the column.

- Select the column you want to sort.
- Right-click on the selected column.
- In the context menu move the cursor to Sort and the side menu will appear.
- On the side menu click on Sort Smallest to Largest.
Step 2 – Apply the sorting.
- After you click on the icon, the Sort Warning menu will appear.
- Check the Expand the selection option to sort the rest of the data accordingly.
- Now click on Sort.


