
How to Sort Data in Microsoft Excel
 By
SpreadCheaters
By
SpreadCheaters
Microsoft Excel is a powerful spreadsheet software application that is widely used for data analysis, organization, and visualization. It provides a range of features for working with numbers, dates, and text, and allows you to perform complex calculations using formulas and functions.
In this tutorial we will learn how to Sort Data in Microsoft Excel. The Sort function in Microsoft Excel is a tool used to rearrange data in a particular order, either ascending or descending, based on one or more columns. The data can be sorted alphabetically or numerically based on the values in a selected column or multiple columns. Sorting allows you to rearrange your data in a way that makes it easier to analyze and understand. You can use the Sort function to sort data in a table, a range of cells, or an entire worksheet. You can sort data in ascending or descending order based on a single column, or sort based on multiple columns to determine the sort order of the data.
Method 1 : Sort Data in Ascending Order
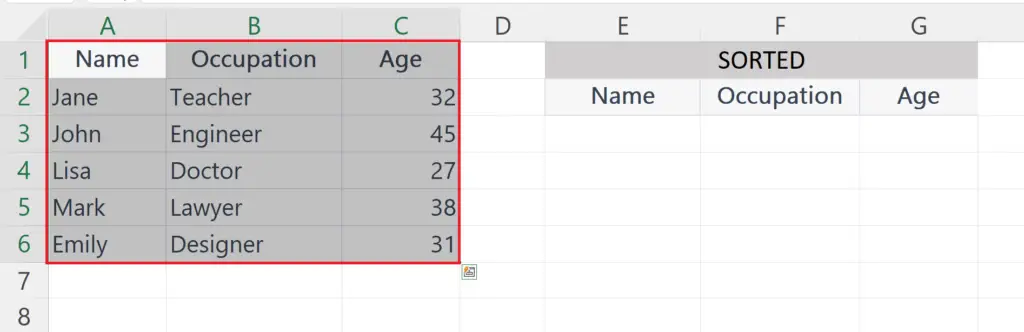
Step 1 – Arrange the Data
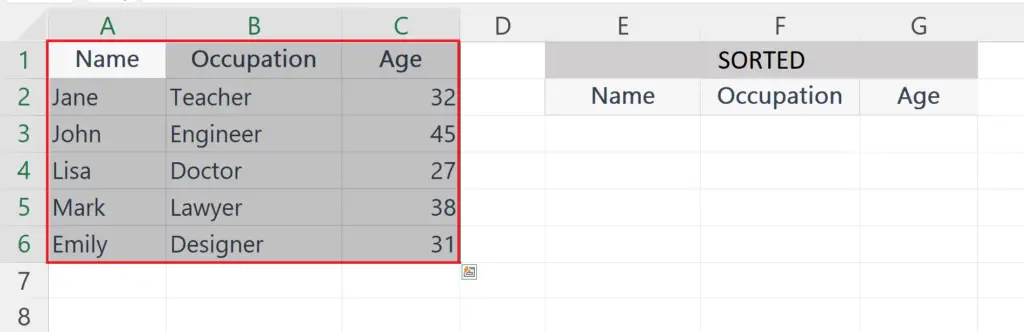
- Arrange the data in a tabular form and make sure that all rows must have a common column containing a numeric value.
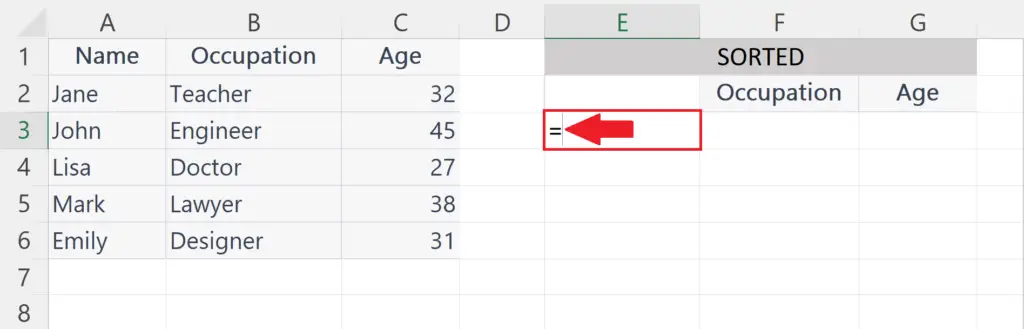
Step 2 – Select a Blank cell
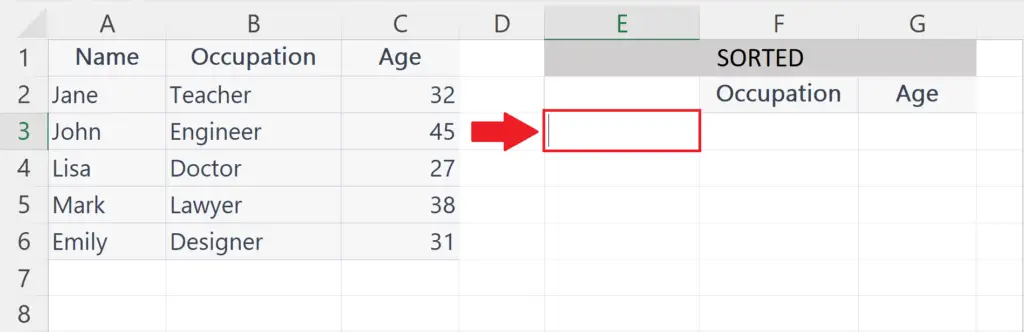
- Select a blank cell from where you want to start the sorted data.
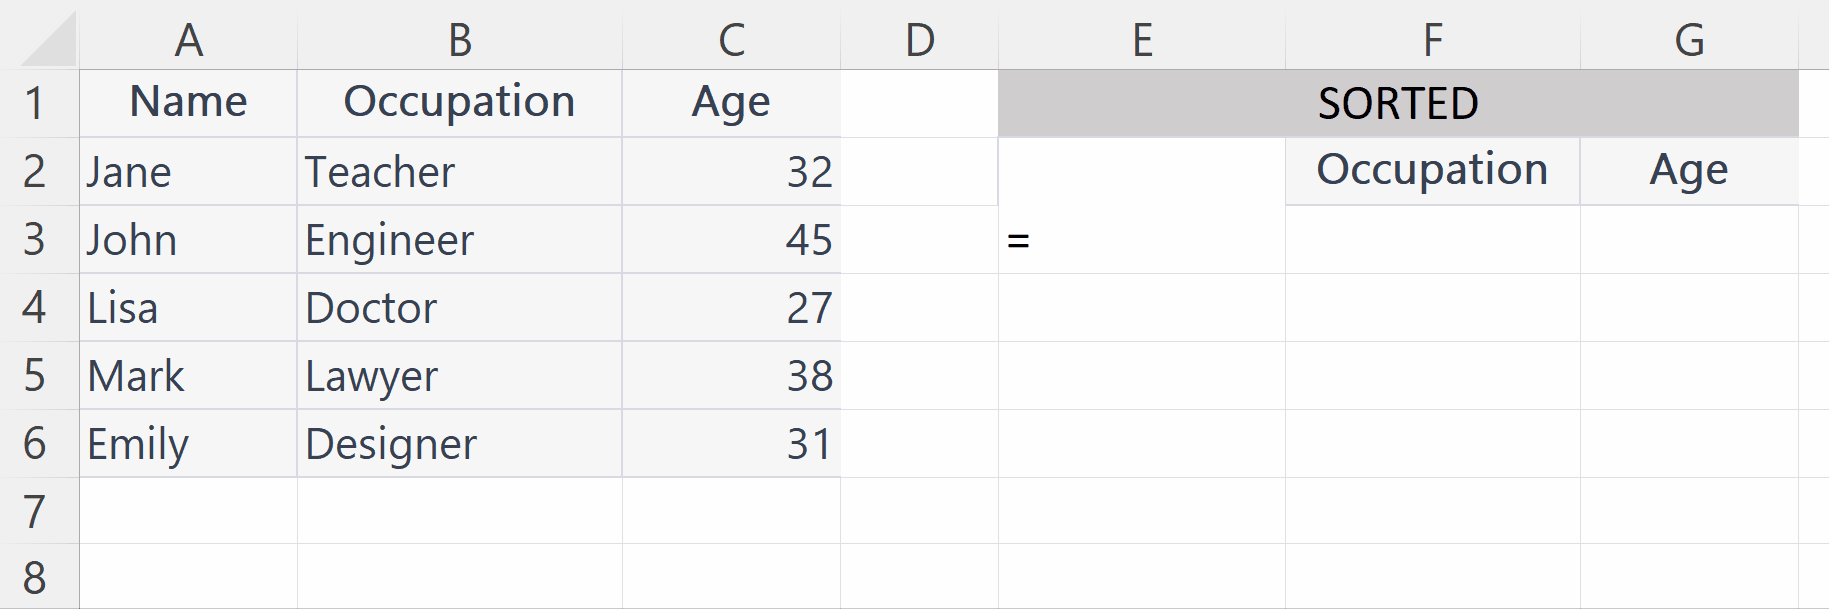
Step 3 – Place an Equals Sign

- Place an Equals sign ( = ) in the targeted blank cell.
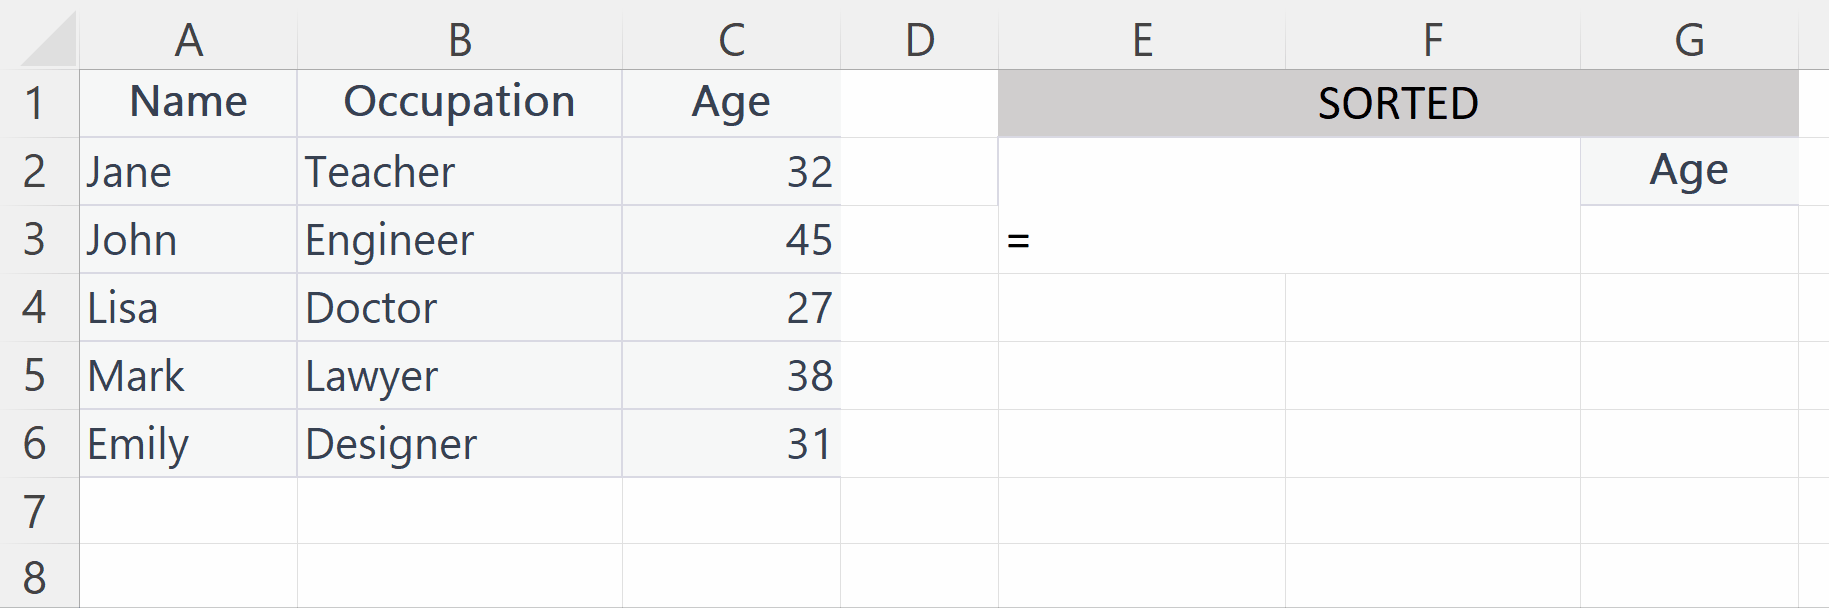
Step 4 – Use the SORT function
- The Sort function is a valuable tool for organizing and analyzing data in Excel, and can help you save time and effort when working with large amounts of data.
- The syntax of SORT function is
SORT(A1:C6, 3, 1)
- Where A1:C6 is the cell range containing data .
- The next argument i.e. 3 represents the Column containing the numerical value according to which the data will be sorted.
- The third argument i.e. 1 is for sorting the data in Ascending order.
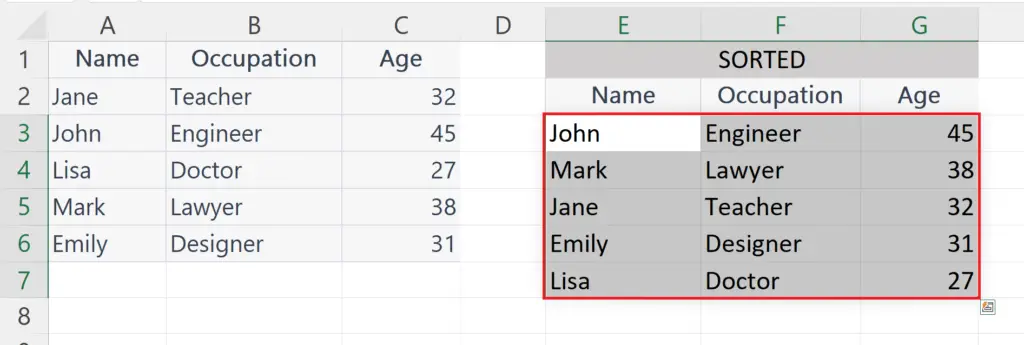
Step 5 – Press the Enter Key
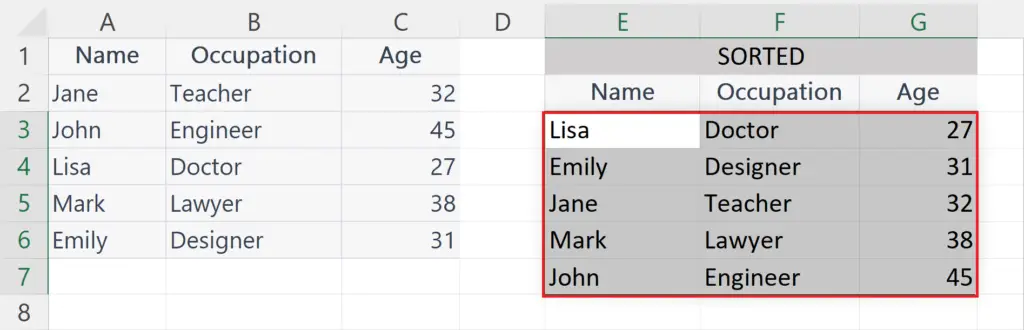
- Press the Enter key to print the sorted data in Ascending order.
Method 2 : Sort Data in Descending Order
Step 1 – Arrange the Data
- Arrange the data in a tabular form and make sure that all rows must have a common column containing a numeric value.
Step 2 – Select a Blank cell

- Select a blank cell from where you want to start the sorted data.
Step 3 – Place an Equals Sign
- Place an Equals sign ( = ) in the targeted blank cell.
Step 4 – Use the SORT function
- The Sort function is a valuable tool for organizing and analyzing data in Excel, and can help you save time and effort when working with large amounts of data.
- The syntax of SORT function is
SORT(A1:C6, 3, -1)
- Where A1:C6 is the cell range containing data .
- The next argument i.e. 3 represents the Column containing the numerical value according to which the data will be sorted.
- The third argument i.e. –1 is for sorting the data in Descending order.
Step 5 – Press the Enter Key
- Press the Enter key to print the sorted data in Descending order.


