
How to Sort Data by Last Names in Microsoft Excel
 By
SpreadCheaters
By
SpreadCheaters
In this tutorial we will learn how to sort data by last names in Microsoft Excel. Sorting by last name in Microsoft Excel is a way to arrange names of individuals in an alphabetical order based on their last names. This is a common method of organizing information in address books, directories, and lists of employees.
Microsoft Excel is a powerful and widely used spreadsheet software developed by Microsoft Corporation. It is part of the Microsoft Office suite and is available for Windows and Mac platforms. Excel is primarily used for data analysis and organization, allowing users to store, organize, and manipulate large amounts of data. It provides a range of tools and features to help users perform various tasks, such as creating charts, graphs, and tables, performing mathematical calculations, and analyzing data.
Step 1 – Make sure your data has headers
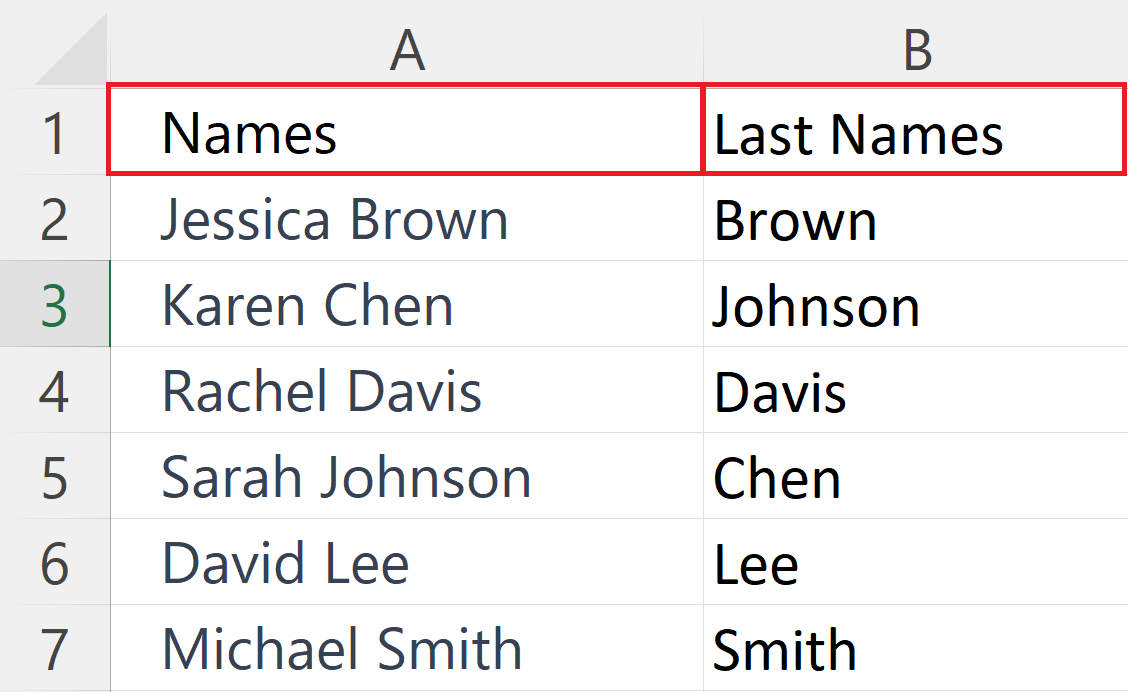
– Make sure the data must have headers i.e. Names and Last Names
Step 2 – Go to Home Tab
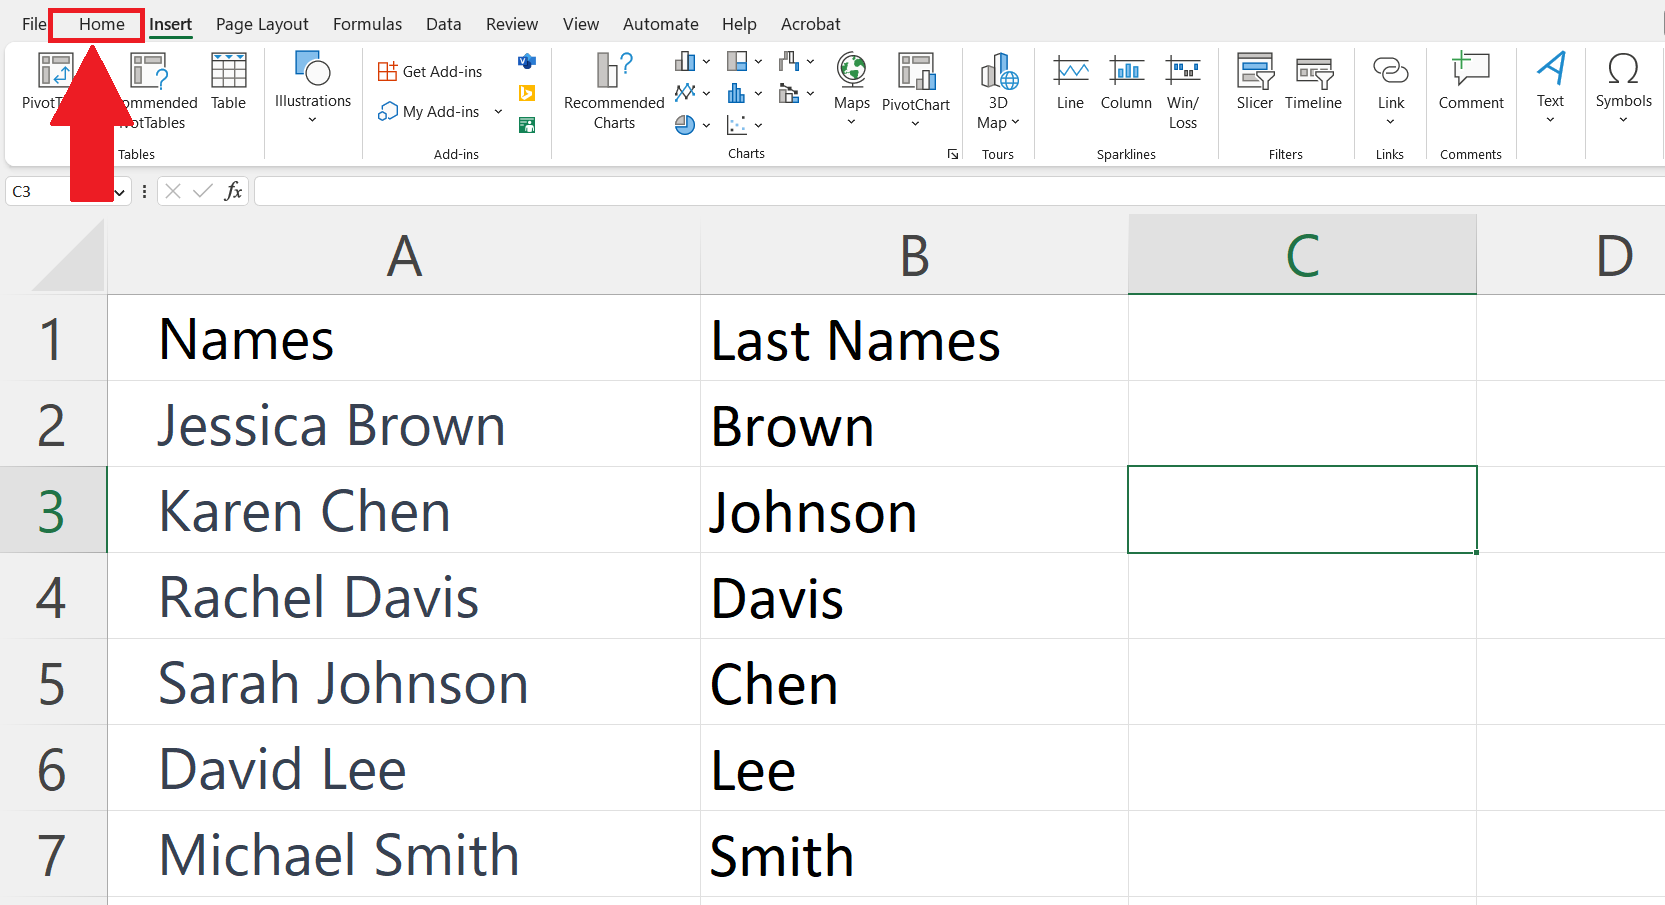
– Go to the Home Tab in the menu bar.
Step 3 – Click on the Sort & Filter button and click on Custom Sort

– Click on the Sort & Filter button.
– Click on the Custom Sort option.
Step 4 – Tick mark the “My Data has Headers”
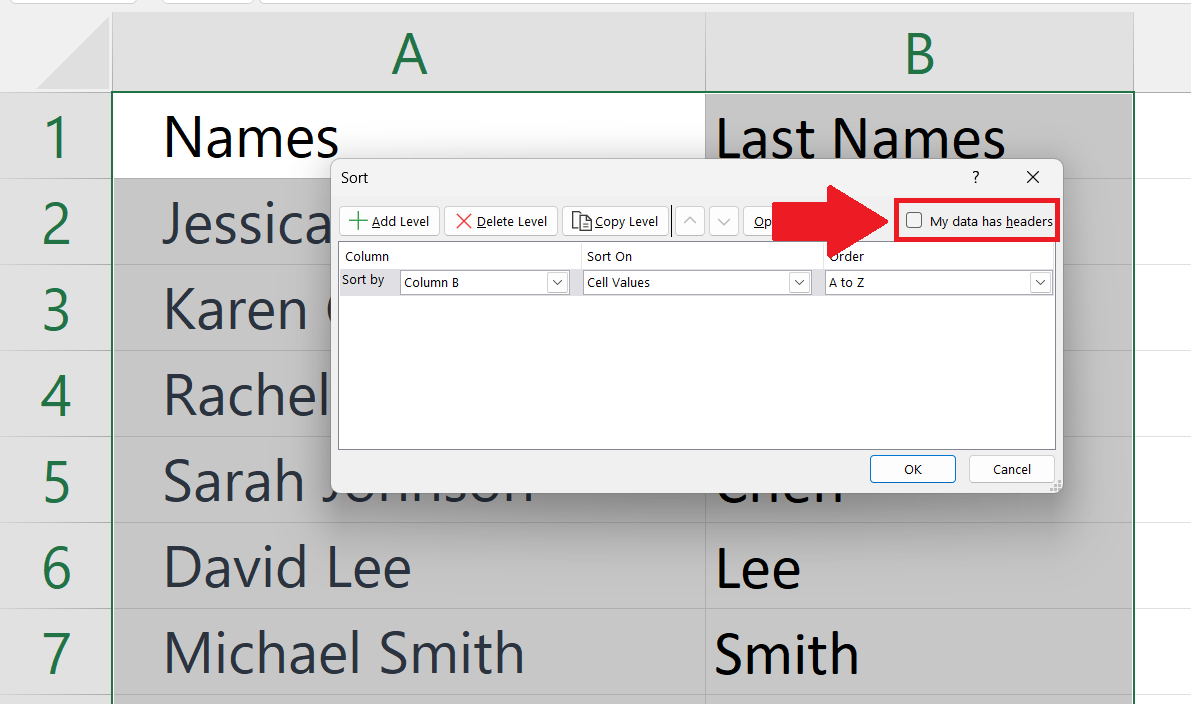
– Tick mark the “My Data has Headers” option in the Sort dialog box.
Step 5 – Select The Column Having Last names
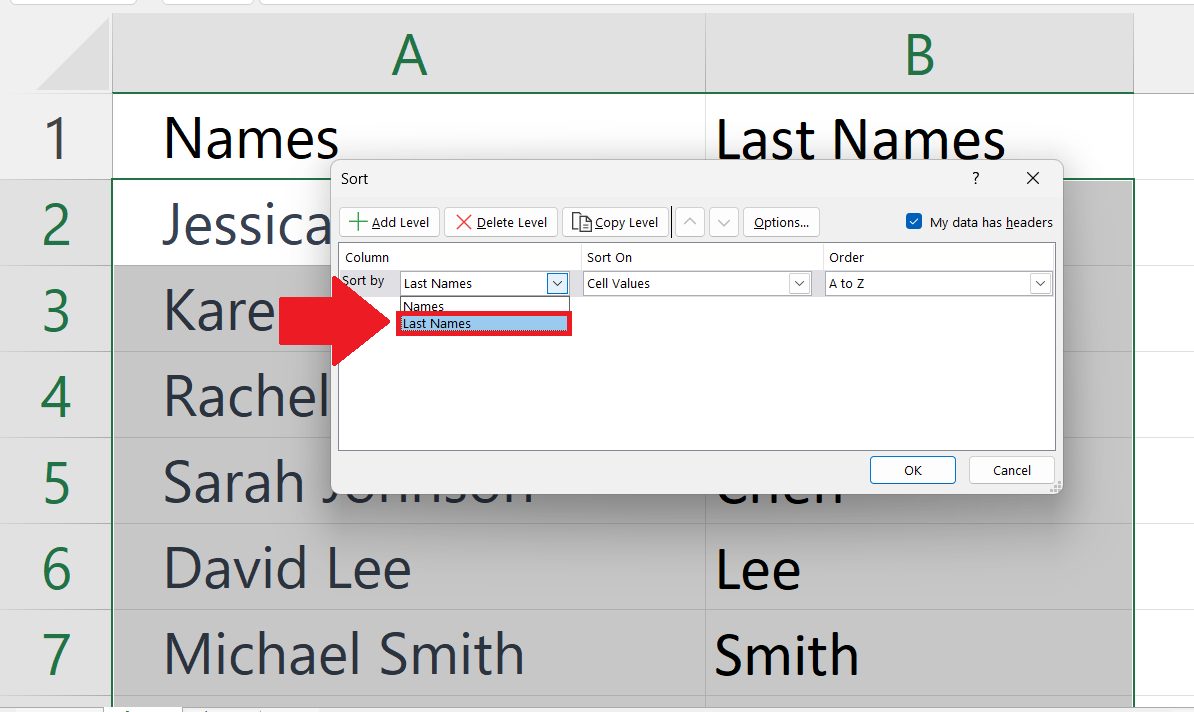
– Select the name of the column having last names in the Sort by section.
Step 6 – Select Cell Values in Sort On
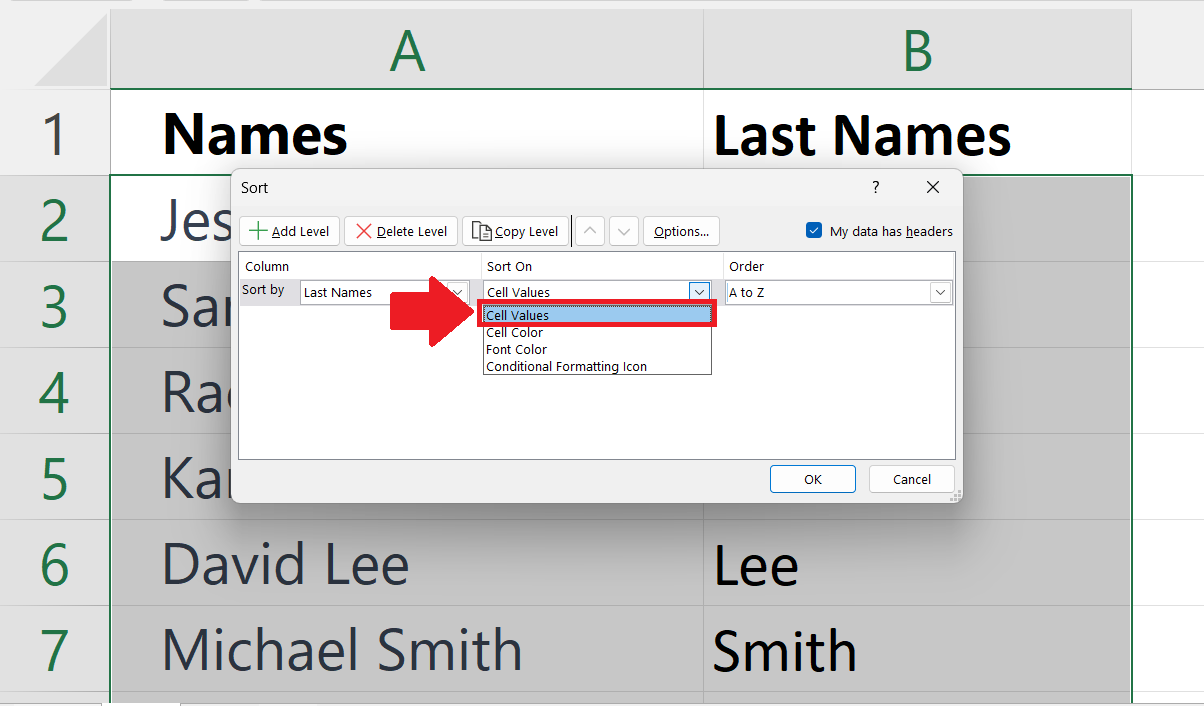
– Select cell values in the Sort On section.
Step 7 – Select the Order
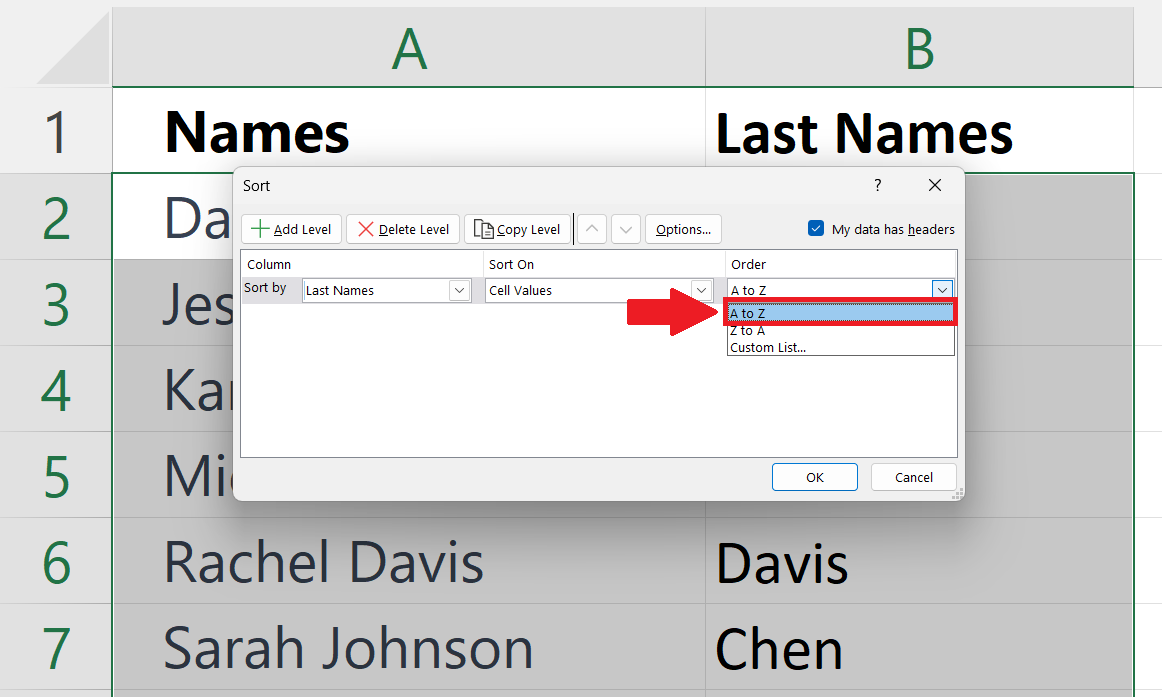
– Select the order i.e. A-Z or Z-A as required.
Step 8 – Click on OK

– Click on the OK option in the Sort dialog box.


