
How to sort data by last name in Excel
 By
SpreadCheaters
By
SpreadCheaters
Let’s consider this dataset which contains information about hockey team players.
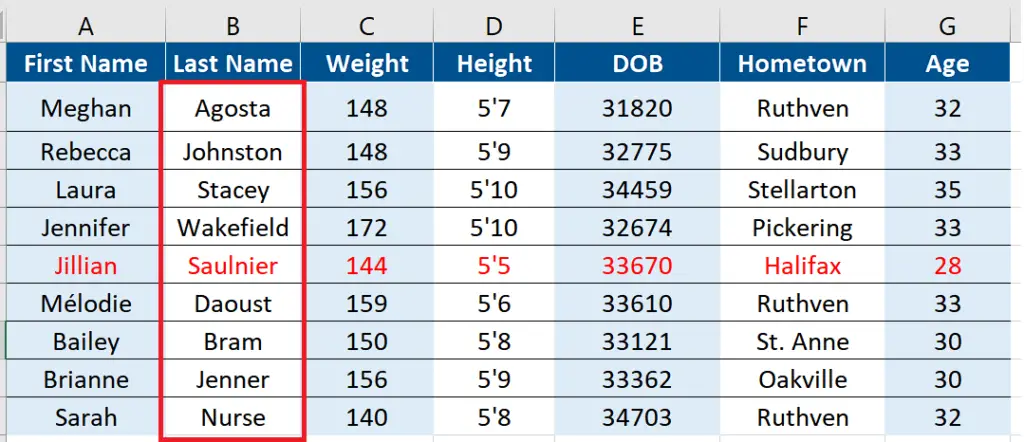
In the data set above, one row is marked as red. It will act as a marker which will be used to trace that all data from other rows remained intact while sorting with respect to last names.
We will sort the rows with respect to last names following the steps discussed in below sections.
Excel is considered to be a database management tool which can handle big data files, run various types of analyses, perform complex mathematical calculations and at the same time it can also handle data consisting of text and numbers.
If you are working with the datasets that contain names then the most common requirement that you come across is “Sort the data by first name or last name”. So in today’s tutorial we are going to learn how to sort the data with respect to last names and also keep all the rows intact.
Step 1 – Select the whole data set
– Select the whole data including the headers. We could have selected only the column with last names but in that case we would have to expand the selection to select all columns to sort the data properly. Therefore, we did it beforehand to avoid that.
Step 2 – Locate the Sort Options

– Now go to the Editing group on the Home tab and click on the Sort & Filter drop down menu and select the Custom Sort option.
Step 3 – Select Last Name as Sort Column
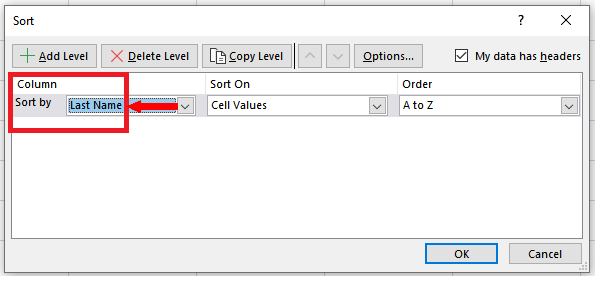
– A new dialog box with the title Sort will open up. Select Last Name in Column to Sort by drop down menu.
Step 4 – Sort the Data by Last Name

– Pressing OK will automatically sort all the data with respect to Last Name Column while keeping all other rows intact. This can be seen by the data in the marker row which remained intact even after sorting the data.


