
How to shift row up in Excel
 By
SpreadCheaters
By
SpreadCheaters
Page last updated:
03/06/2023 |
Next review date:
03/06/2025
In this tutorial, we will learn how to shift rows up in Excel. In Excel, shifting rows up means moving a row or a group of rows to the row above them. By shifting rows up or down, you can quickly move important data to the top of a list, reorganize a table in a more logical order, or remove unwanted data from a table altogether.
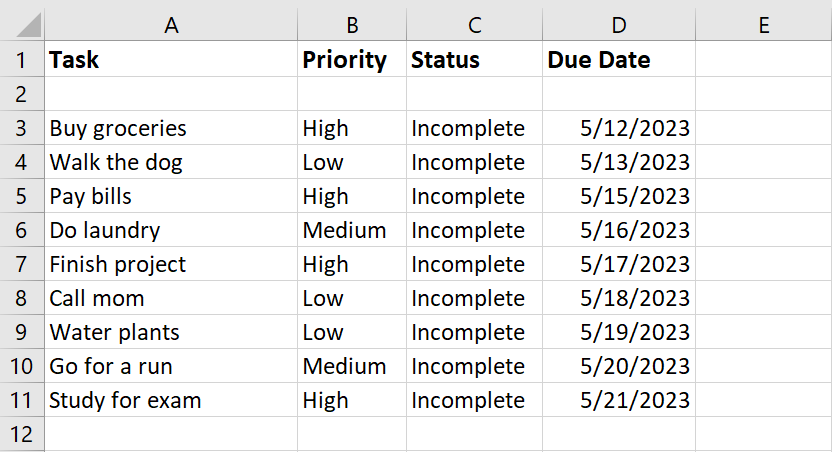
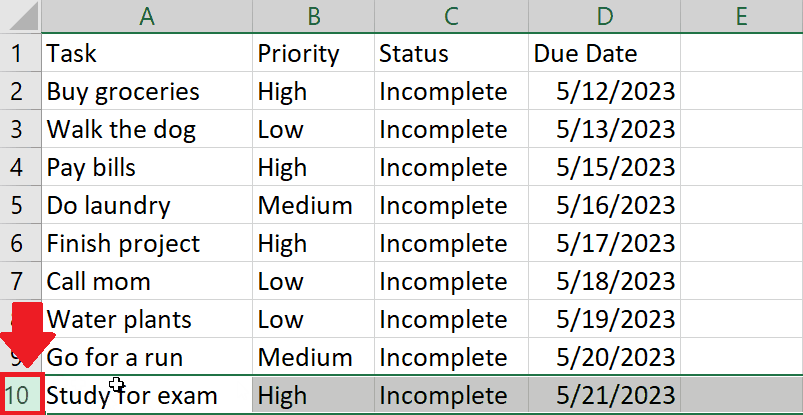
Our dataset below is a timetable that includes tasks to be completed, their corresponding time, and their current status. To prioritize an important task and move it to the top of the list, we need to move its respective row up in the table. There are two methods to accomplish this.
Method 1: Move the row up using the Cursor
Step 1 – Select the rows
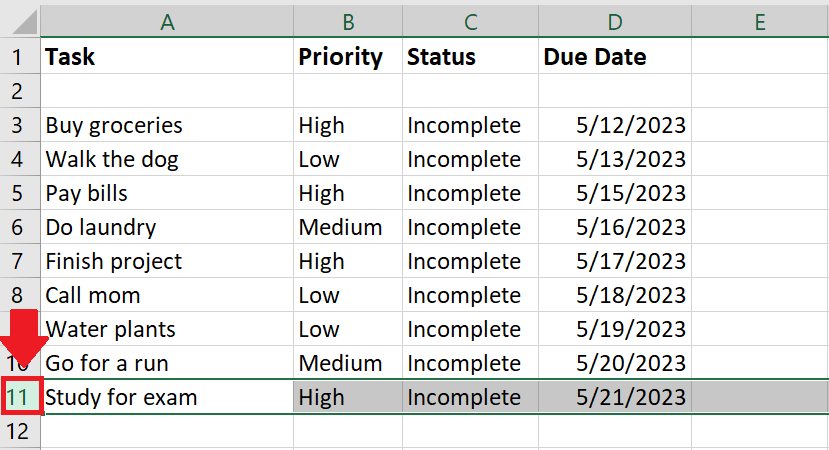
- Select the rows that you want to move
- To select the rows, click on the row header of the row as shown.
Step 2 – Move the Cursor on the Row border
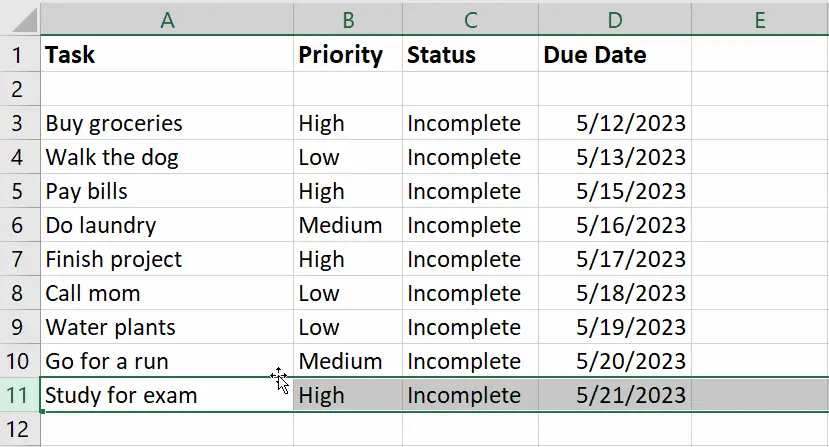
- After selecting the row, move the cursor on the border of the selected row and a four-directional symbol will appear
Step 3 – Move the Row
- After the four directional symbols appear, press the CTRL key
- While pressing the CTRL key move the row up till the required location
Method 2: Move the row up using the Cut option
Step 1 – Select the rows
- Select the rows that you want to move
- To select the rows, click on the row heading of the row
Step 2 – Open the Context menu

- After selecting the row, right-click anywhere on the selected row and a context menu will appear
Step 3 – Click on the Cut option
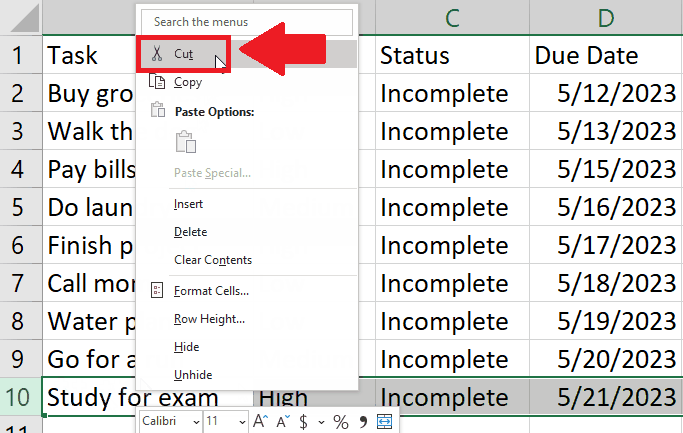
- From the context menu, click on the Cut option
Step 4 – Select the Row
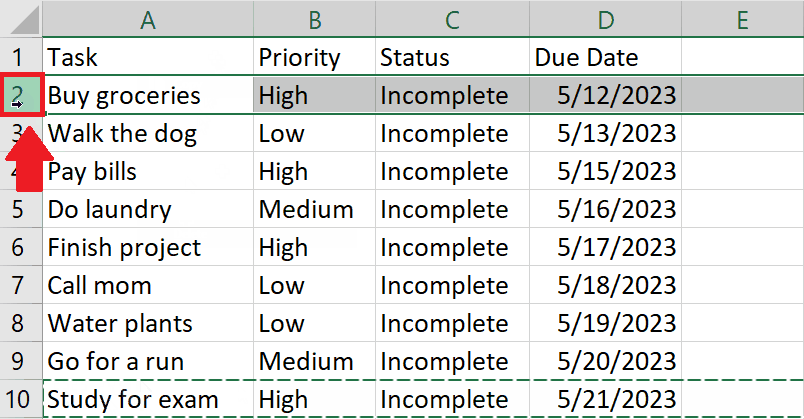
- After clicking on the Cut option, select the row where you want to move the row
- To select the row, click on the row header
Step 5 – Open the Context menu
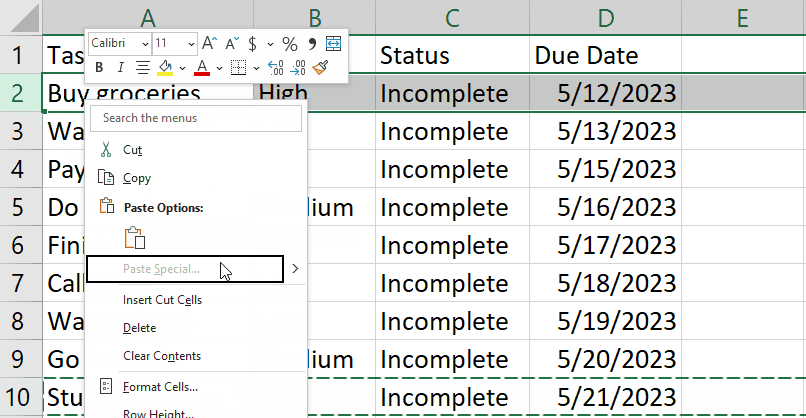
- After selecting the row, right-click anywhere on the selected row and a context menu will appear
Step 6 – Click on the Insert Cut Cells option
- From the context menu, click on Insert Cut Cells to get the required result


