
How to shift cells right in Excel
 By
SpreadCheaters
By
SpreadCheaters
Page last updated:
26/11/2022 |
Next review date:
26/11/2024
You can watch a video tutorial here.
Excel is a popular spreadsheet application in which the workspace is arranged as rows and columns in the form of a grid. Each intersection of a row and column is called a cell. When working with Excel, you may need to shift cells to the right, without disturbing the data. data down. For example, you may need to insert a new row header into a table in which case some data will have to be shifted to the right.
Option 1 – Use the context menu
Step 1 – Select the cells
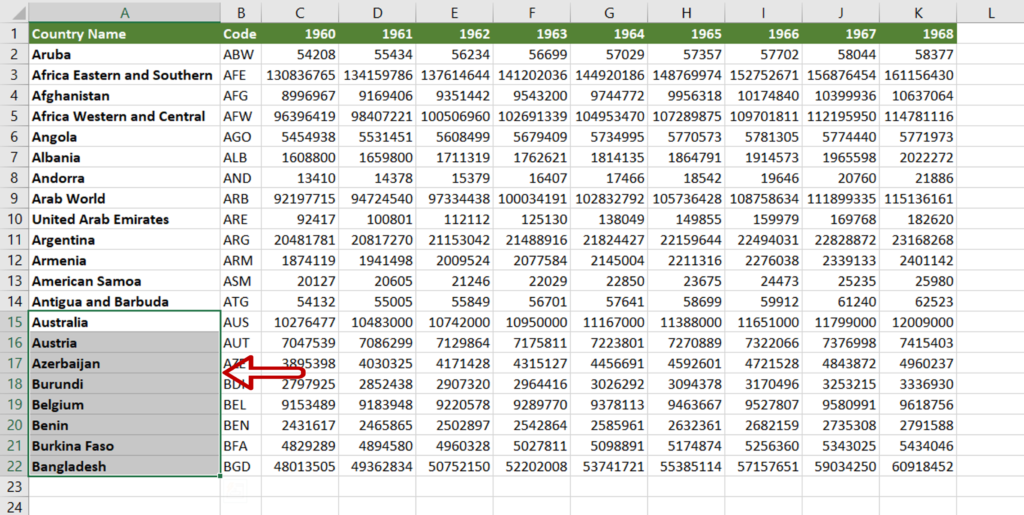
- Select the cells to be shifted
Step 2 – Open the Insert box
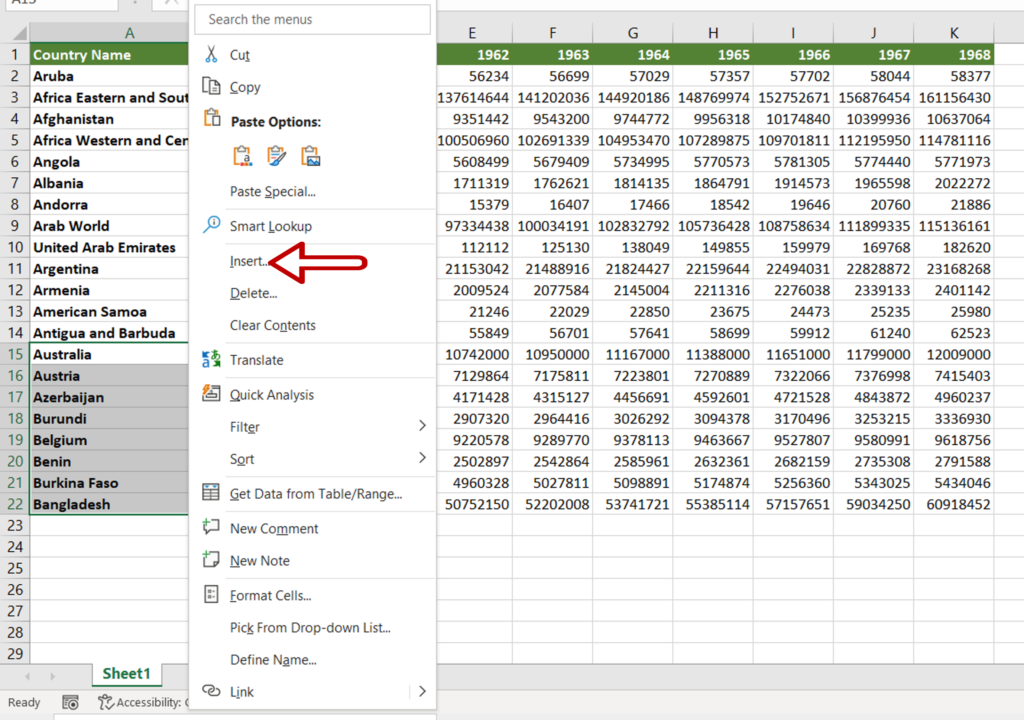
- Right-click to display the context menu
- Select Insert
Step 3 – Choose the shift option
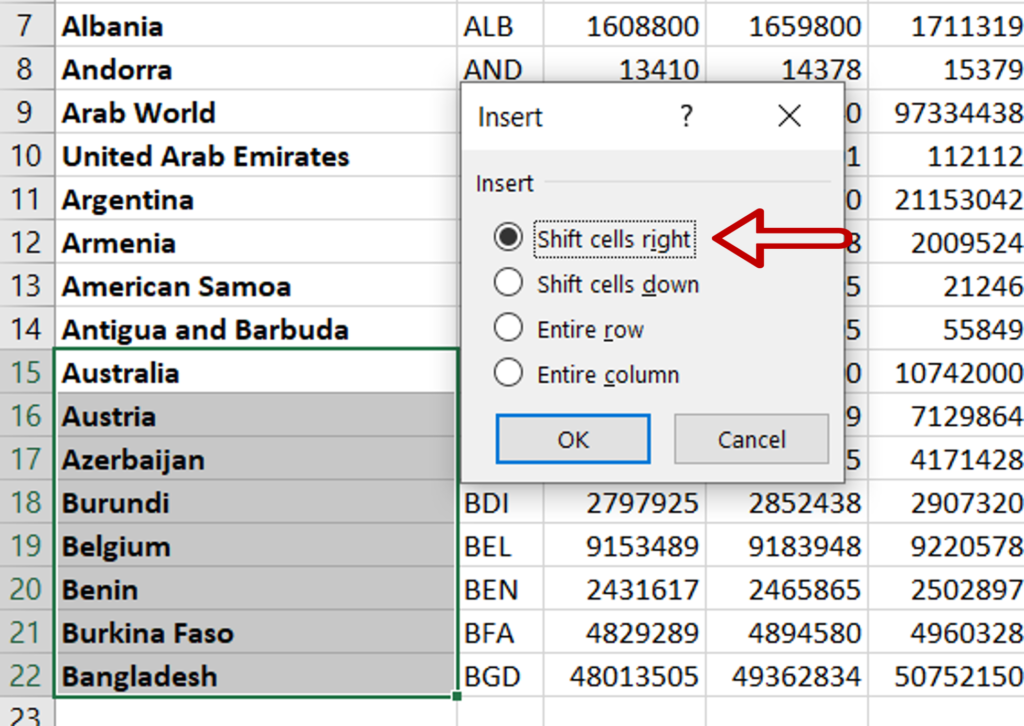
- Select Shift cells right
- Click OK
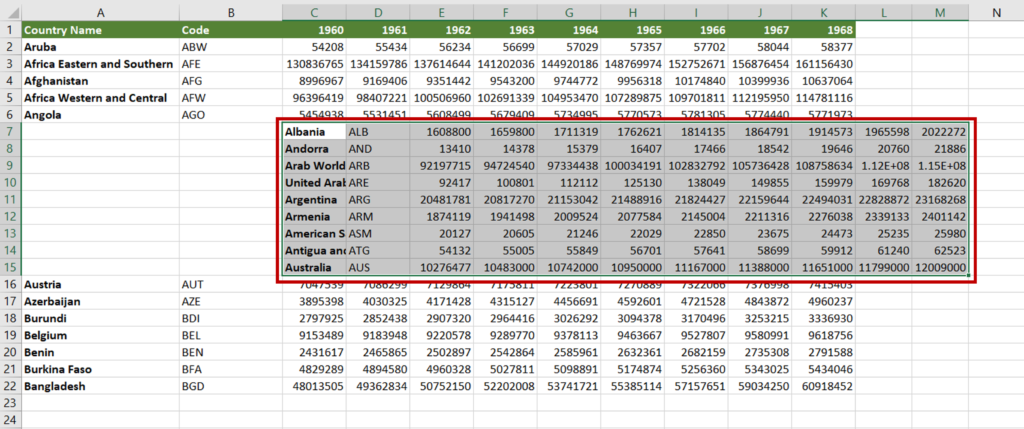
Step 4 – View the result
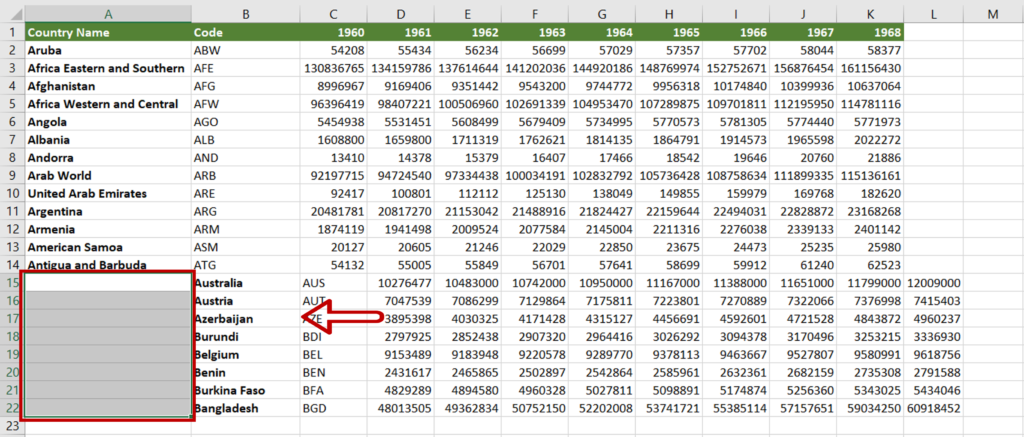
- The cells have been shifted to the right
- The data next to the cells is also shifted
- Blank cells appear in place of the shifted cells
Option 2 – Drag and drop
Step 1 – Select the cells
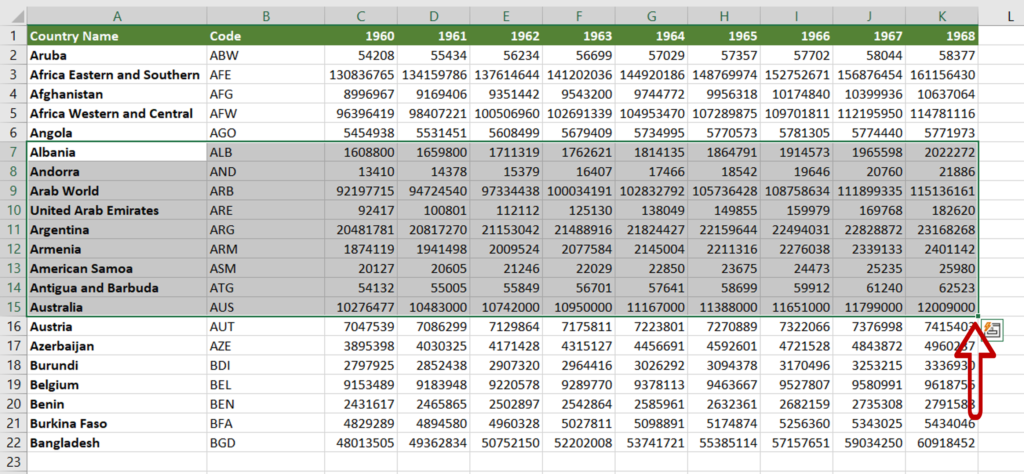
- Select all the cells to be shifted
- Position the pointer at the border of the selected area
Step 2 – Drag and drop
- When the cursor changes to a move pointer, click the left mouse button
- Holding down the button, drag the area down
- Release the mouse button when the cells are in the new location
Option 3 – Cut & paste
Step 1 – Select the cells

- Select all the cells to be shifted
Step 2 – Cut the cells
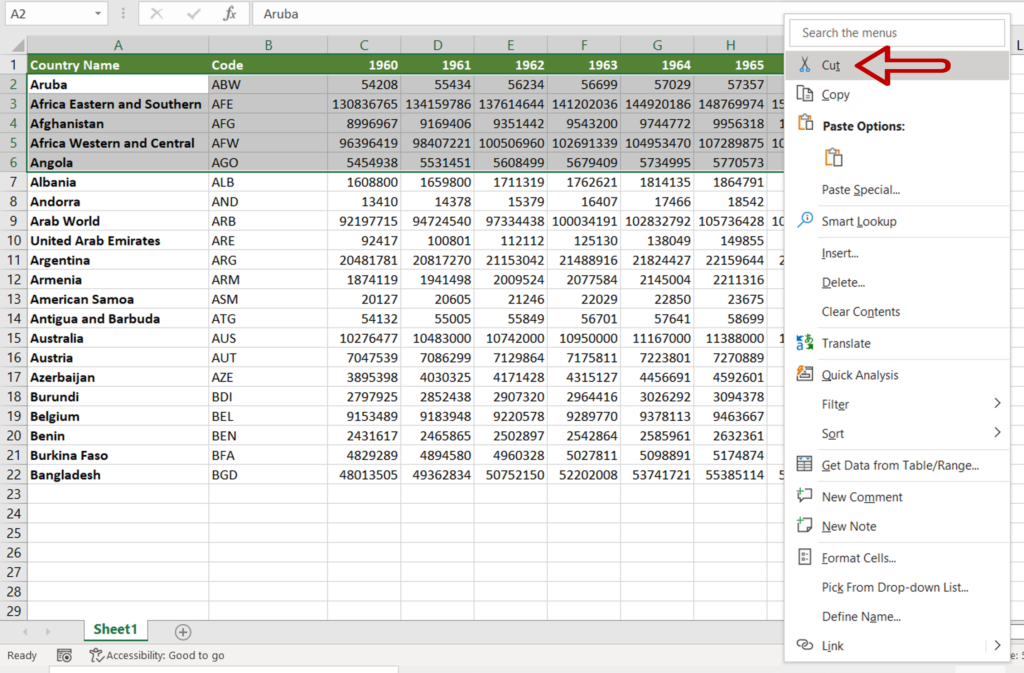
- Right-click to display the context menu and select Cut
OR
Press Ctrl+X
Step 3 – Paste at the new location
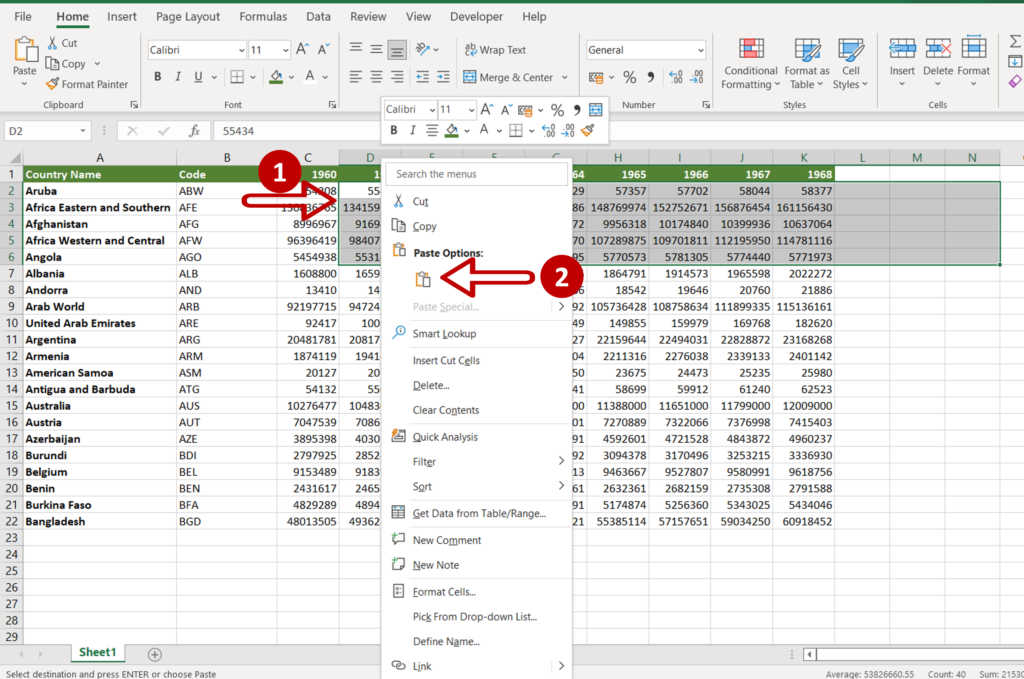
- Position the cursor at the new location
- Right-click to display the context menu
- Select Paste
OR
Press Ctrl+V
Step 4 – View the result
- The selected cells are moved to the right


