
How to share an Excel file with multiple users in Office 365
 By
SpreadCheaters
By
SpreadCheaters
Page last updated:
16/11/2022 |
Next review date:
16/11/2024
You can watch a video tutorial here.
When you share a file by sending it to recipients, you need to keep sending them the latest version every time you make a change. They also need to send it back to you when they make changes. Excel allows you to share a file from within Excel so that all recipients have access to the latest version of the file. You can set the permissions for the recipients, i.e. they can just view the file or they can edit it. To share a file in Excel, it needs to be uploaded to OneDrive. When you want to share the file, Excel creates a link to the file that can either be sent from within Excel or copied and sent from some other application.
Option 1 – Send the link
Step 1 – Open the Share window
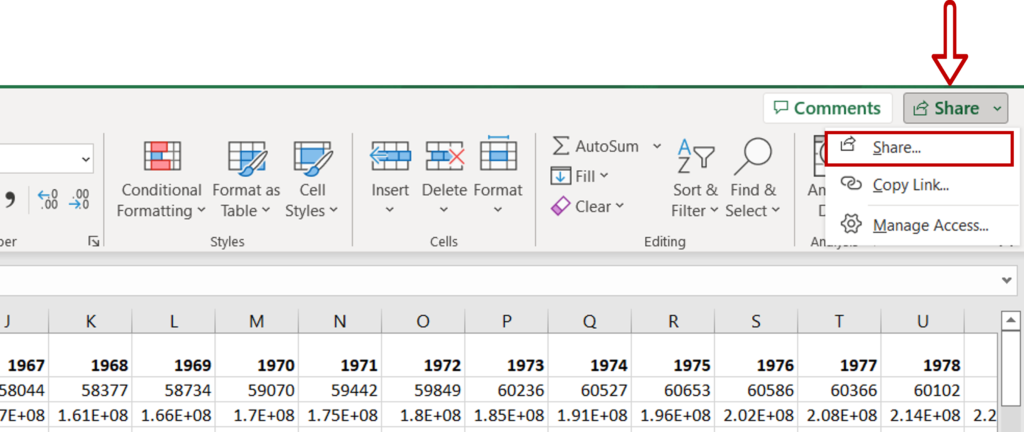
- Click on the Share drop-down from the extreme right of the menu bar
- Choose Share
Step 2 – Open the Link settings window
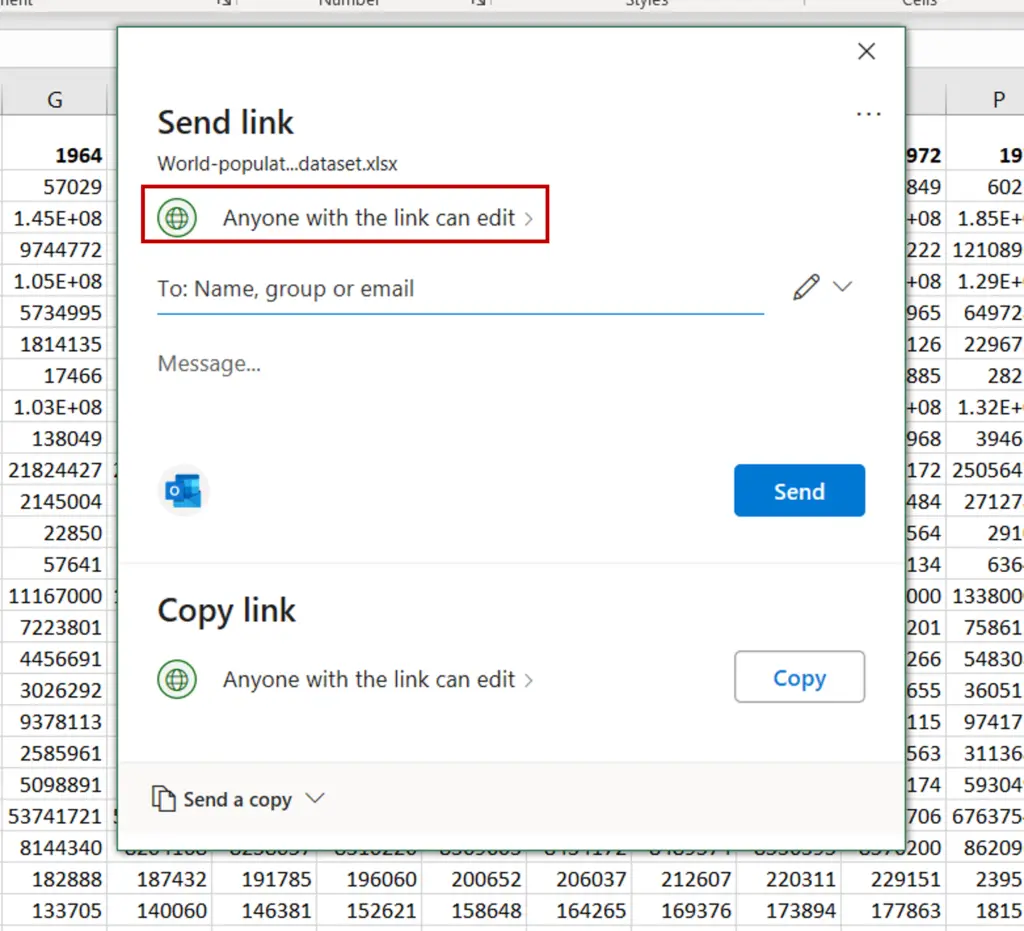
- Under the Send Link section, click the arrow next to Anyone with the link can edit
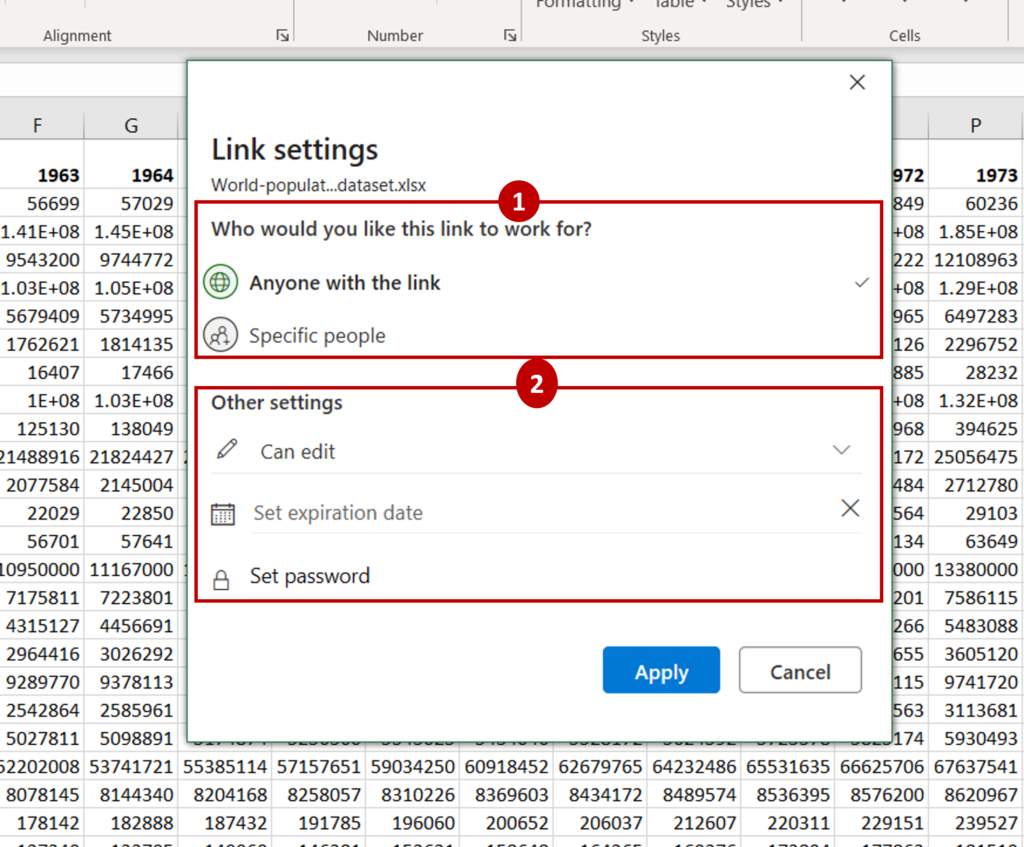
Step 3 – Choose the settings for the link
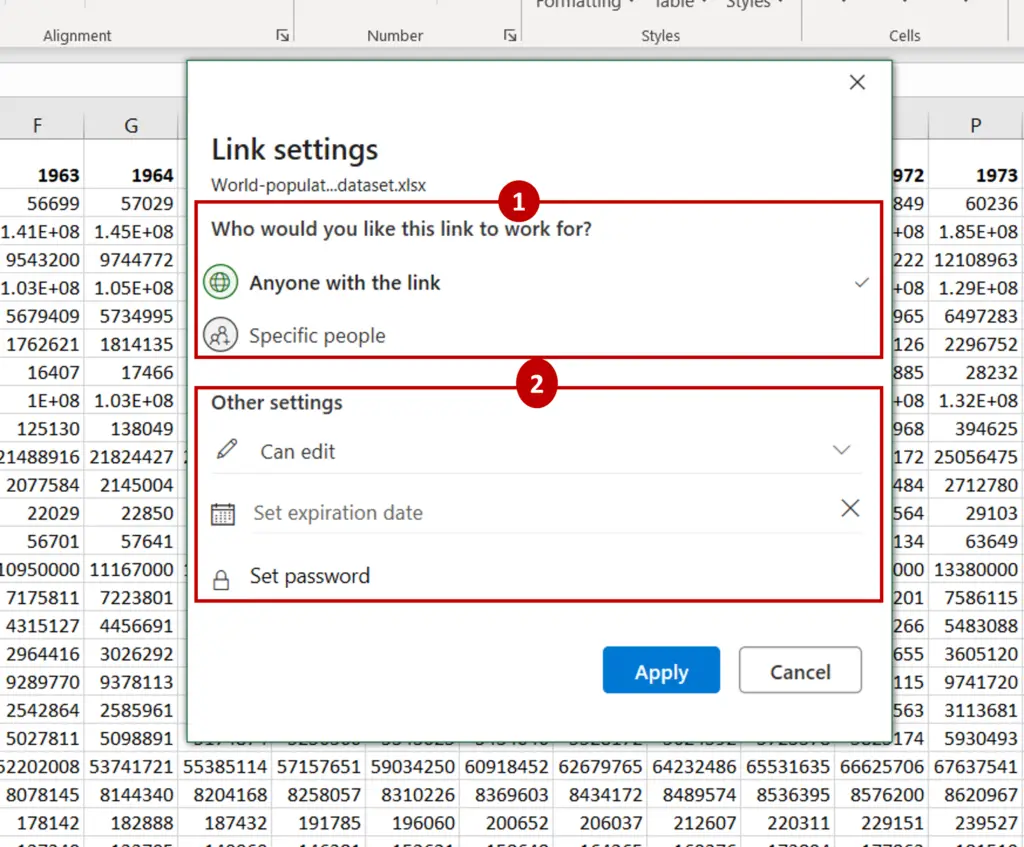
- Choose an option for Who would you like this link to work for?
- Anyone with the link: there is no restriction on the audience and anyone with the link will be able to open the file
- Specific people: the audience is limited and you will need to specify those who can access the file
- Select the Other settings
- Can edit or Can view: this indicates whether the audience can make changes to the file or not
- Expiration date (optional): you can set an expiration date for the link if you want it to be available only for a limited time
- Set password (optional): this is available only for the Anyone with the link option. If a password is set, it will have to be shared with the audience
- Click Apply
Step 4 – Enter the email addresses
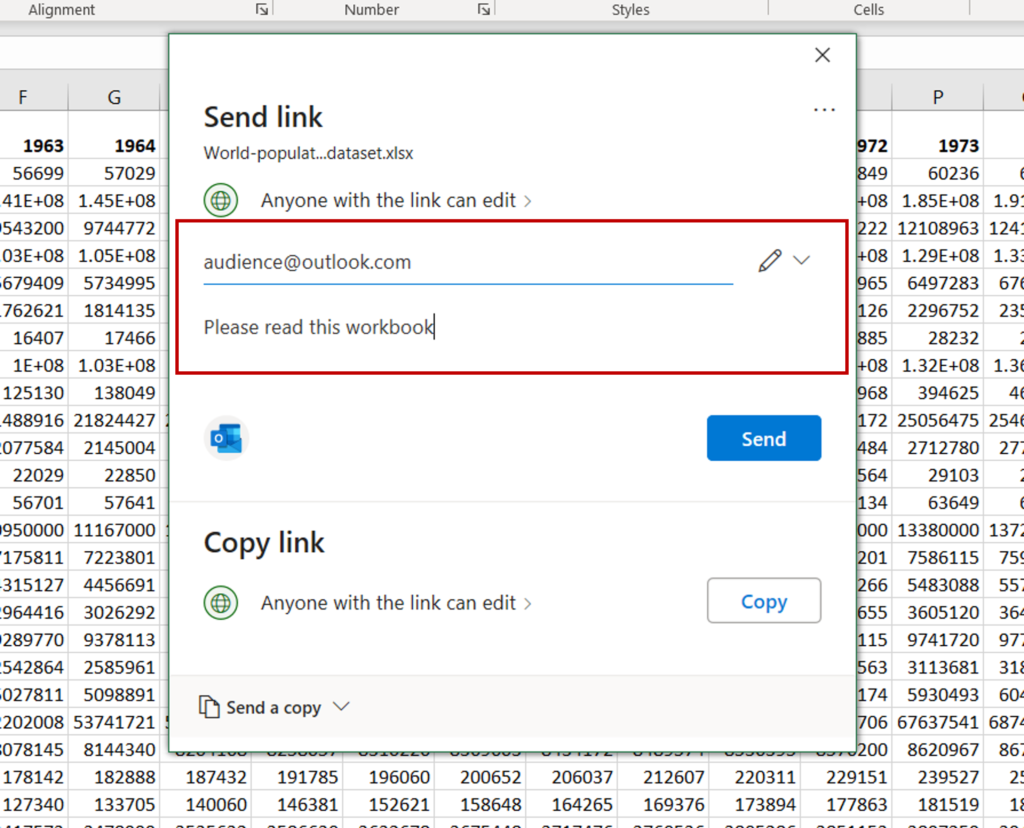
- Type the email addresses of the recipients
- Adding a message is optional
- Click Send
Step 5 – Check the Confirmation message
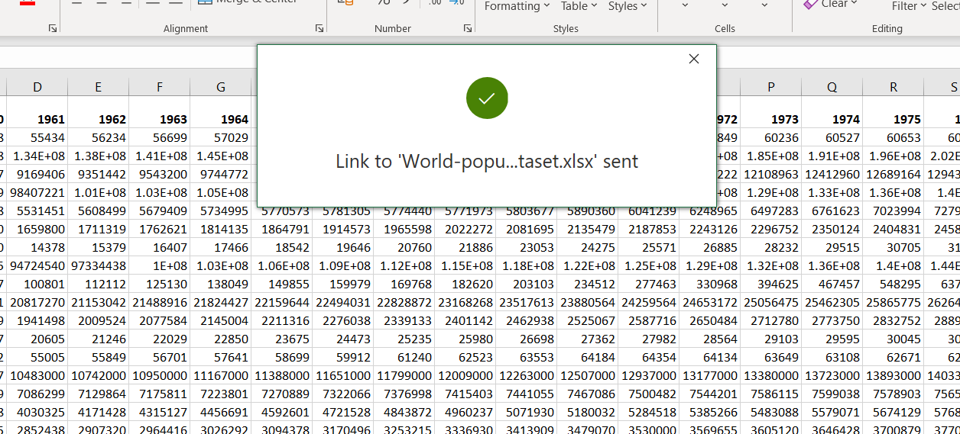
- A confirmation message is displayed indicating that the link has been sent
Option 2 – Copy the link
Step 1 – Open the Share window
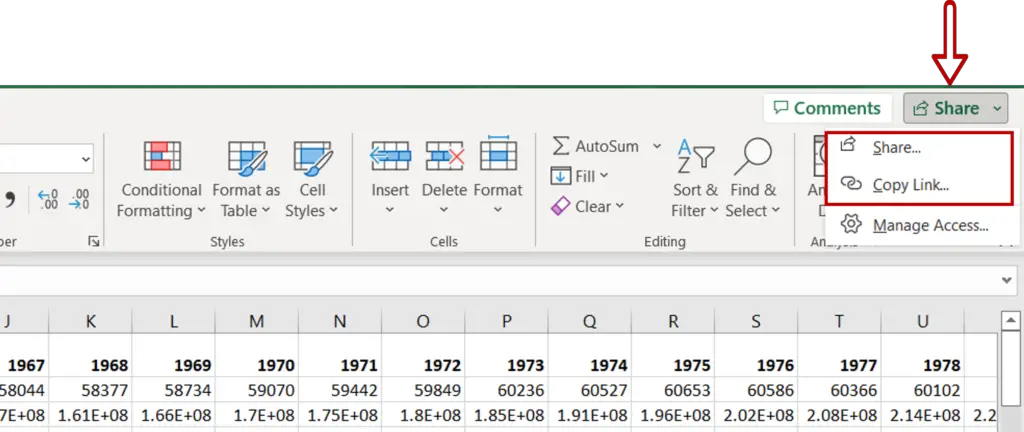
- Click on the Share drop-down from the extreme right of the menu bar
- Choose either Share or Copy Link
Step 2 – Open the Link settings window
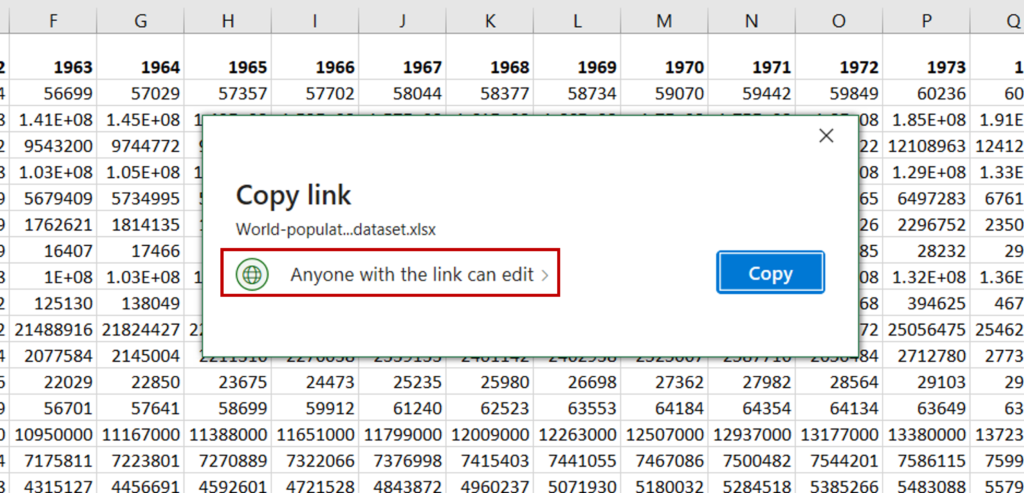
- Under the Copy Link section, click the arrow next to Anyone with the link can edit
Step 3 – Choose the settings for the link
- Choose an option for Who would you like this link to work for?
- Anyone with the link: there is no restriction on the audience and anyone with the link will be able to open the file
- Specific people: the audience is limited and you will need to specify those who can access the file
- Select the Other settings
- Can edit or Can view: this indicates whether the audience can make changes to the file or not
- Expiration date (optional): you can set an expiration date for the link if you want it to be available only for a limited time
- Set password (optional): this is available only for the Anyone with the link option. If a password is set, it will have to be shared with the audience
- Click Apply
Step 4 – Create the link
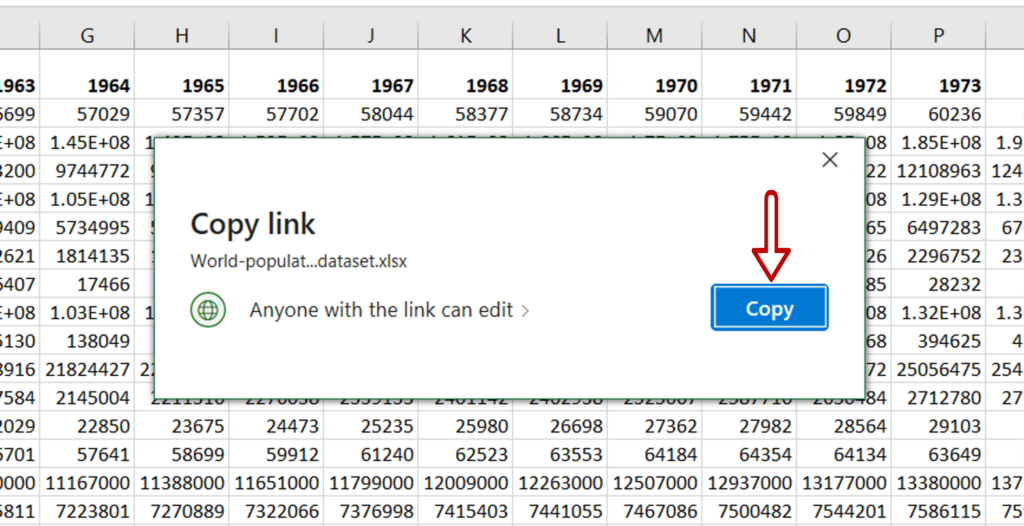
- Click Copy
Step 5 – Copy the link
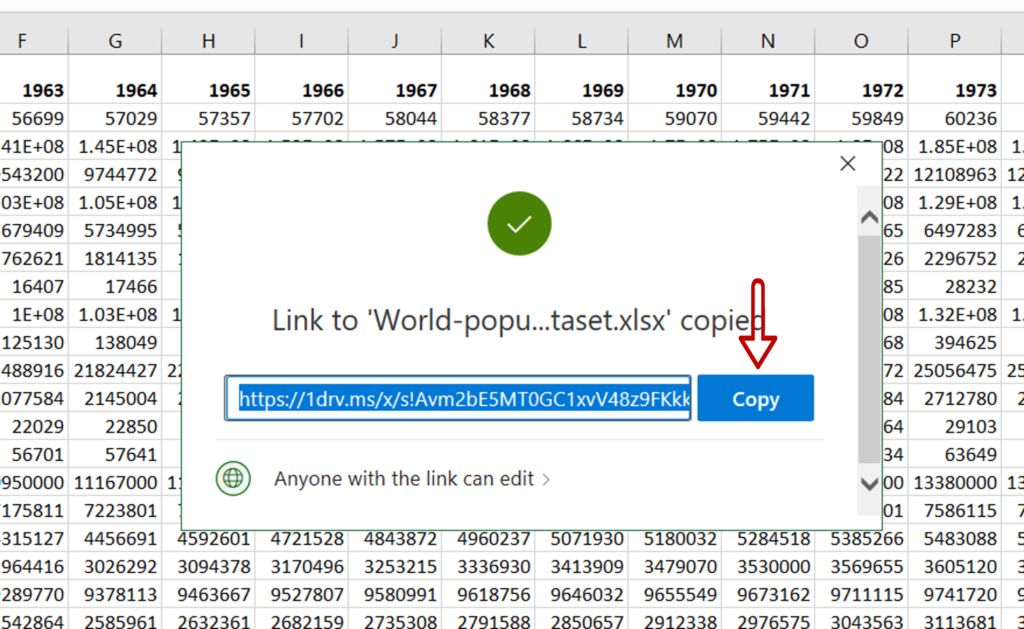
- Copy the link and send it to the target audience using an external application such as email or social media


