
How to set margins in Excel
 By
SpreadCheaters
By
SpreadCheaters
Page last updated:
03/01/2023 |
Next review date:
03/01/2025
You can watch a video tutorial here.
To properly format an Excel sheet for printing or for saving in another format such as PDF, it is important to set the margins. Margins are the blank spaces that surround the data on a page. Margins can be adjusted to increase or decrease the blank spaces, depending on the volume of data.
Option 1 – Use a preset margin
Step 1 – Open the print menu
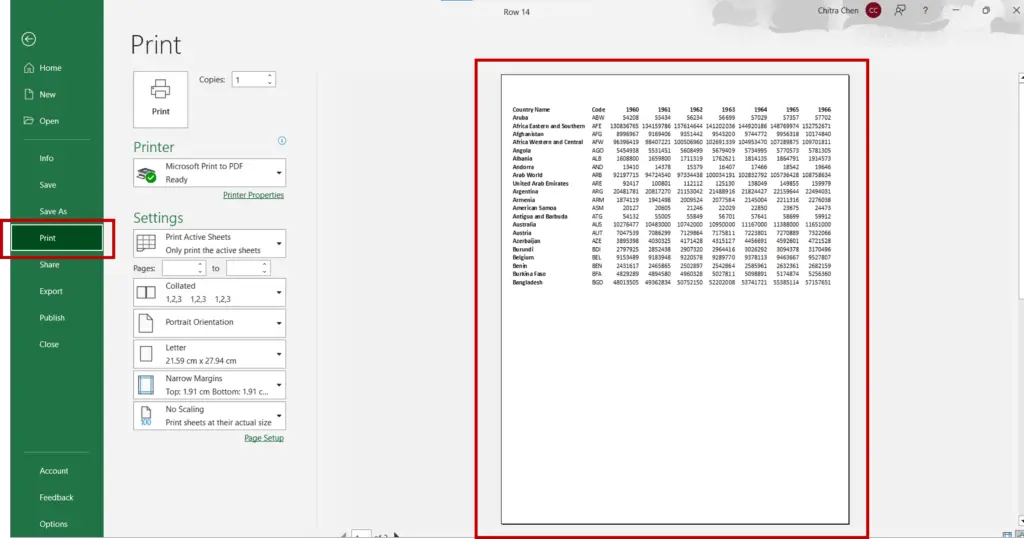
- Go to File > Print
- The print preview is displayed
Step 2 – Choose a preset margin
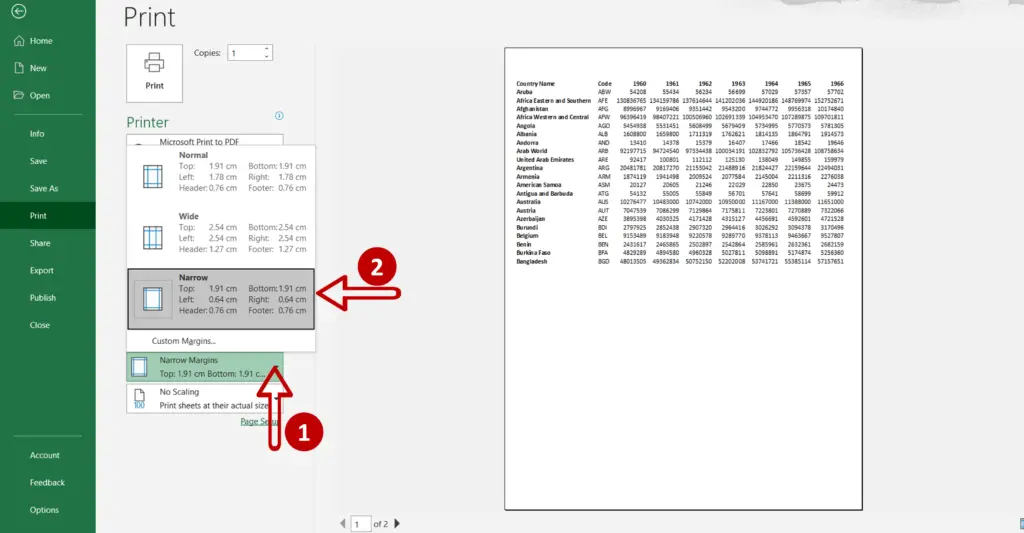
- Expand the Margins menu
- Select Narrow
Note: The preset margins can also be accessed using the menu Page Layout >Page Setup > Margins
Step 3 – Check the result
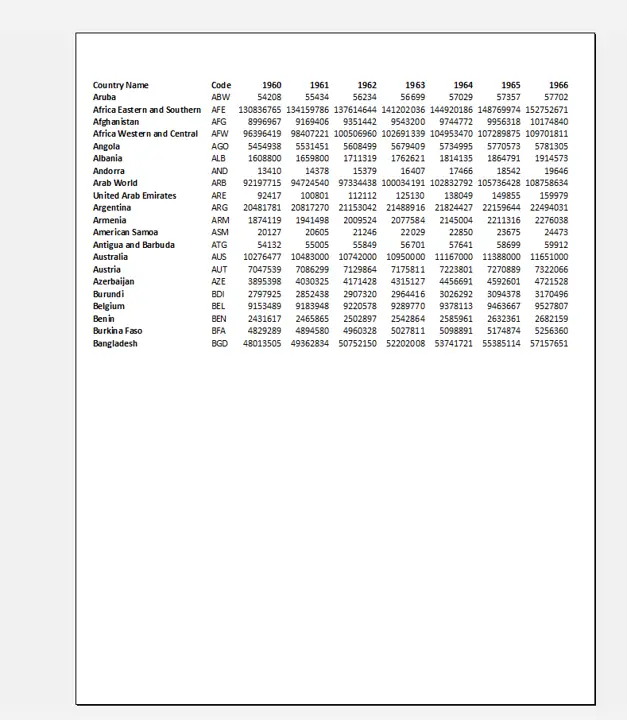
- Check the preview to see if the data is properly aligned
Option 2 – Customize the margin
Step 1 – Open the print menu

- Go to File > Print
- The print preview is displayed
Step 2 – Open the Page Setup window
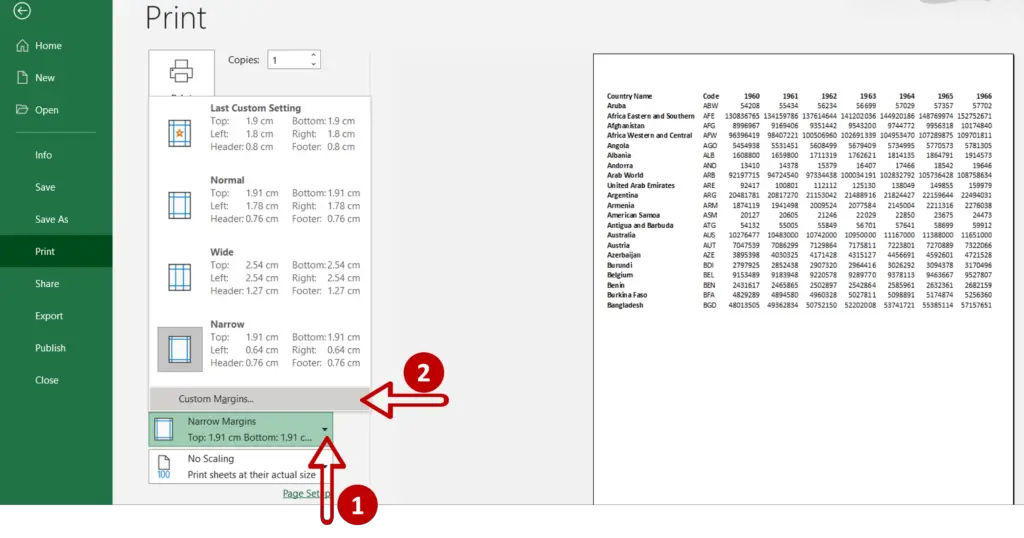
- Expand the Margins menu
- Select Custom Margins
Step 3 – Customize the margin
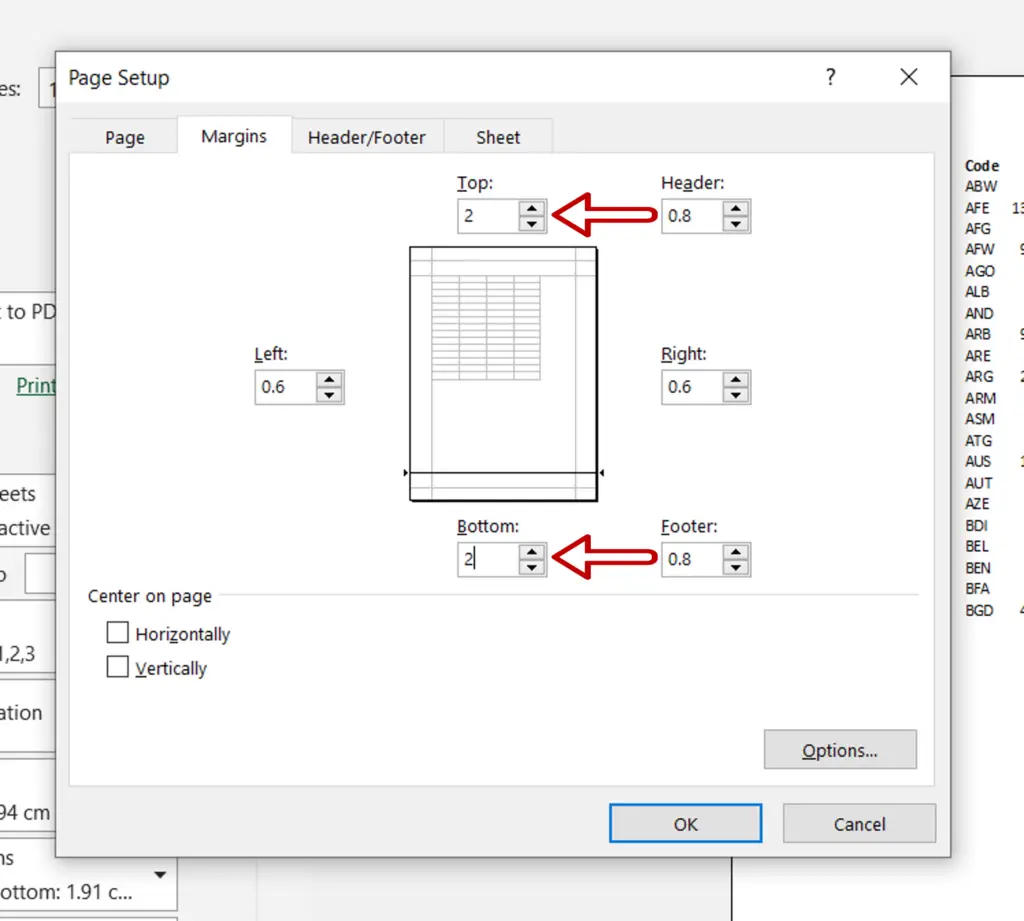
- Change the Top and Bottom margins to 2
- Click OK
Note: The Page Setup window can also be opened by using the menu Page Layout > Page Setup > Margins > Custom Margins or by clicking on the Page Setup link in the Print window
Step 4 – Check the worksheet

- Check that the margin is suitable and that the data fits the worksheet properly


