
How to Select two columns in Microsoft Excel that are not next to each other
 By
SpreadCheaters
By
SpreadCheaters
Selecting two cells that are not next to each other means choosing two cells in Excel that are not adjacent or located next to each other. This functionality is helpful in a number of scenarios, such as when you need to compare or manipulate data in non-adjacent cells, copy data from one cell to another, or apply formatting or formulas to specific cells in a worksheet.
In this tutorial, we will learn how to select two columns in Microsoft Excel that are not next to each other. In Microsoft Excel, there is more than one method to select columns that are not next to each other. For Instance, here we have a data set representing sales figures for 5 products for January, February, and March. We want to select all the sales of Product C and Product D.
Method 1: Use the CTRL Key to Select Columns that are not Next to Each Other
Step 1 – Press and Hold the Ctrl Key
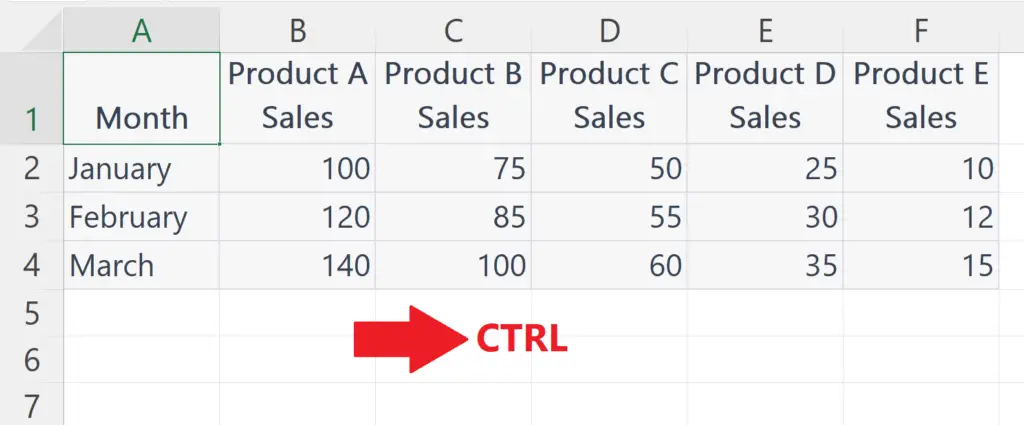
- Press and Hold the CTRL key to select the columns.
Step 2 – Select both the Columns
- While holding the CTRL key, select the columns by clicking on the column header.
- In this way, we can select two columns that are not next to each other.
Method 2: Use the “Go to” Command to Select Columns that are not Next to Each Other
Step 1 – Click on the Find & Select Button
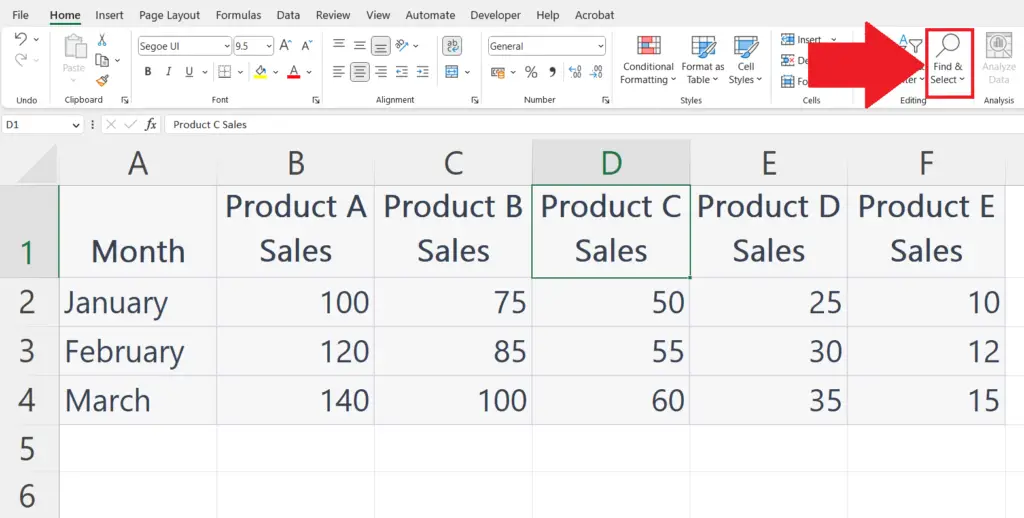
- Click on the Find & Select button in the Editing section of the Home tab.
- A drop-down menu will appear.
Step 2 – Click on the Go to Option
- Click on the Go to option in the drop-down menu.
Step 3 – Enter the Reference of the First Column

- This will open up a new dialog box named “Go To”.
- Enter the reference of the first column in the reference option i.e. the reference of column “D” will be “D:D”.
Step 4 – Enter the Reference of the Second Column

- Enter the reference of the second column i.e. “F:F” separated by a comma.
Step 5 – Click on OK

- Click on OK in the Go to the dialog box.
- The non-adjacent columns will be selected as shown above.
Method 3: Using Shortcut Keys to Use the Go to Command
Step 1 – Press CTRL + G
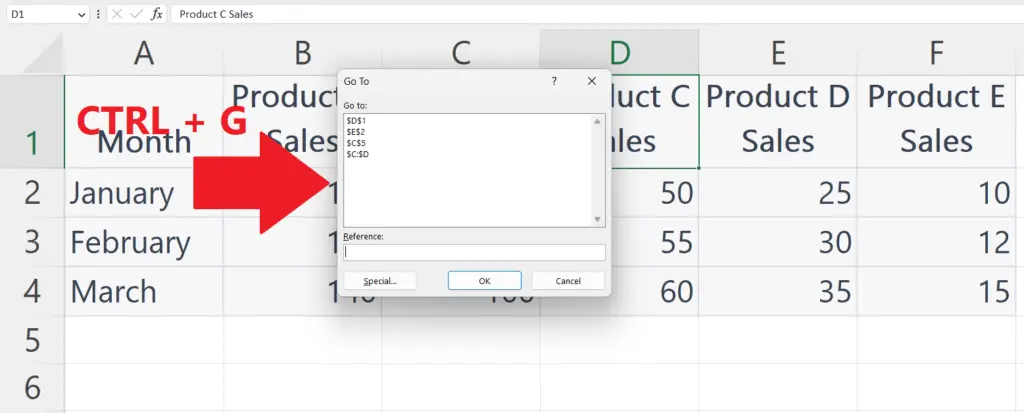
- Press the CTRL + G shortcut keys.
- The Go to dialog box will appear.
Step 2 – Enter the Reference of the First Column
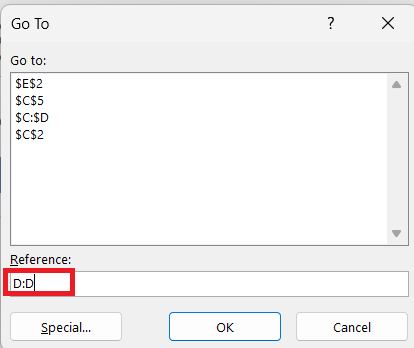
- Enter the reference of the first column in the reference option i.e. the reference of column “D” will be “D:D”.
Step 3 – Place a Comma
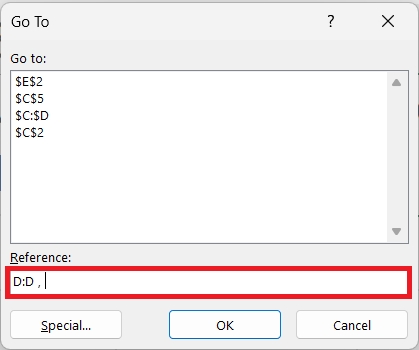
- Place a comma right after the reference of the column.
Step 4 – Enter the Reference of the Second Column
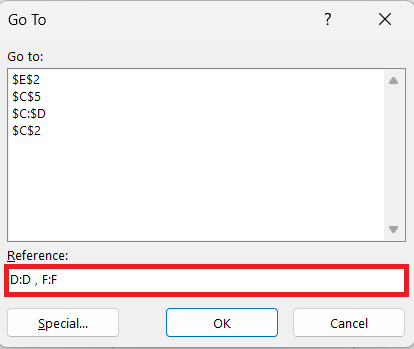
- Enter the reference of the second column i.e. “F:F” separated by a comma.
Step 5 – Click on OK

- Click on OK in the Go to the dialog box.
- The non-adjacent columns will be selected.


