
How to select specific cells in the Microsoft Excel formula
 By
SpreadCheaters
By
SpreadCheaters
Selecting specific cells in an Excel formula means you are specifying which cells or ranges of cells you want to include in your formula calculation. This means that you can perform calculations on specific sets of data, making your formulas more precise and targeted to your needs. by selecting specific cells, you can make your formulas more dynamic and adaptable.
In this tutorial, we will learn how to select specific cells in Microsoft Excel formulae. There are several ways to select specific cells in Microsoft Excel. These methods include using the Handle Select and Drag and Drop techniques to select a range of cells, manually inputting the cell range references, or holding down the CTRL key while selecting individual cells.
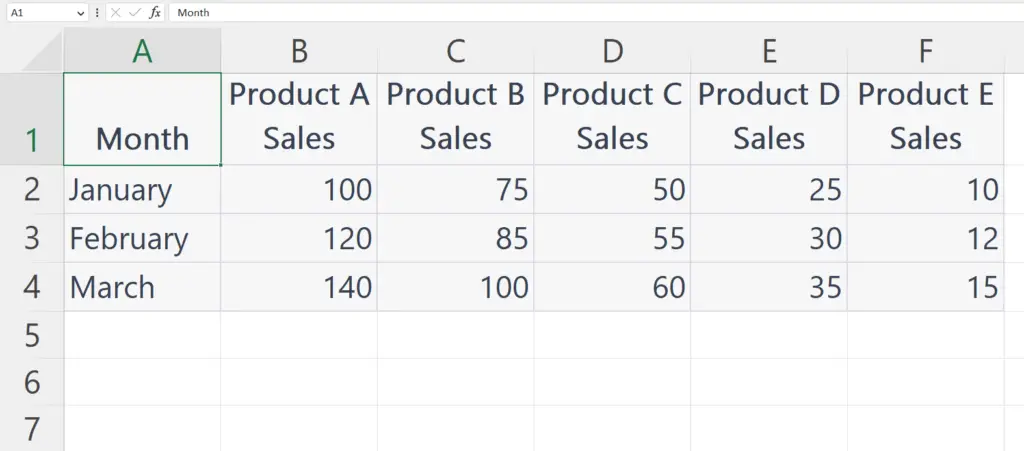
Currently, we have a data set representing sales figures for 5 products. We aim to Sum specific sales figures only.
Method 1: Use the CTRL key to Select the Non-Adjacent Cells in a Formula
Right now we aim to sum up the sales of Product A, Product C, and Product E for the month of January.
Step 1 – Enter the Formula

- Enter the formulae in which you went to select the specific cells.
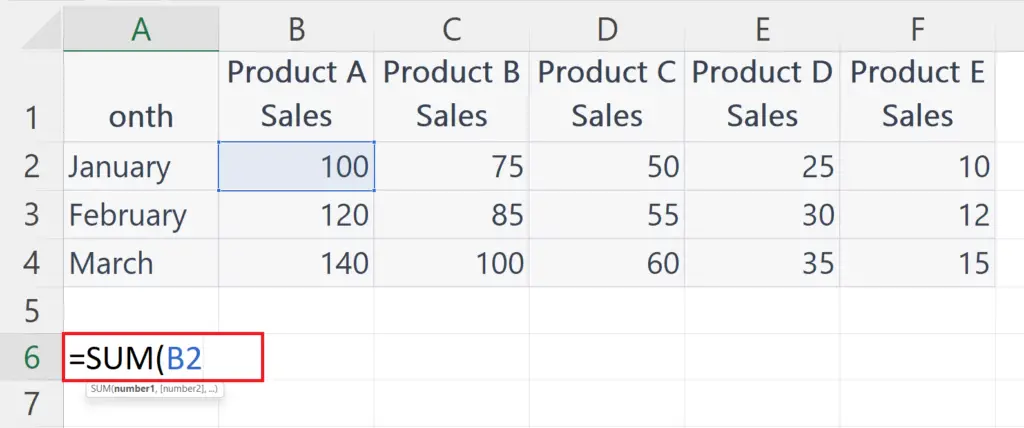
Step 2 – Press and Hold the CTRL Key and Select the First Non-adjacent Cell
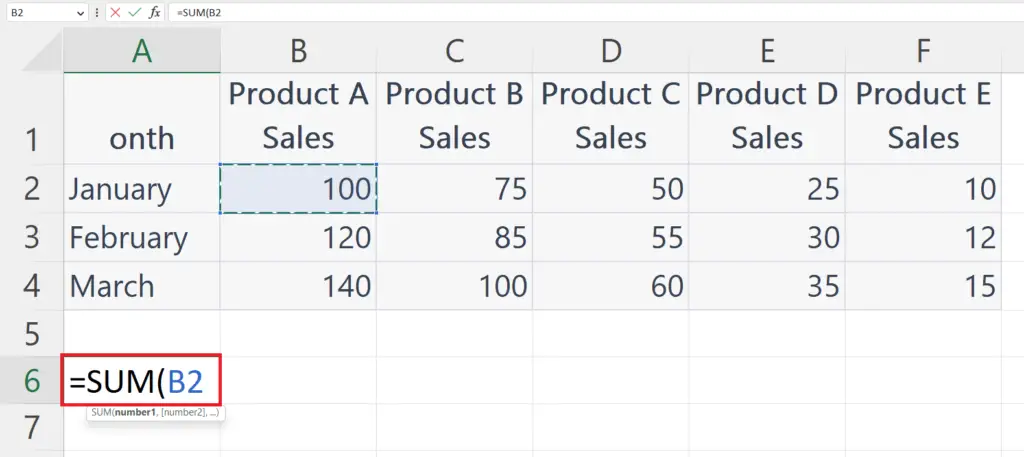
- Press and hold the CTRL key and select the first non-adjacent cell.
- The reference of the selected cell will be entered in the formulae.
Step 3 – Select the Next Cells
- Hold the CTRL key and select the next cell.
- Repeat for all the specific cells to be selected.
Method 2: Manually Entering Cell References in a Formula to Select Non-adjacent Cells
Right now we aim to sum up the sales of Product A, Product C, and Product E for January.
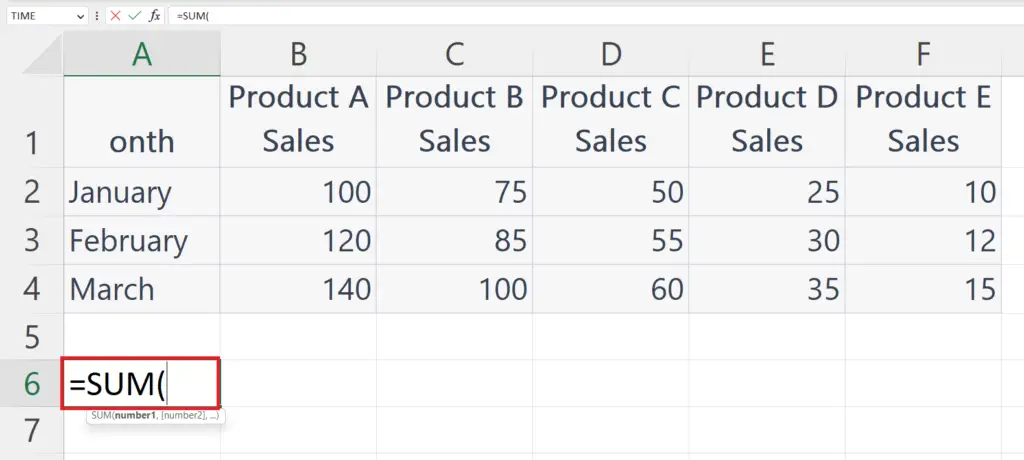
Step 1 – Enter the Formulae

- Enter the formulae in which you went to select the specific cells.
Step 2 – Enter the Cell Reference of the First Specific Cell
- Enter the cell reference of the first specific cell to be selected.
Step 3 – Place a Comma Sign
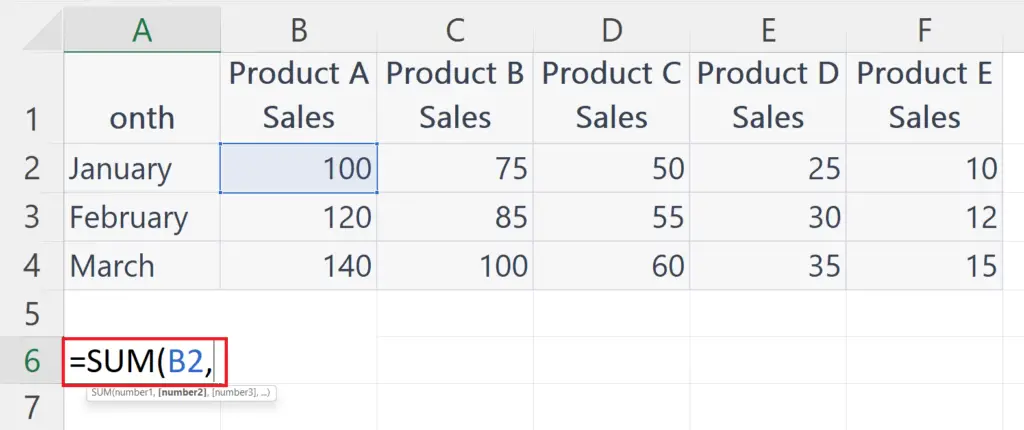
- Place a comma sign in the formulae right after the entered cell reference.
Step 4 – Enter the Cell Reference of the Next Specific Cells
- Enter the cell reference of the next specific cell to be selected.
- Repeat the step for each non-adjacent cell to be added.
- Remember to place a comma sign after the reference of each cell.
Method 3: Selecting Adjacent Specific Cells in a Formula using the Select Handle
Here we want to sum up the sales of all products for March
Step 1 – Enter the Formulae

- Enter the formulae in which you want to select the specific adjacent cells.
Step 2 – Hover the Cursor over First Cell

- Hover the cursor on the first cell of the adjacent cells to be selected.
Step 3 – Press and Hold the Left mouse Button and Drag and Drop
- Press and hold the left mouse button on the first cell.
- Drag the cursor to the last cell of the range of adjacent cells.
- Drop the cursor on the last cell of the range.
- The range of the adjacent cells will be selected.
Method 4: Selecting a Range of Adjacent Cells in a Formulae Manually
Currently, we want to sum up the sales of product A for all the months.
Step 1 – Enter the Formulae
- Enter the formulae in which you want to select the specific adjacent cells.
Step 2 – Enter the Reference of the First Cell
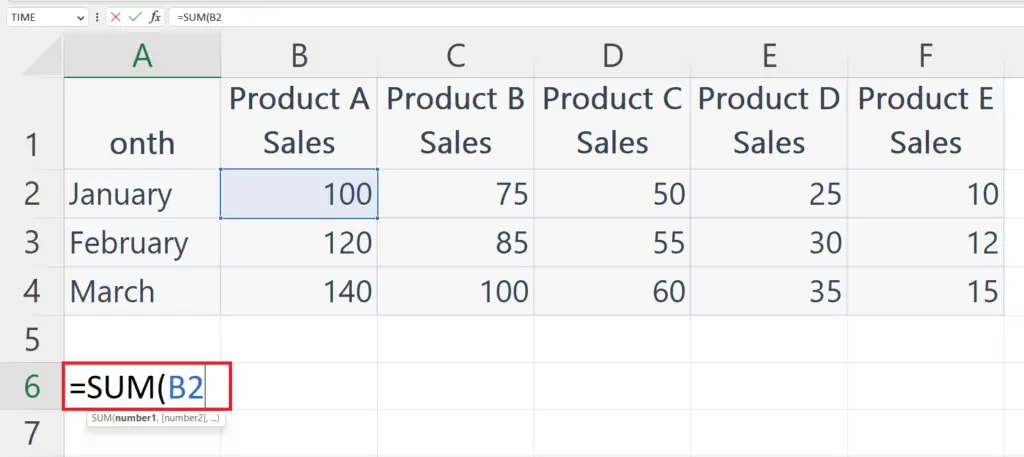
- Enter the reference of the first cell in the range of adjacent cells.
Step 3 – Place a Colon
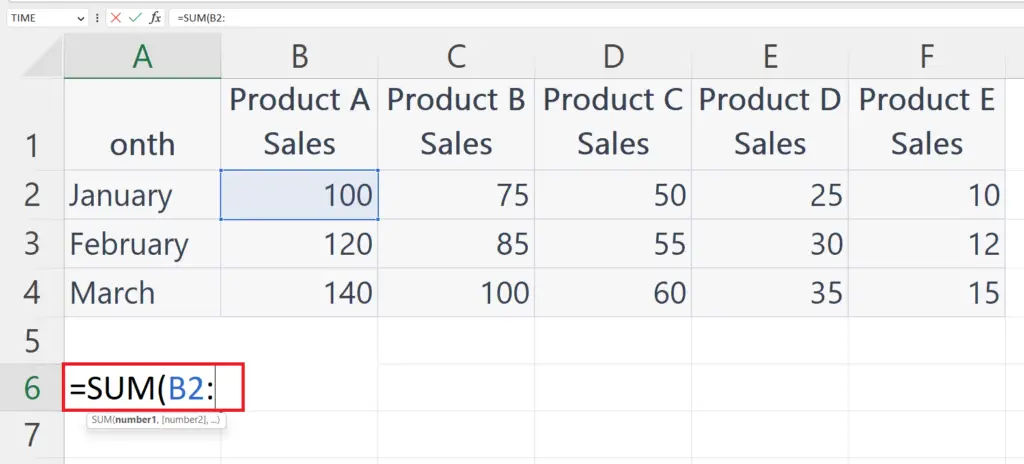
- Place a Colon ( : ) right next to the reference of the first cell.
Step 4 – Enter the Reference of the Last Cell
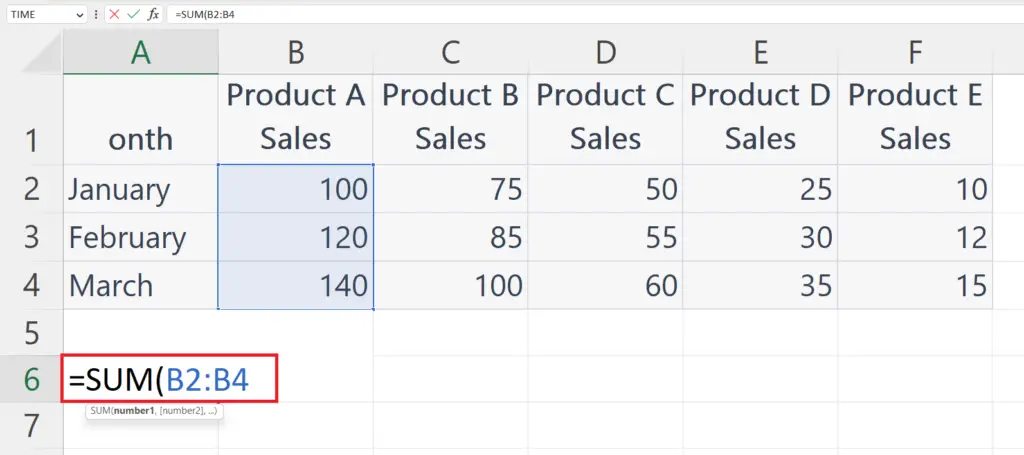
- Enter the reference of the last cell in the range of adjacent cells.
- In this way, you can select a range of adjacent cells in a formula.


