
How to Select separate columns in Excel
 By
SpreadCheaters
By
SpreadCheaters
Microsoft Excel is a spreadsheet software developed by Microsoft. It is widely used for data analysis, financial modeling, and project management. The software allows users to create and manipulate tables of data, perform calculations and functions, create charts and graphs, and perform various other tasks related to data organization and analysis.
In this tutorial we will learn how to select separate columns in Excel. Selecting a separate column can be useful when sorting or filtering data based on certain criteria. By selecting separate column you can easily sort or filter data. Also, it is useful when applying formatting to data in a spreadsheet. For example, you might want to apply a specific font, font size, or background color to all cells in a particular columns.There are two methods for it. First is by clicking on Column Heading and second is by using Find and Select function.
Method 1 : Selecting two Separate columns by Clicking on Column Heading
Step 1 – Click on Column Heading
- Click on column heading of the column which is to be selected
Step 2 – Click on second column heading
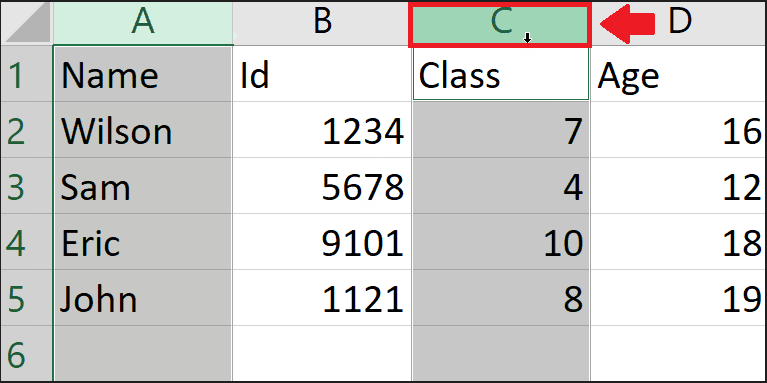
- If you want to select non adjacent columns then Press and hold the “Ctrl” key.
- Click on the heading of the second column to be selected.
Method 2 : Selecting Separate Column using Find and Select function
Step 1 – Click on Find and Select function
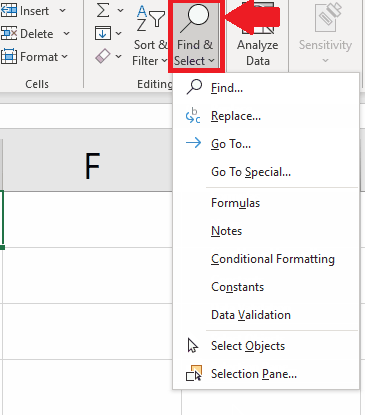
- From taskbar click on Find and Select function and a dropdown menu will appear
Step 2 – click on Go To
- From the dropdown menu click on Go To and a dialog box will appear
Step 3 – Type the Range of Columns
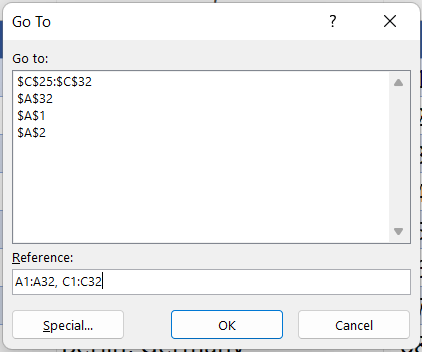
- In the box above the Reference option in the dialog box type the range of columns (which are to be selected) separated by comma. For this to work properly, you must know the number of the last data cell in the column which has the maximum rows. In our dataset we have column A with 32 rows. So, if we want to select columns A and C then we’ll have to enter A1:A32, C1:C32.
Step 4 – Click on OK to select columns
- Click on OK to get the required result as shown above.


