
How to select individual cells in Microsoft Excel
 By
SpreadCheaters
By
SpreadCheaters
Page last updated:
25/06/2023 |
Next review date:
25/06/2025
In Excel, a cell is a rectangular box that is formed by the intersection of a row and a column. Selecting individual cells in Excel involves clicking on the cell or cells that you want to work with.
By selecting an individual cell we can perform multiple tasks such as entering data, formatting cells, and applying formulas.
In this tutorial, we are going to learn how to select the individual cells in Microsoft Excel to perform useful operations.
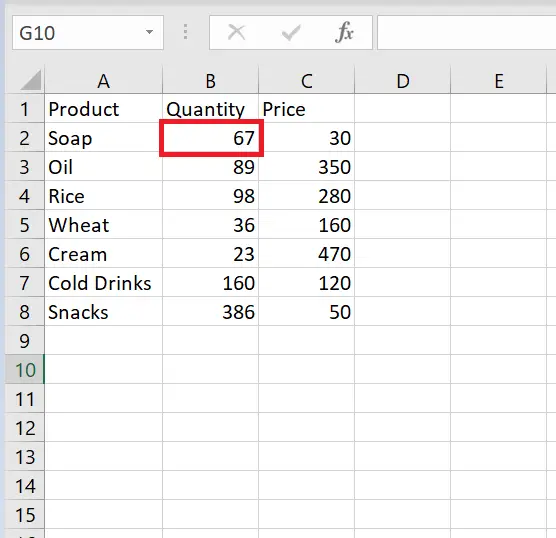
Here we have a data sheet for a general store, there are several products listed, along with their corresponding quantities and prices. If we wish to modify or append data to a particular cell, we must first select that cell.
Method 1: Selecting an Individual Cell By Mean of Mouse
Step 1 – Identify the Cell That You Want to Select
- Look for the cell that you want to select.
Step 2 – Hover the Cursor Over the Cell
- Move your cursor to the cell you want to select.
Step 3 – Click on the Cell With Your Left Mouse Button.
- The cell will be highlighted to indicate that it is selected.
Method 2: Select an Individual Cell using the Keyboard
Step 1 – Identify the Cell That You Want to Select

- Identify the cell you want to select.
Step 2 – Use Arrow Keys to Navigate to the Cell You Want To Select
- Use the arrow keys on your keyboard to navigate to the cell you want to select.
Step 3 – Hit “Enter or F2” Key
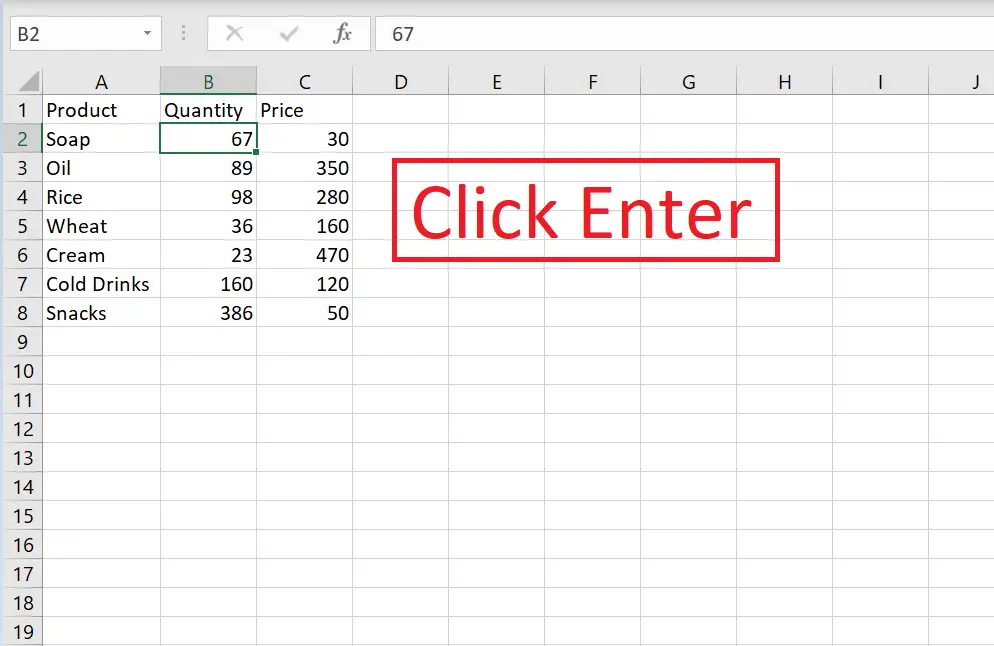
- Once you have moved to the cell you want to select, press the “Enter” key or the “F2” key to select the cell.
Method 3: Select a cell using the Name Box
Step 1 – Locate the “Name Box”
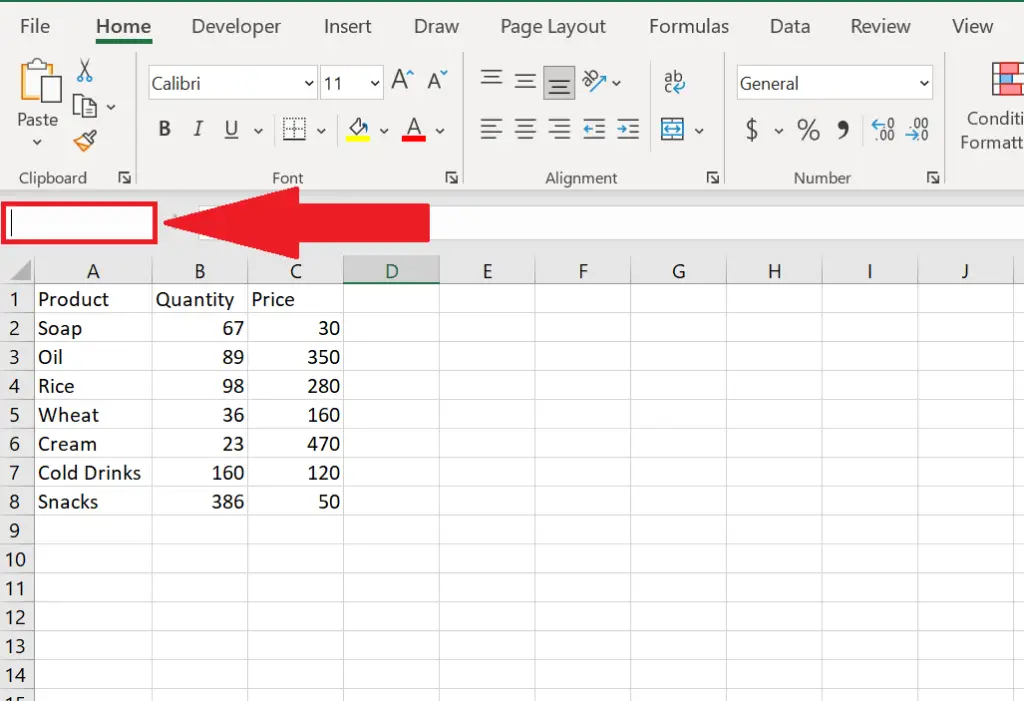
- Locate the Name box in Microsoft Excel.
Step 2 – Type The Cell Address
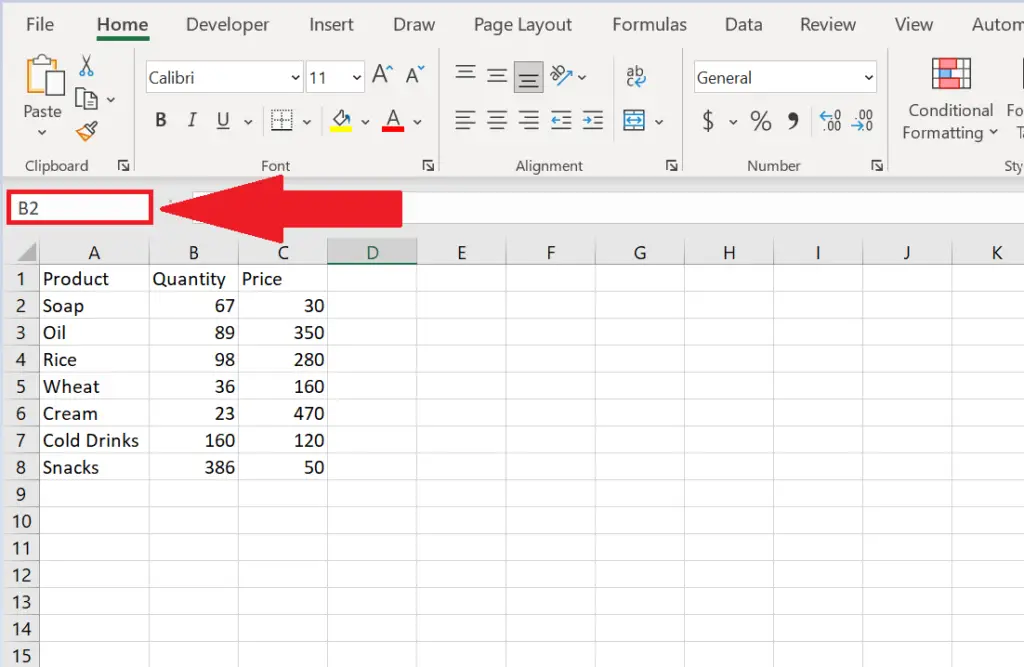
- Type the cell address in the name box of the cell you want to select.
Step 3 – Press Enter Key on the Keyboard
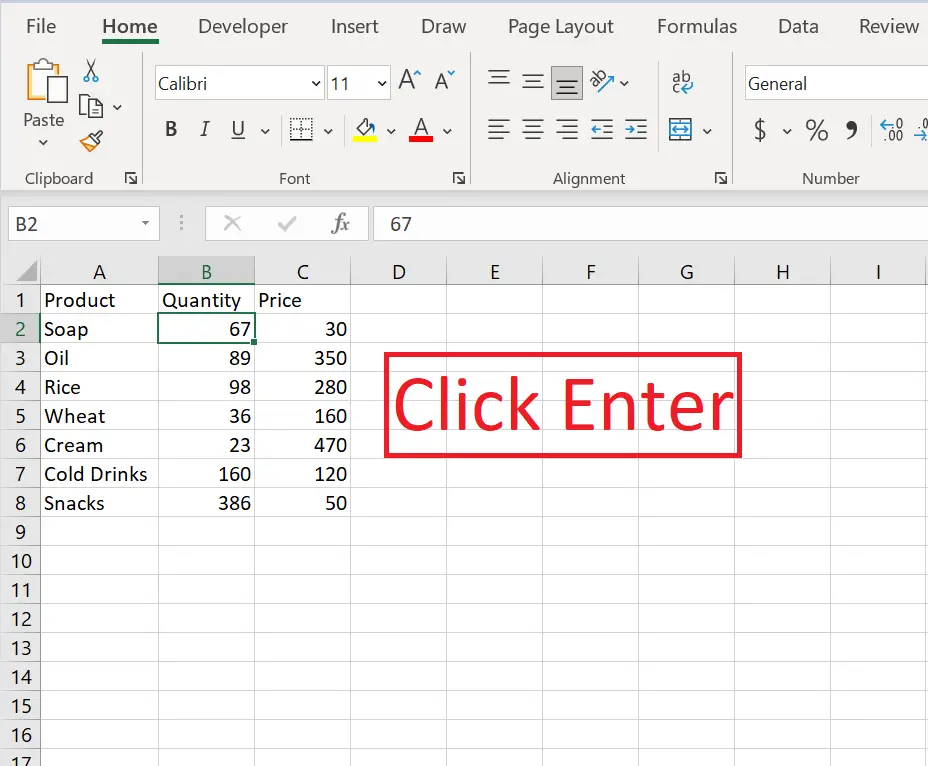
- Press enter key after entering the cell address to select the cell.


