
How to see who made changes in Microsoft Excel
 By
SpreadCheaters
By
SpreadCheaters
Tracking changes in Microsoft Excel is necessary for maintaining accountability in shared documents, audit and compliance purposes, and troubleshooting issues related to changes. By identifying who made which changes, it minimizes confusion and errors in collaborative work settings.
In this tutorial, we will learn how to see who made changes in Microsoft Excel. For this, we will utilize the “Track Changes” and “Version History” options.
For instance, in a team working on a budget spreadsheet in Microsoft Excel, tracking changes can help identify who made modifications and when they were made. This helps the team understand the reason for the changes, avoid confusion and ensure the accuracy of the spreadsheet.
Method 1: Utilizing Track Changes to See Who Made Changes in Microsoft Excel
Track Changes is an in-built feature in Excel, with which you can easily identify the person who made modifications to a spreadsheet, what specific alterations were carried out, and the exact time they were executed.
Step 1 – Locate Review Tab in the Menu Bar
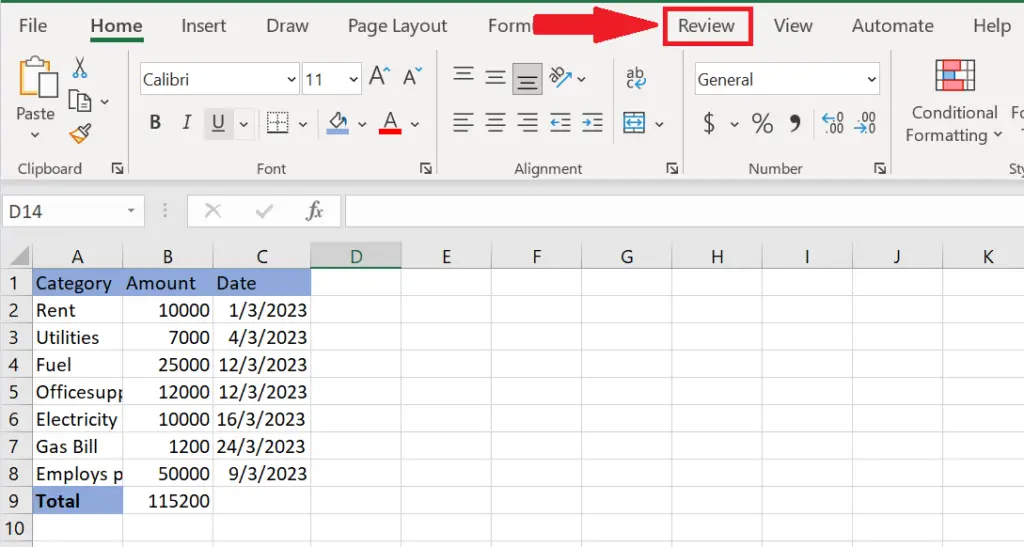
- Search for the Review tab in the menu bar of Microsoft Excel.
Step 2 – Perform a Click on the Track Changes in excel ribbon
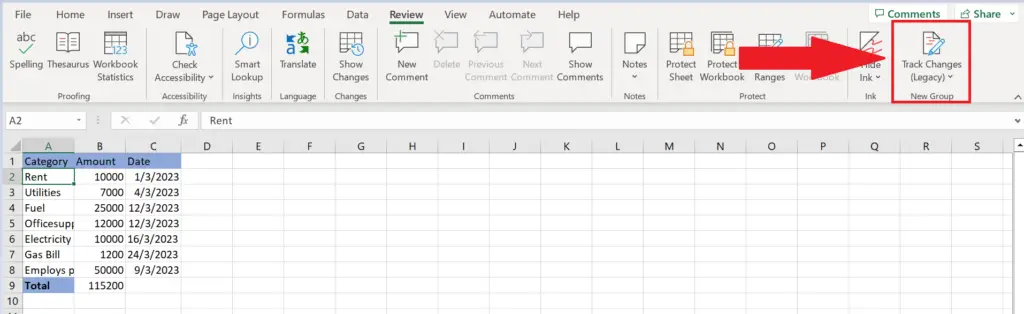
- Clicking on the “Track Changes” tab in the Excel ribbon will allow you to access the feature for monitoring modifications in the spreadsheet.
Step 3 – Perform a Click on Highlight Changes
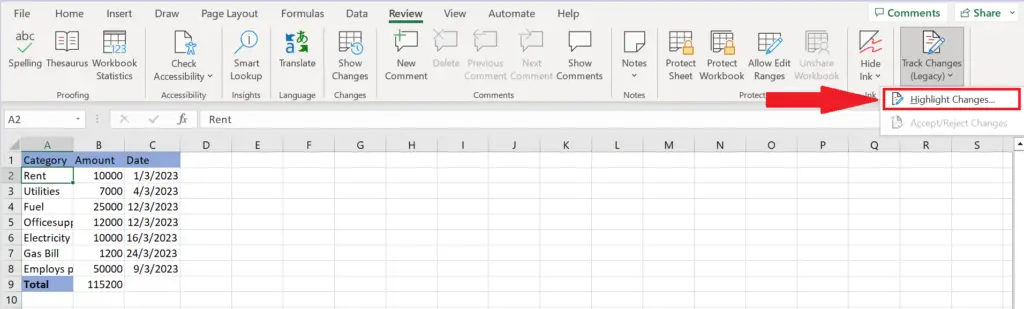
- Now perform a click on the highlight changes in scroll down.
Step 4 – Check the Box Prior to the Highlighted Option
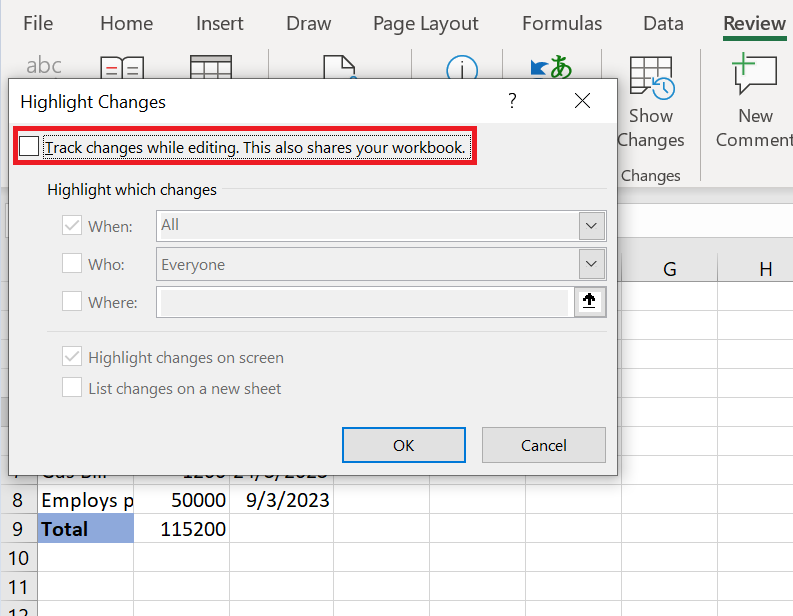
- Check the box besides the option highlighted below located in the “Highlight Changes” dialog box.
Step 5 – Select What You Want to Trace
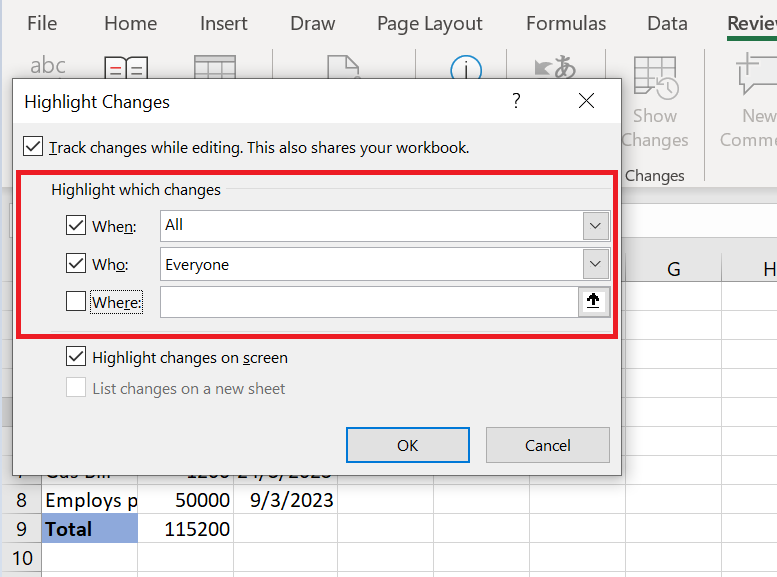
- Select what you want to trace i.e. who edited, when edited and where.
Step 6 – Hit the OK Button
- Hit the OK button.
- Now, to check we will manipulate the data sheet. The “Track Changes” feature will show who has changed and when as shown.
Method 2: Utilizing Version History to See Who Made Changes in Microsoft Excel
We can apply version history to our data sheet to see who changes the data sheet in Microsoft excel.
Step 1 – Locate File Tab in Menu Bar

- The first step is to access the File tab in the Ribbon.
Step 2 – Select the “Info” Option
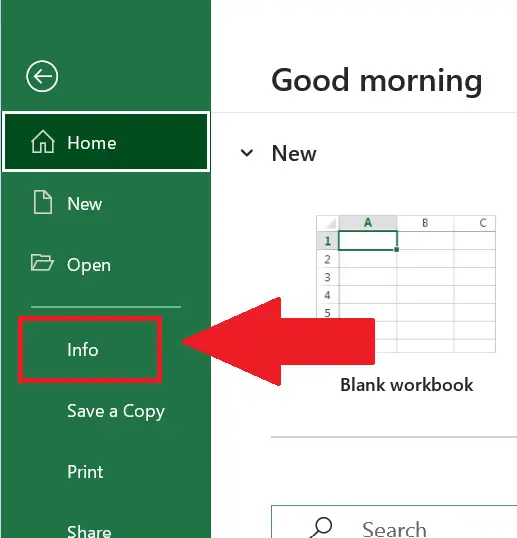
- Perform a click on the info tab.
Step 3 – Click Upon Version History
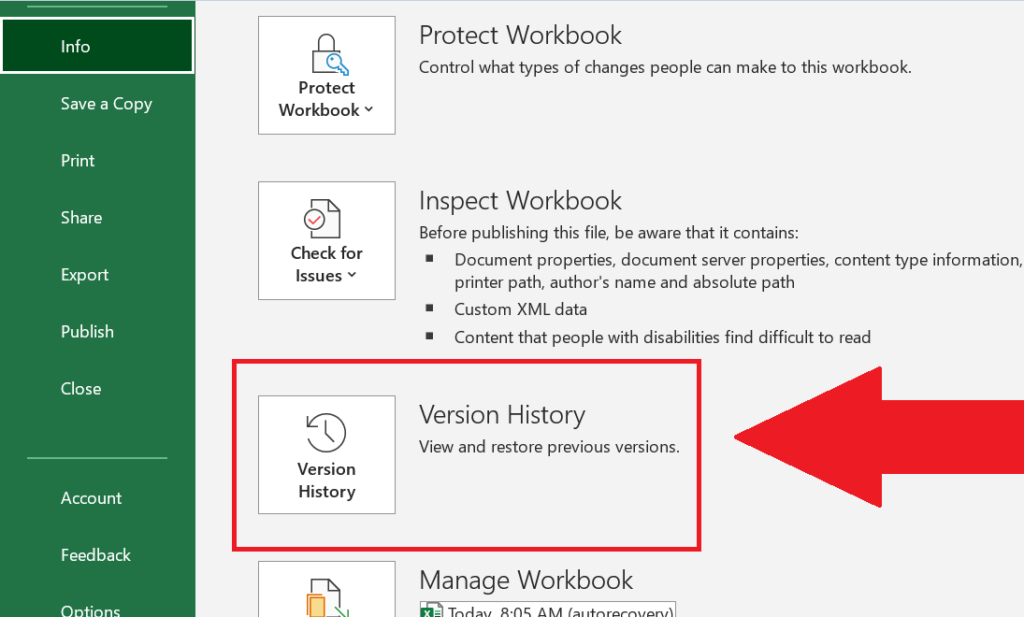
- Next, select the “Version History” option.
Step 4 – Check the Version History

- Finally, you will be able to view the Version History and identify who made changes to your workbook.
Method 3: Utilizing Drop Down Arrow to See Who Made Changes in Microsoft Excel
Furthermore, you can access Version History using the drop-down arrow to identify who made changes in Excel.
Step 1 – Click on Drop Down Arrow
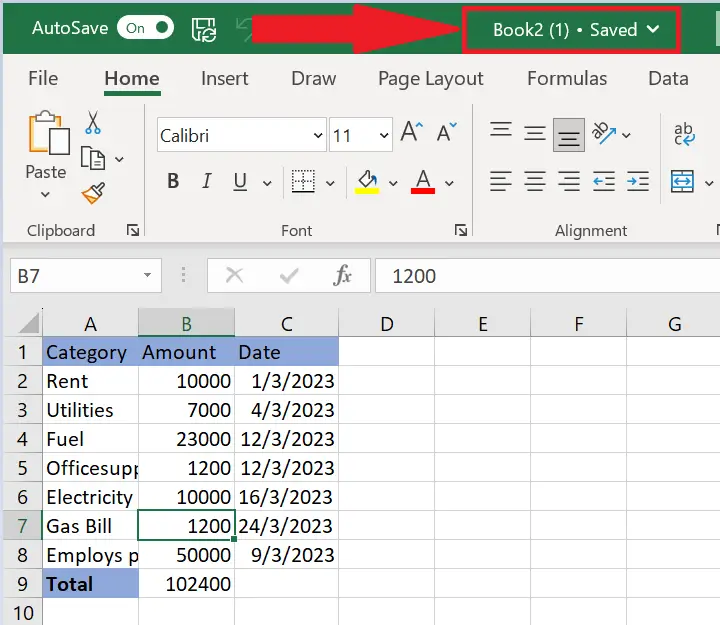
- To start, select the drop-down arrow located next to the Saved option.
Step 2 – Select Version History
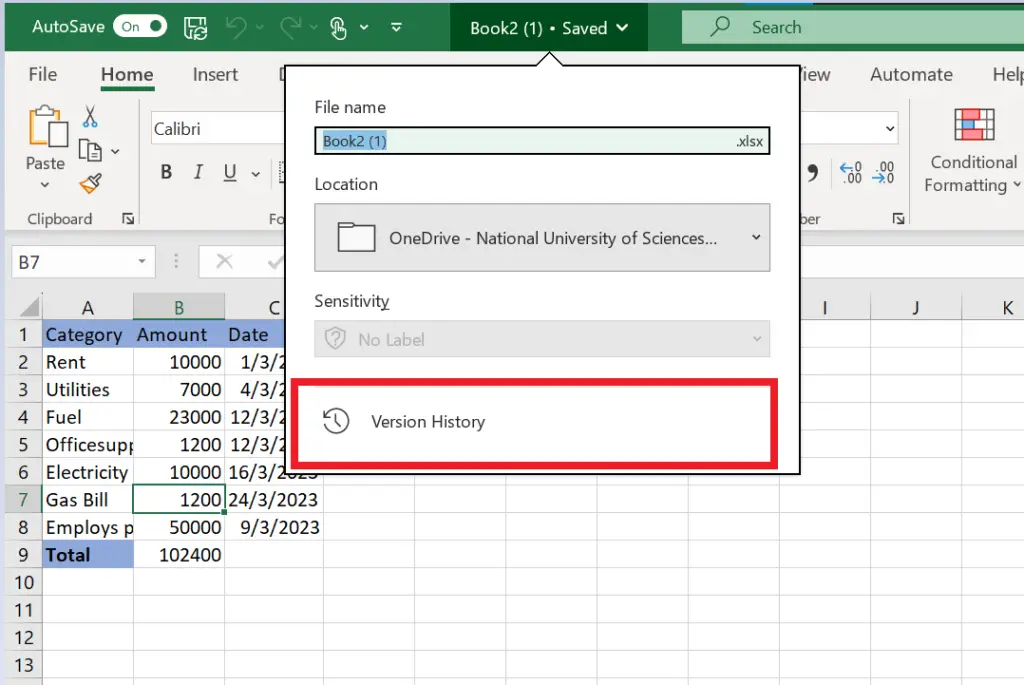
- Now select version history to see who changes in Microsoft Excel.
Step 3 – Check the Version History
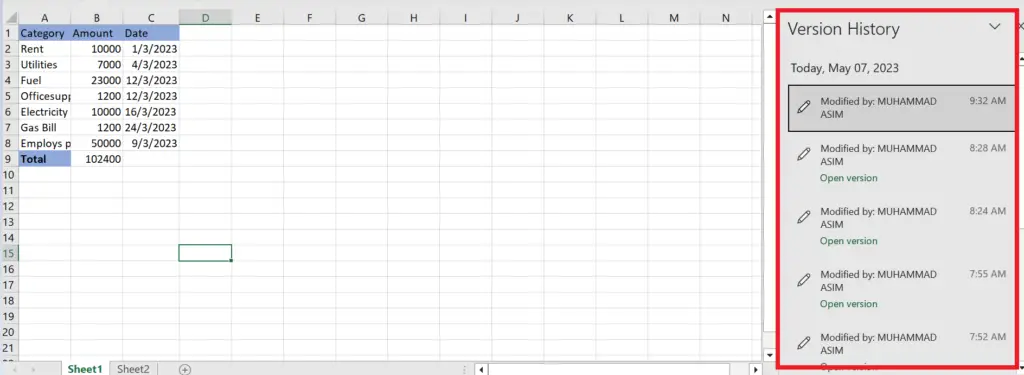
- Finally, you will be able to view the Version History and identify who made changes to your workbook.


