
How to return to Normal View in Excel
 By
SpreadCheaters
By
SpreadCheaters
Page last updated:
26/04/2023 |
Next review date:
26/04/2025
Excel is a powerful tool for data analysis and manipulation, but sometimes the display can become overwhelming or difficult to read. If you’re having trouble seeing your data or need to adjust the view for any reason, Excel has several view options that can help. In this tutorial, we’ll walk you through how to return to the normal view in Excel.
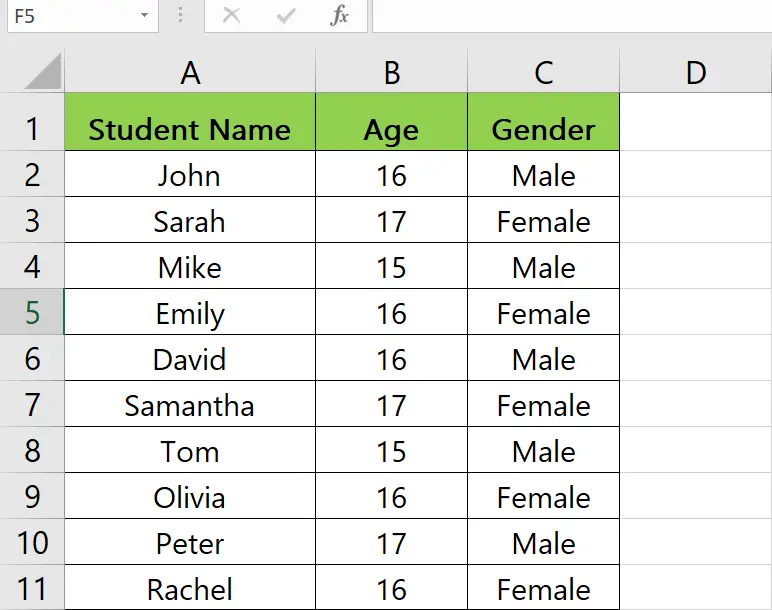
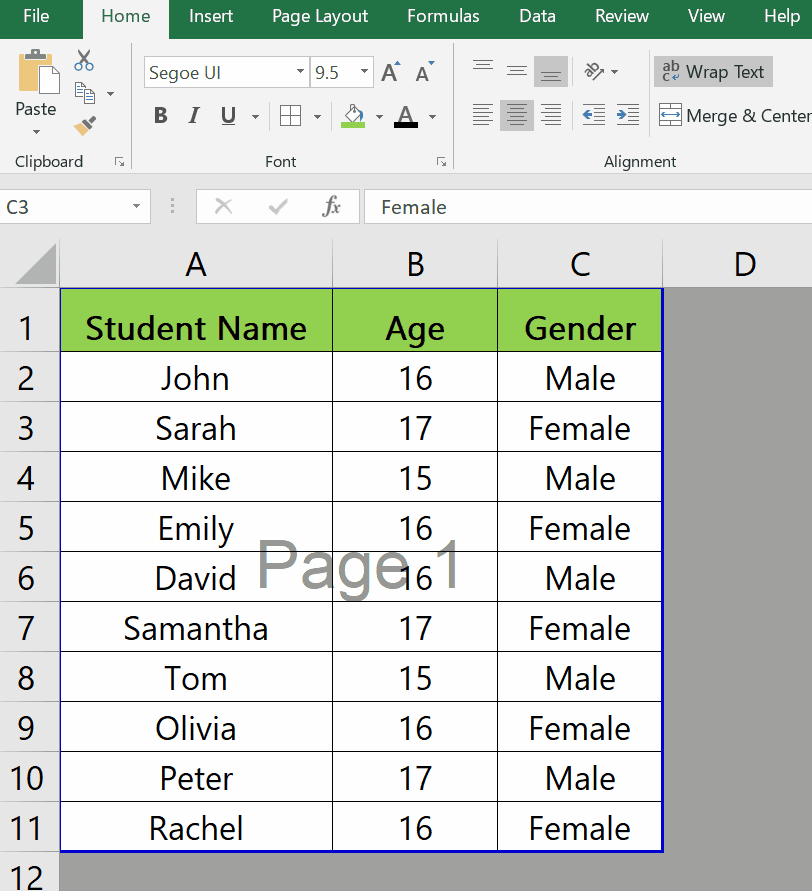
Here we have a random dataset, in this dataset, there is a Student Name, Age, and Gender column in which there are names, ages, and genders. In this tutorial, we will learn how to return to Normal View in excel but let’s first take a look at the dataset shown above.
Method 1– View icon.
Step 1– Go to View icons on bottom right.
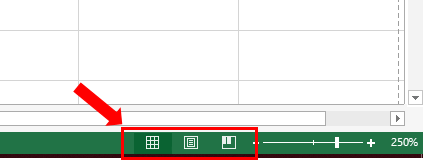
- There are three different view icons at the bottom right besides the zoom slider.
- Choose from three types of views which are Normal view, Page layout, Page break view.
Step 2 – Apply the Normal view.
- In the bottom right with the slider there are three icons.
- Choose the first icon to return back to Normal View.
Method – 2 View tab.
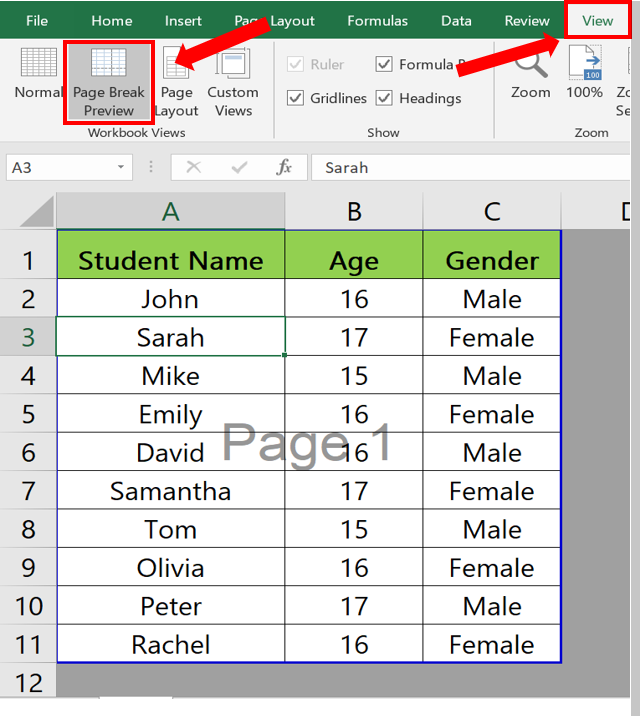
Step – 1 Open the View tab.
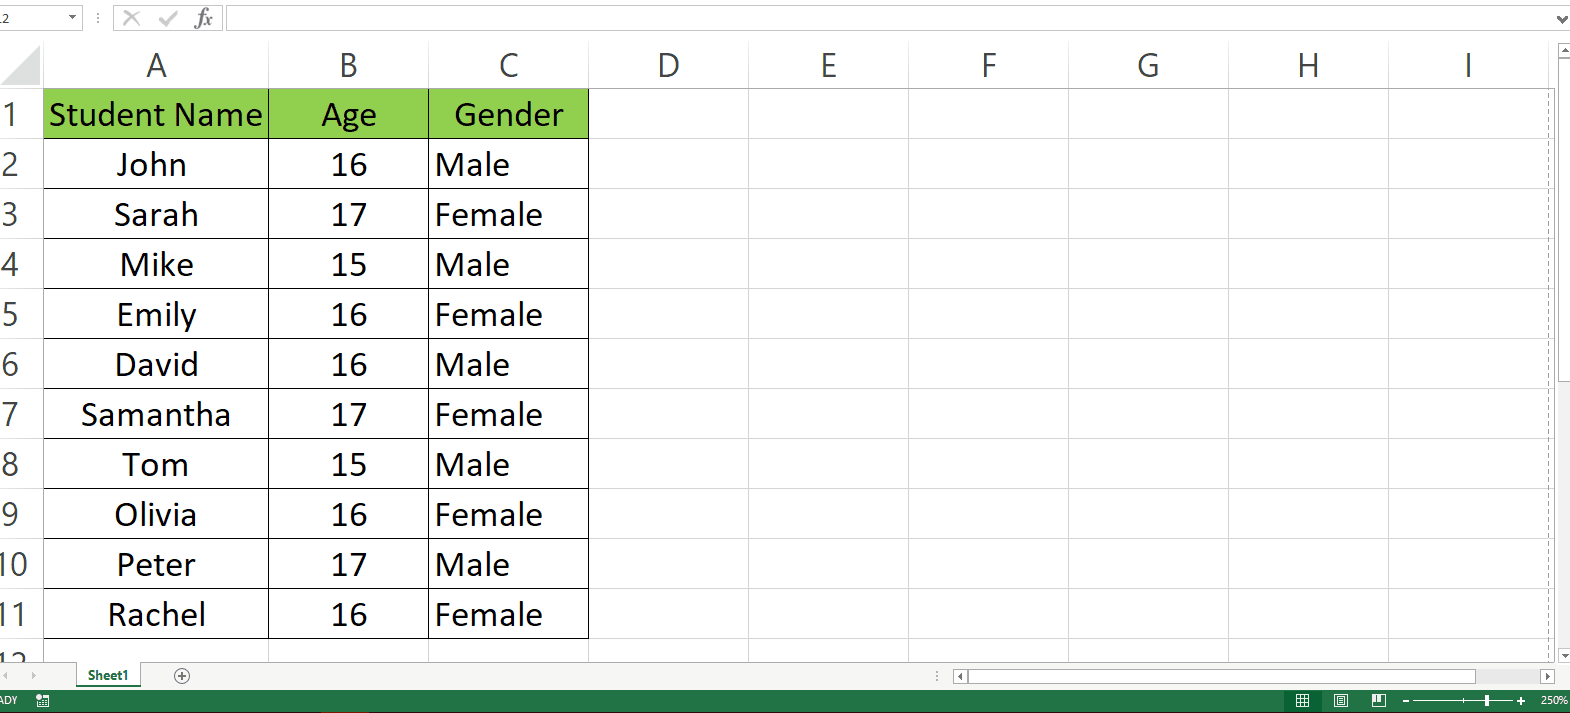
- Suppose we have a dataset in Page Break Preview and we want to change it to Normal View.
- Click on the View tab on the ribbon at the top of the Excel window.
Step – 2 Applying the Normal View.
- Click on Normal in the Workbook Views section.
- This will set your view to default.


