
How to resize and reposition a chart in Excel
 By
SpreadCheaters
By
SpreadCheaters
A chart in Excel is a graphical representation of data that allows users to visualize and analyze data more efficiently. Resizing and repositioning a chart in Excel, refer to changing the size and location of the chart within a worksheet or a separate chart sheet. Resizing a chart involves changing its width and height. Resizing and repositioning a chart can help users optimize their worksheet layout and presentation, and ensure that the complete chart is visible and readable.
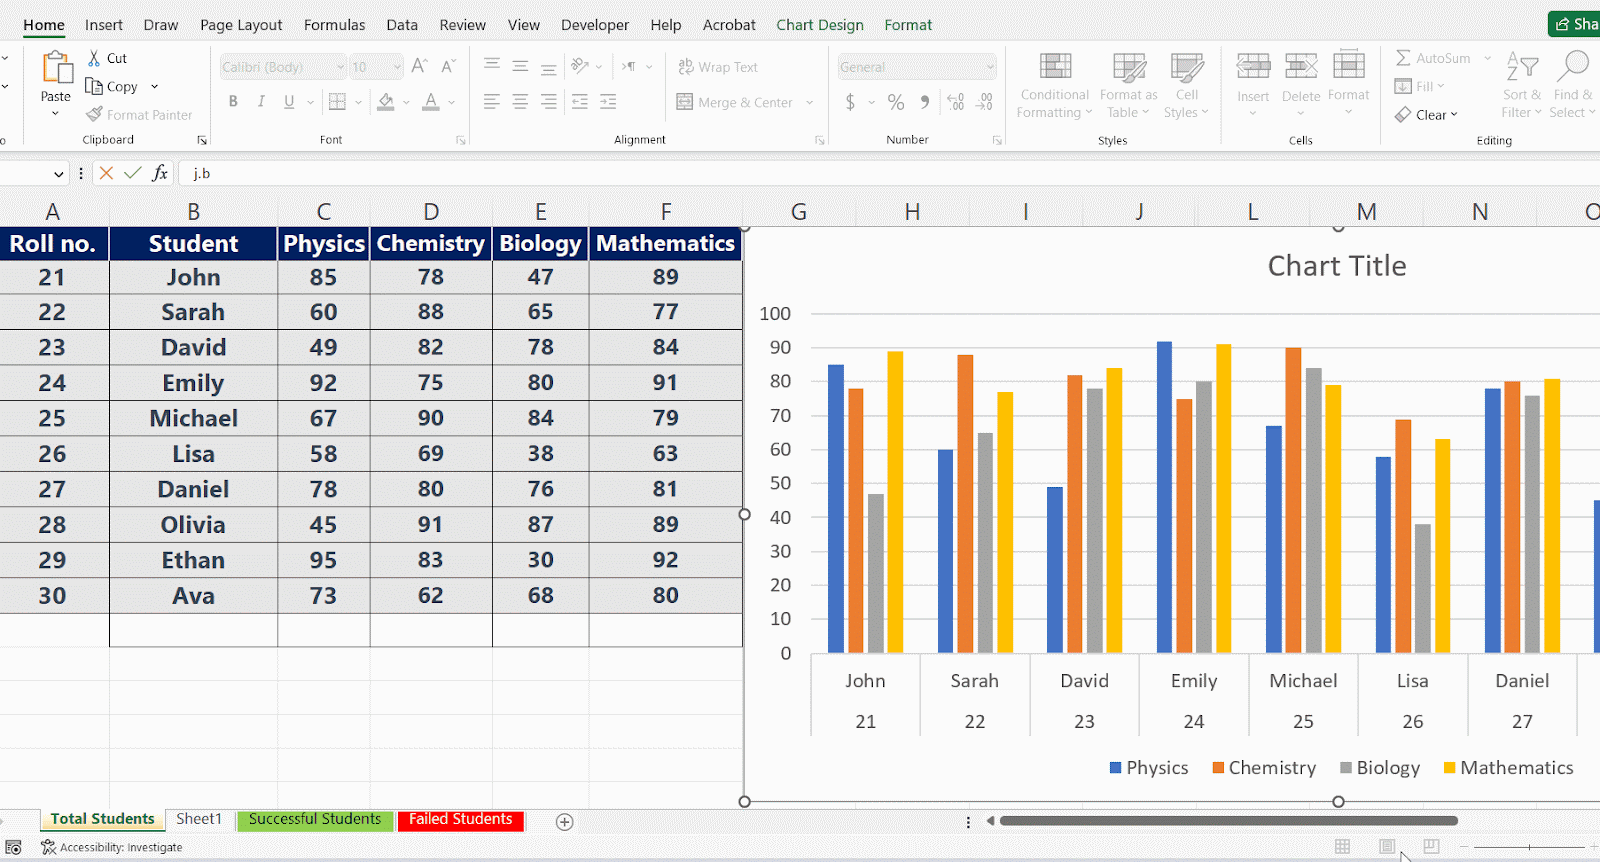
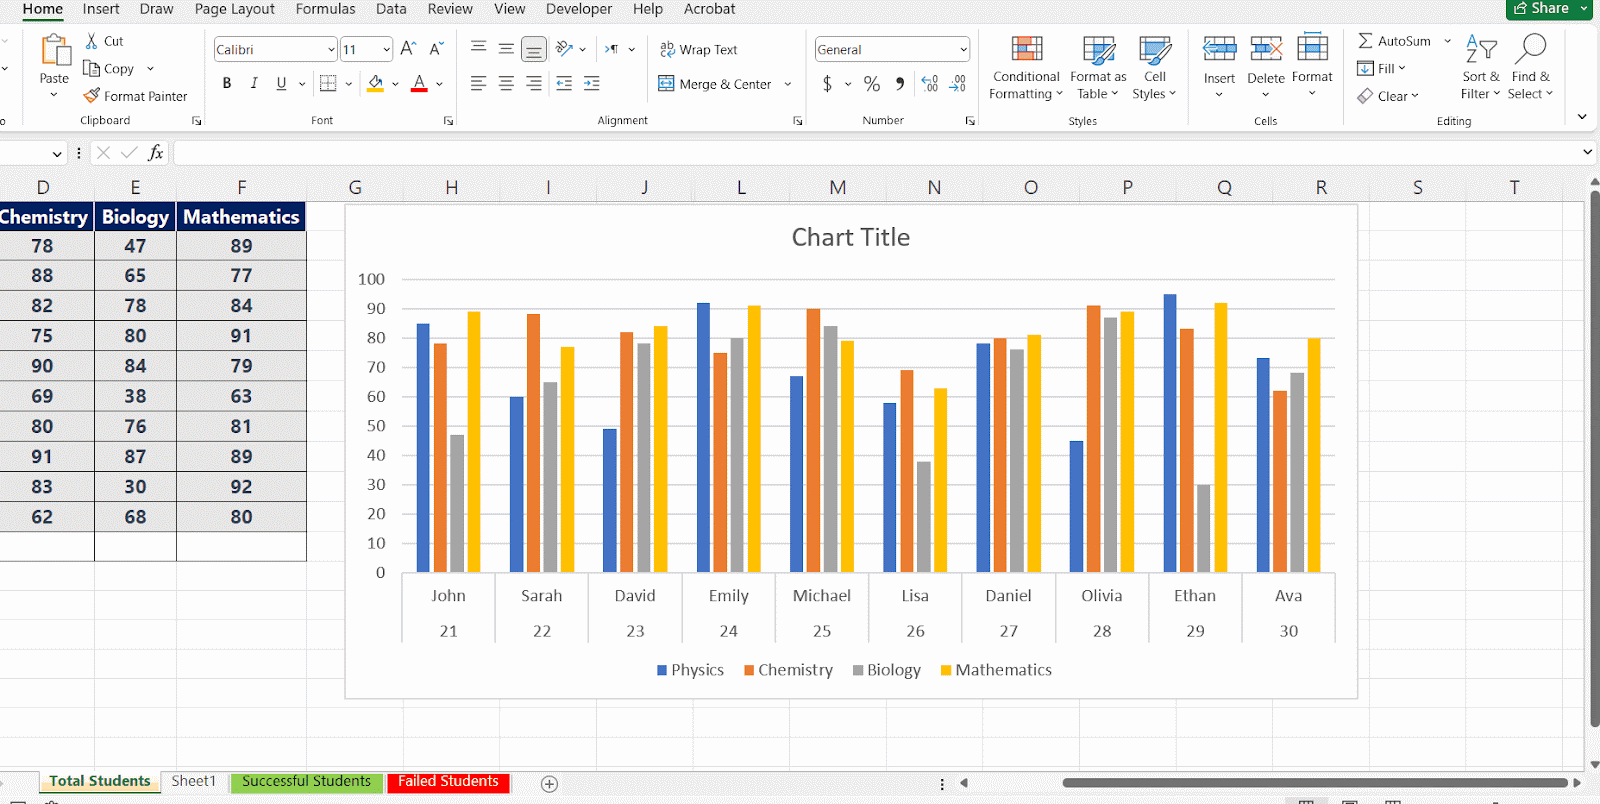
The following data shows the roll numbers of the students, their names and their marks in some subjects. The chart is already plotted, however, we can see that the total chart area is not visible right now. In this tutorial, we will learn how to resize and reposition a chart in excel. There are 2 methods to resize and reposition a chart in Excel. So, let’s discuss and learn those methods by following the steps mentioned above.
Resizing a chart
There are 2 methods for resizing a chart so let’s discuss them first.
Method 1 – Resizing a chart through a side menu
In this method, we are going to resize our chart through a side menu. This method is a bit longer than the method that is discussed below. Consider the following to learn how to resize a chart through a side menu in Excel.
Step 1 – Click on the chart
- Right-click on the chart to enable options.
- A context menu will appear, select the Format Chart Area option from that menu.
Step 2 – Click on the Size and Properties option
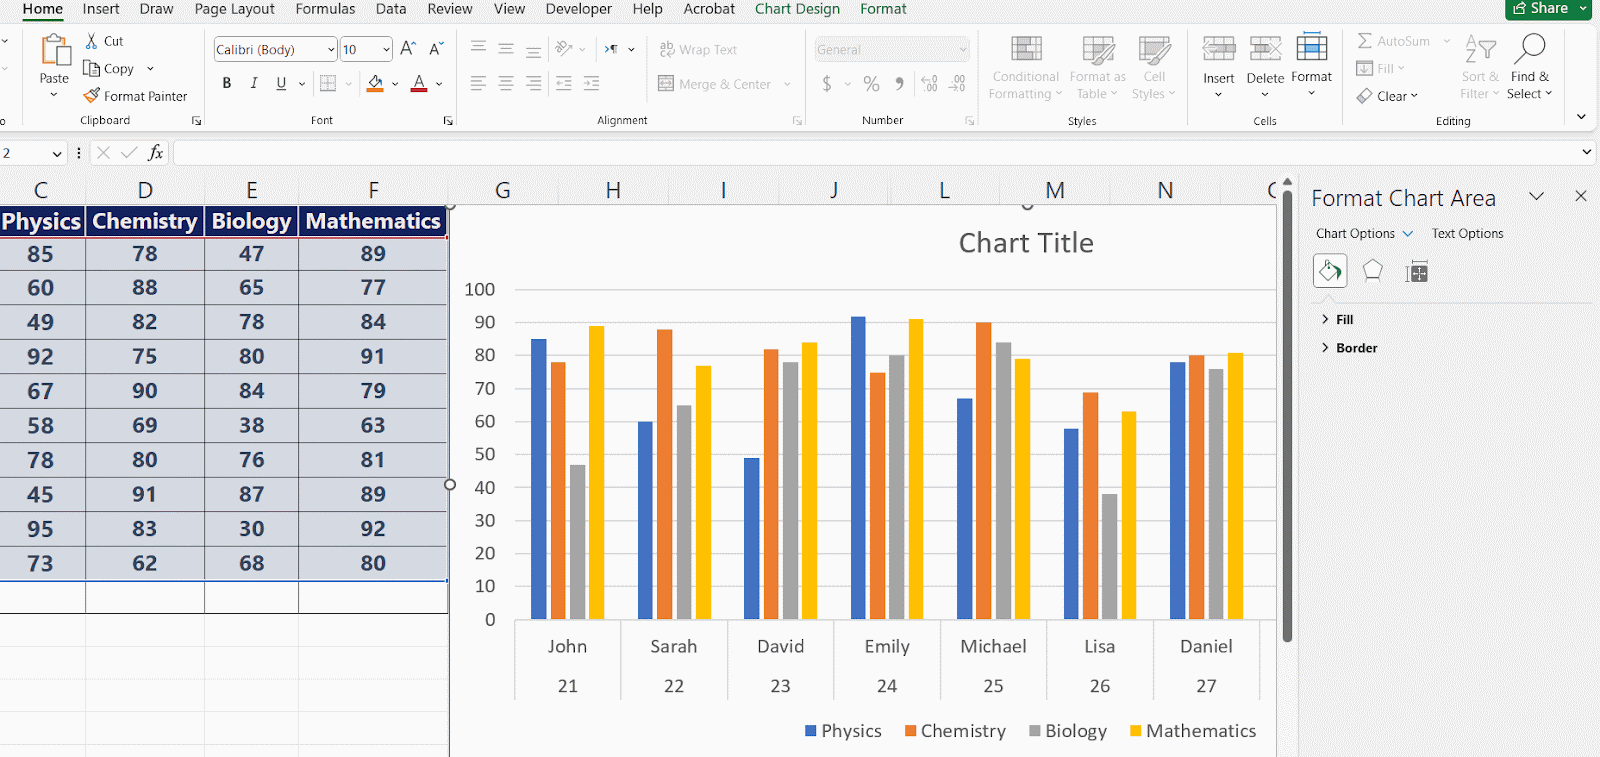
- When you click on the Format Chart Area option, a side menu will appear.
- Click on the last option, i.e; Size and Properties.
Step 3 – Click on the Size tab
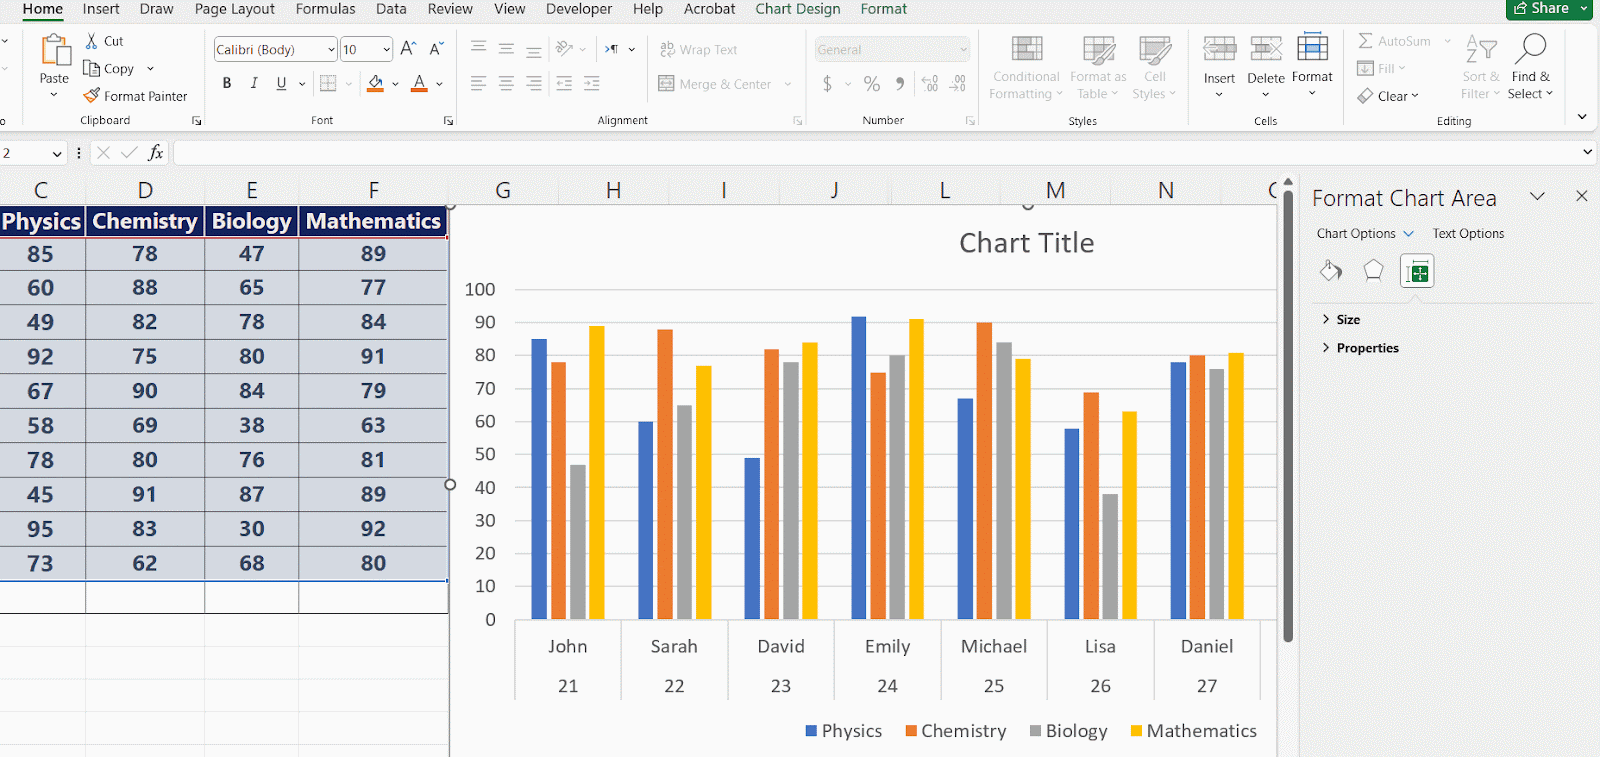
- When you click on the size tab option, a drop-down menu will appear.
- Options for changing height and width will appear in that menu.
Step 4 – Choose height and width
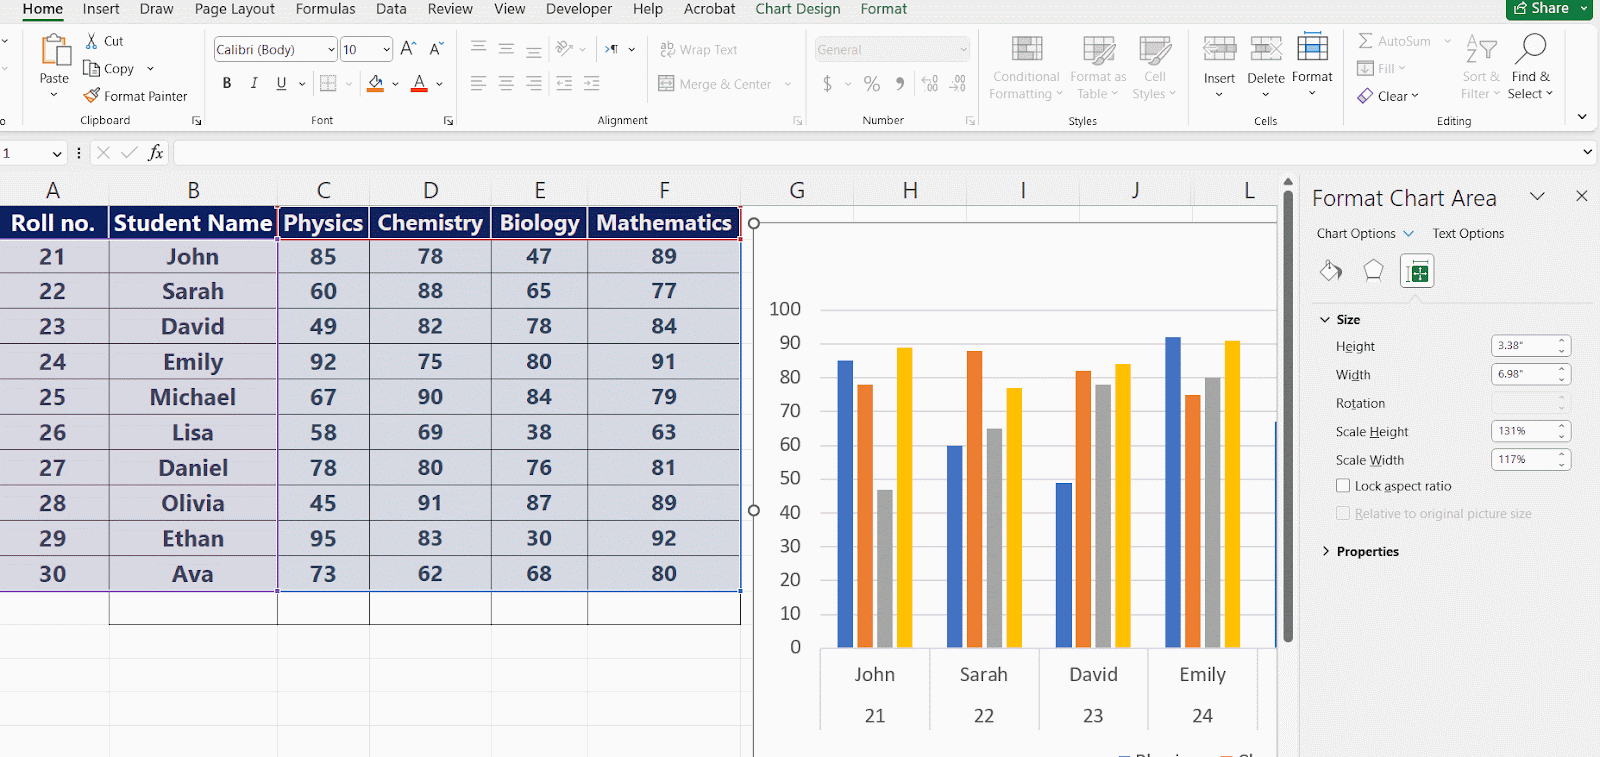
- Choose the appropriate height and width.
- In this case, we will set the height to 2.9” and the width to 4.3”.
- You can also change the height and width by just clicking on the arrows.
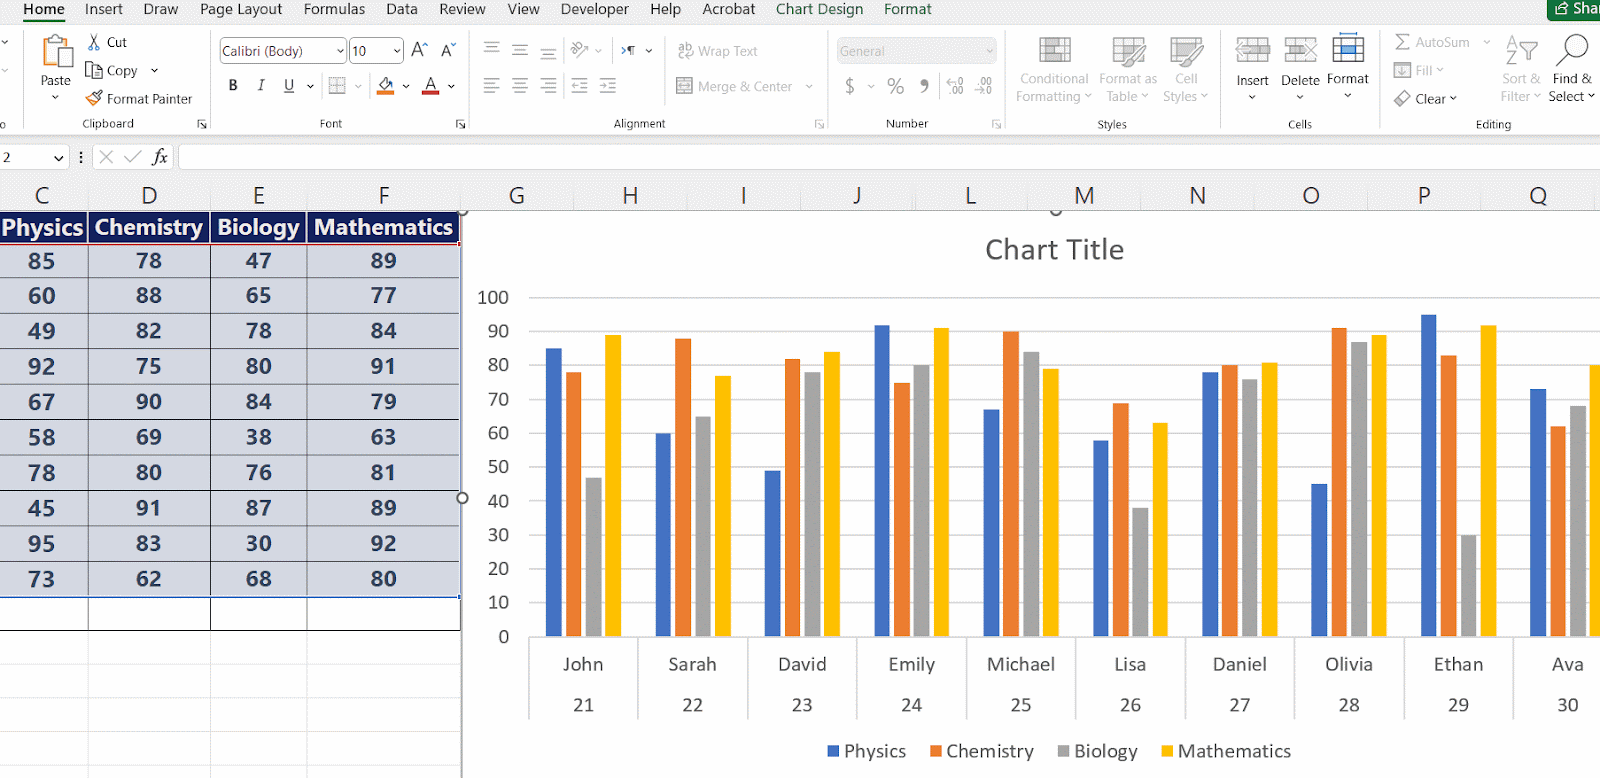
Method 2 – Resizing a chart through the sizing handles
This is the second method used to resize a chart, this method is relatively simpler than the method that is discussed above. Consider the following to learn this method.
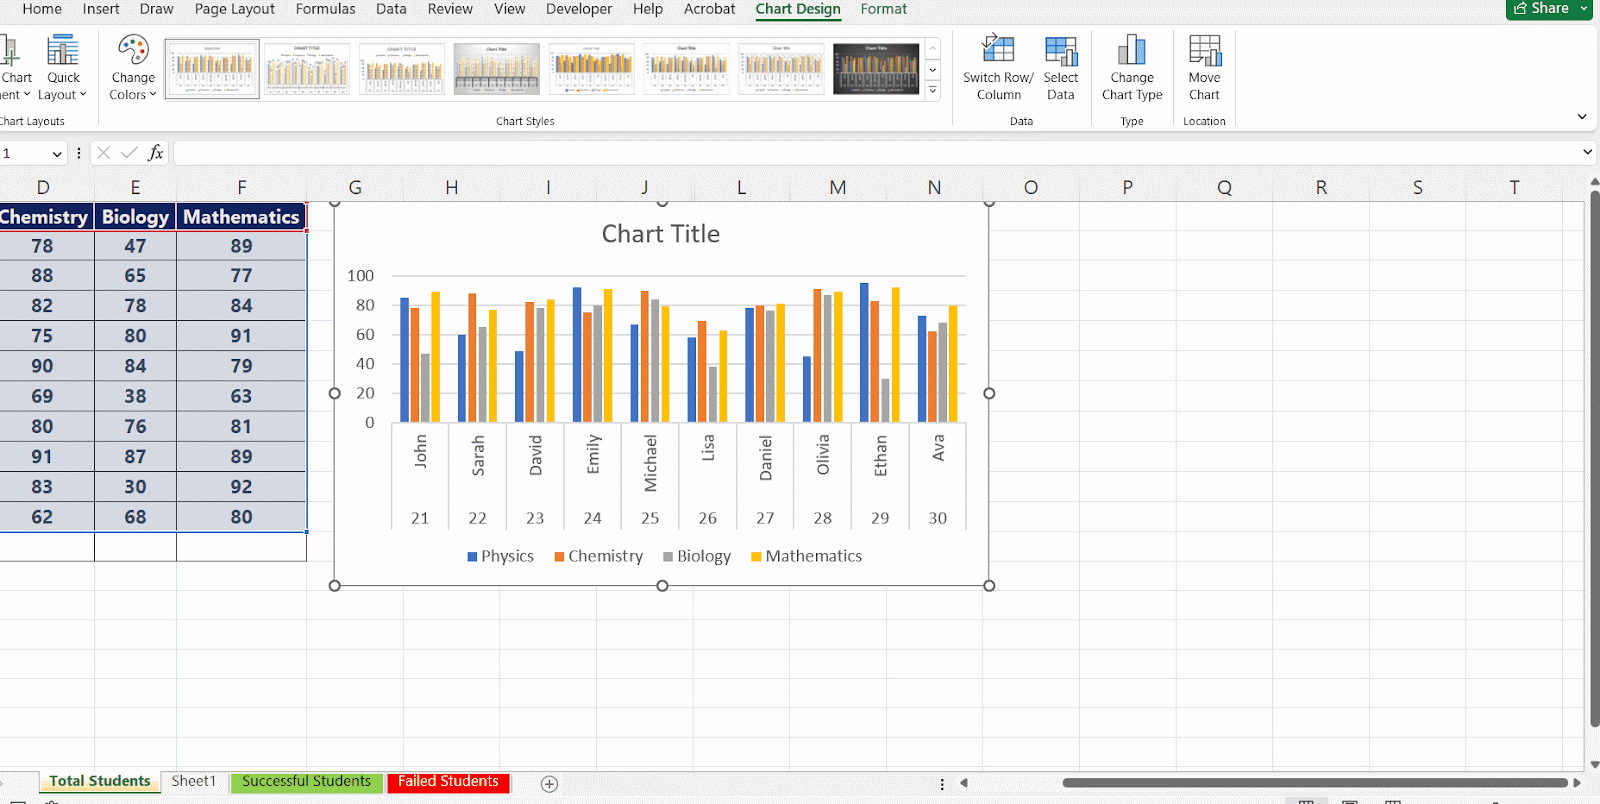
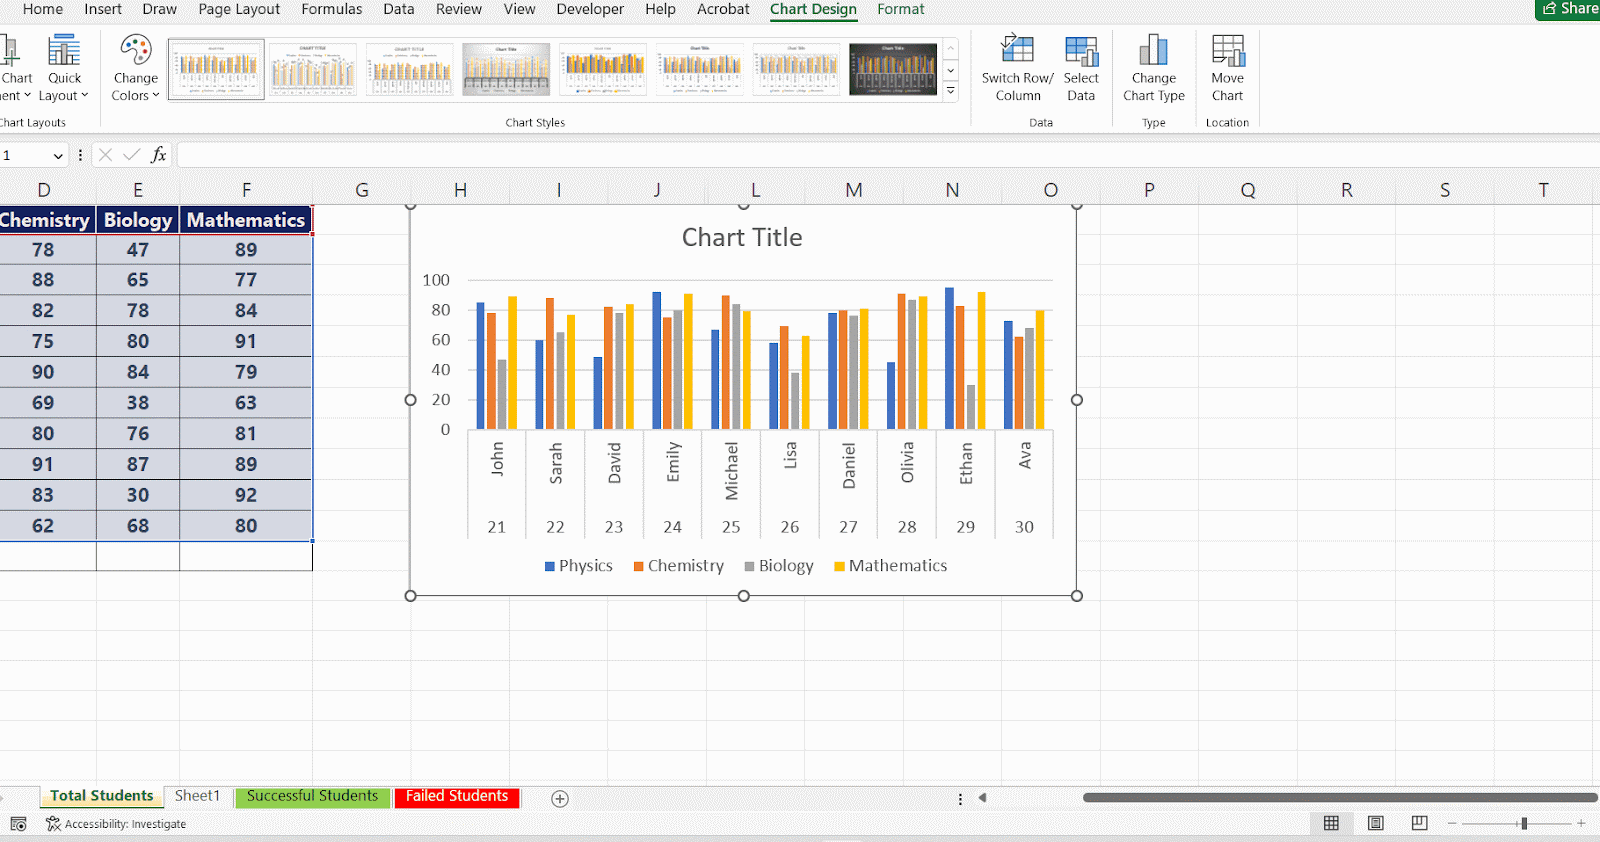
Step 1 – Click on the chart
- Click anywhere on the chart.
- Go to the bottom right or left corner of the chart, and a double-headed arrow will appear, this is called a sizing handle.
- Now you can resize it according to your need, by dragging the mouse as per your requirement, as shown above.
Moving or repositioning a chart
Now let’s discuss how to move or reposition a chart. The method to reposition your chart in Excel depends on whether you want to move a chart on the same sheet or another sheet which is discussed below.
Step 1 – Moving a chart on the same sheet
- Move the mouse to the Chart Area. The mouse cursor will change into a four headed-arrow. This is an indication that now you can drag the chart to move it anywhere.
- So, click and hold to drag the chart to anywhere you want in the worksheet and release the mouse button as shown above.
Step 2 – Moving the chart to another sheet
- Right-click on the chart and a context menu will appear, select the Move chart option from there.
- Alternatively, when you can click on the chart. The tab named Chart Design will appear on the list of main tabs. Click on that and then in the location group you can find the Move chart option.
- When you click on the move chart option, a dialogue box named move chart will appear.
- Click on the dropdown menu arrow of the Object in option to choose the sheet where you want to move the chart.
- Click on OK to confirm moving a chart to another sheet, which will cut the chart from its original sheet and place it on the new sheet as shown above. In our case, we’ll move the chart from the Total Students sheet to the Successful Students.


