
How to repeat header row in Excel
 By
SpreadCheaters
By
SpreadCheaters
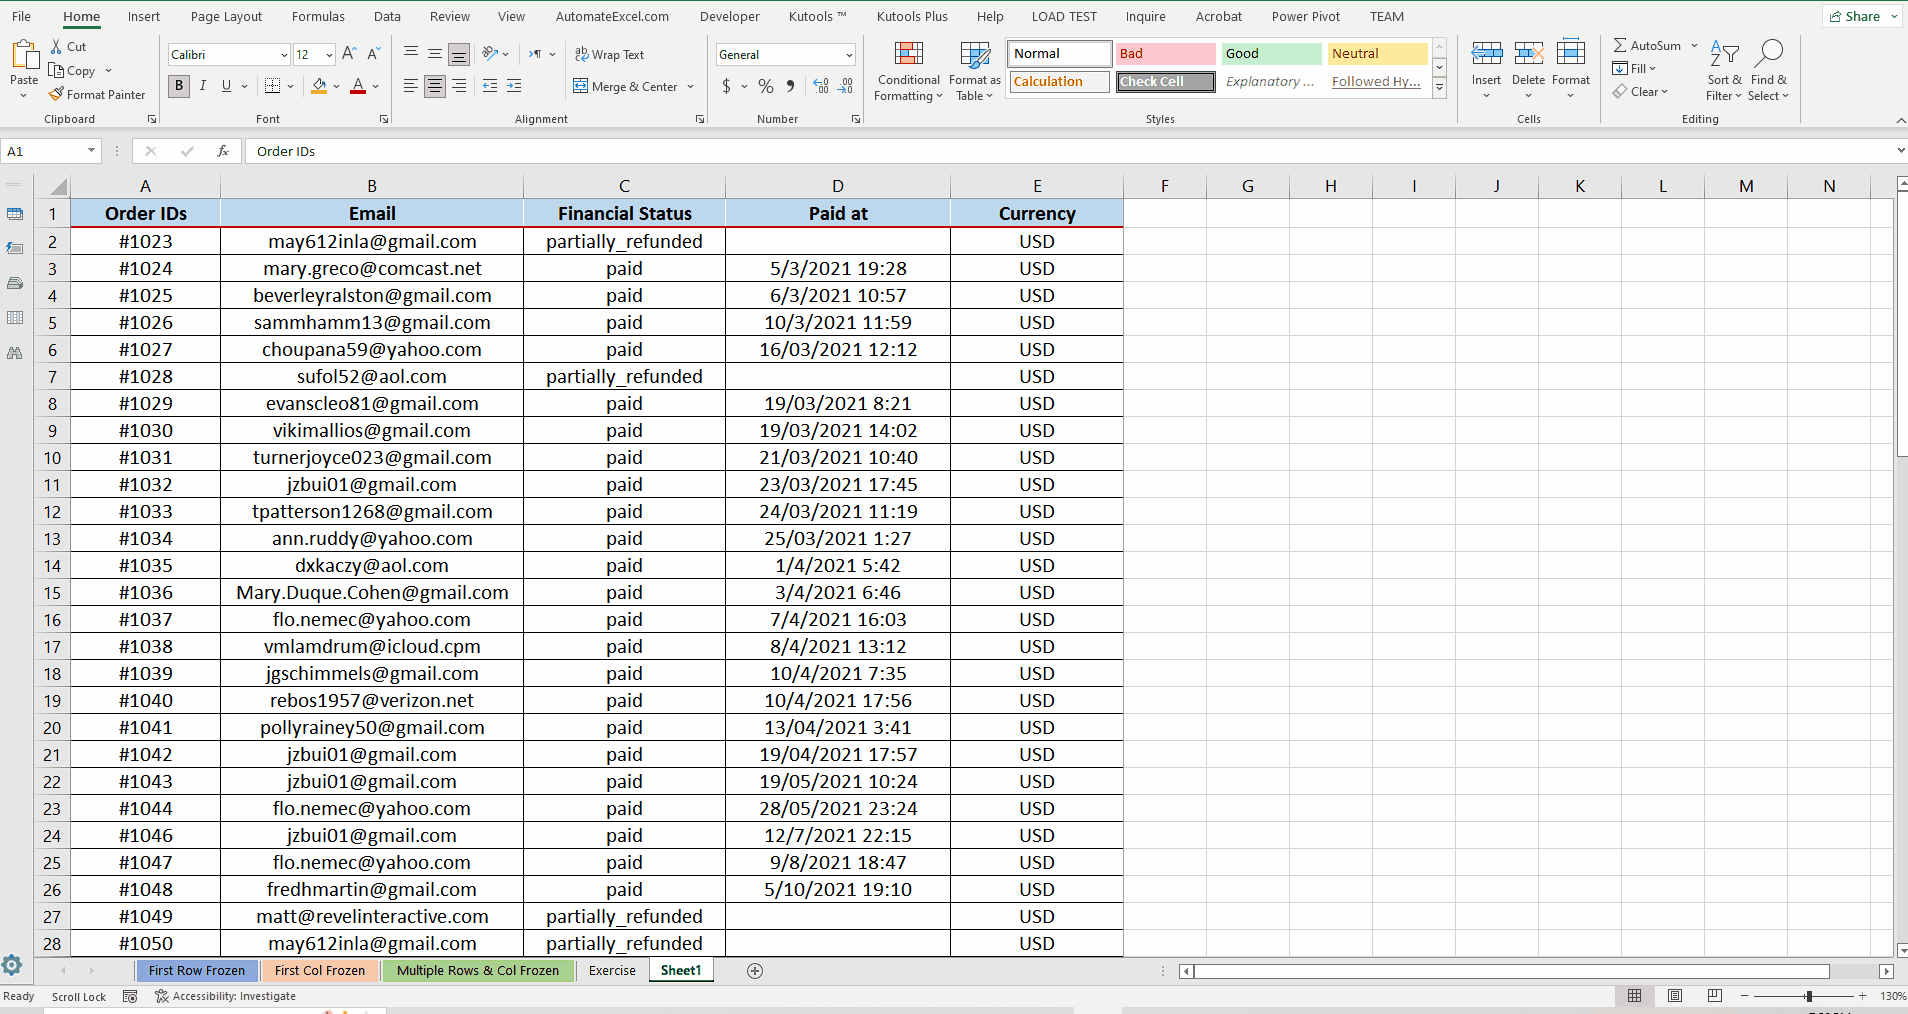
So in today’s tutorial we are going to learn how to repeat the header row in excel while taking the printout of the data. Take a look at this data set that is shown below, we can see that there is a lot of information in the sheet and when we take the print out of this it goes beyond one page and the header row is currently not being repeated on second page.
So let’s make the header row appear on both pages by following these steps which are mentioned in the sections below.

Microsoft Excel is a very good software when it comes to analysing the data and manipulating large data sets. While dealing with very large data sets, when we take the print of the data the print goes beyond one sheet and in such situations we need to repeat the header row on each page to keep track of the data in every column. Otherwise the printed data doesn’t make any sense after the first page.
Step 1 – Locate Page Setup group under Page Layout Tab
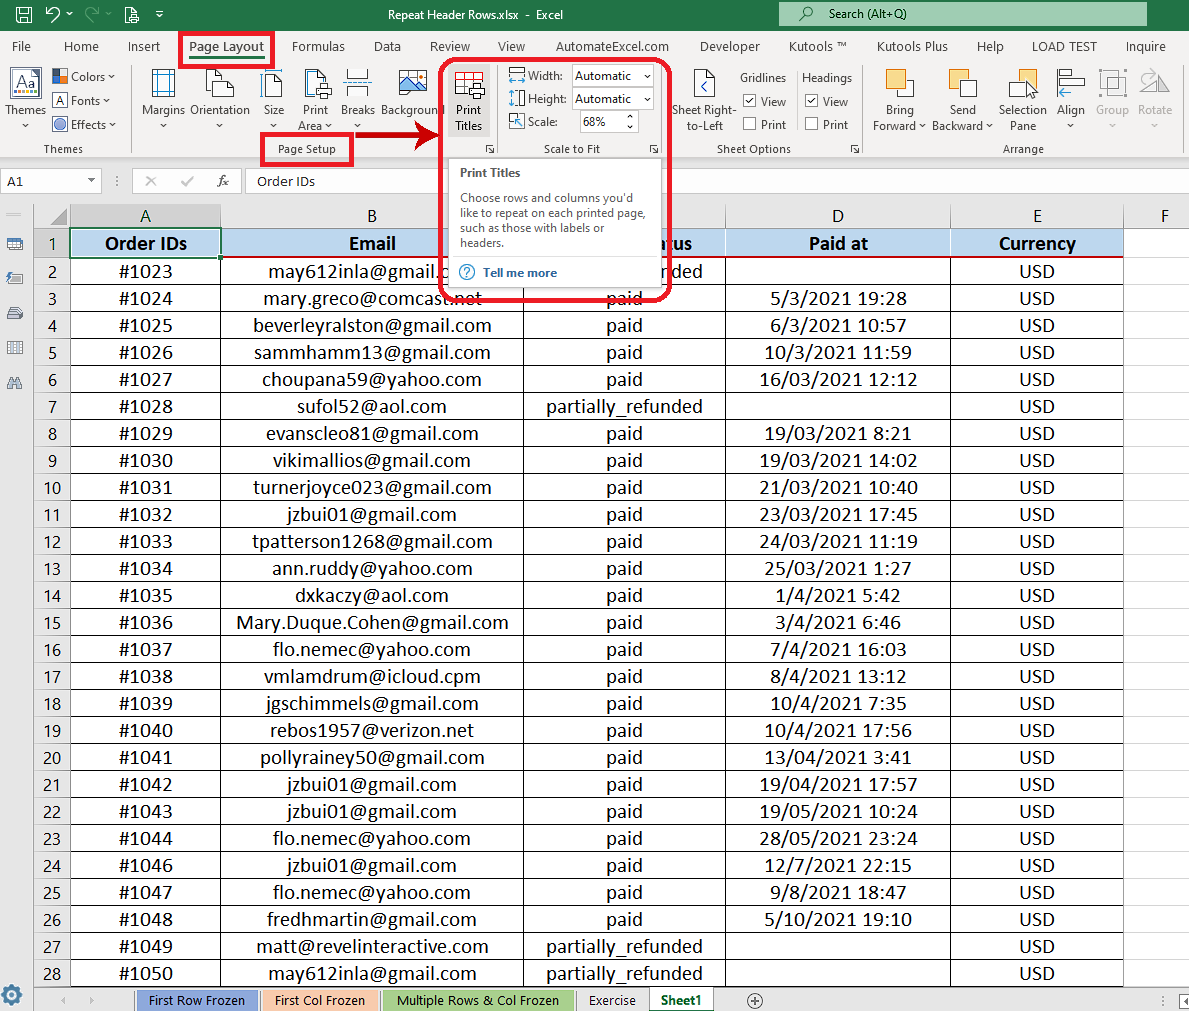
– This setting is available in the Page Layout tab and inside the Page Setup group.
– Here find the Print Titles option as shown below
Step 2 – Select the Header Row to repeat on each page
– After clicking on the Print Titles option a new dialog box will appear asking you to choose the header row to repeat. So choose the Rows to repeat at the top in this dialog box as shown above.
Step 3 – Check the print preview
– After choosing the header row to repeat in the Print Titles options we are all set to check the print preview again. This time we’ll see that header row is being repeated on both pages.
– To check the print preview, click on File and then on Print. It will open up the print preview and here we can see that now the header row is appearing on both print pages.


