
How to remove specific text from a cell in Microsoft Excel
 By
SpreadCheaters
By
SpreadCheaters
In this tutorial we will learn how to remove specific text from a cell in Microsoft Excel. Removing specific text from a cell in Excel means deleting or replacing a particular set of characters or a word within the contents of a cell. This is useful when you need to modify the text in a cell to remove unwanted characters, words or phrases.

Microsoft Excel is a popular spreadsheet software developed by Microsoft Corporation. It is widely used for a variety of tasks, including data analysis, financial modeling, and project management.One of the key features of Excel is its ability to organize and manipulate large amounts of data, allowing users to perform complex calculations, create charts and graphs, and generate reports. With its powerful formula and function capabilities, Excel allows users to automate many repetitive tasks and streamline their workflows.
Step 1 – Select the Cell
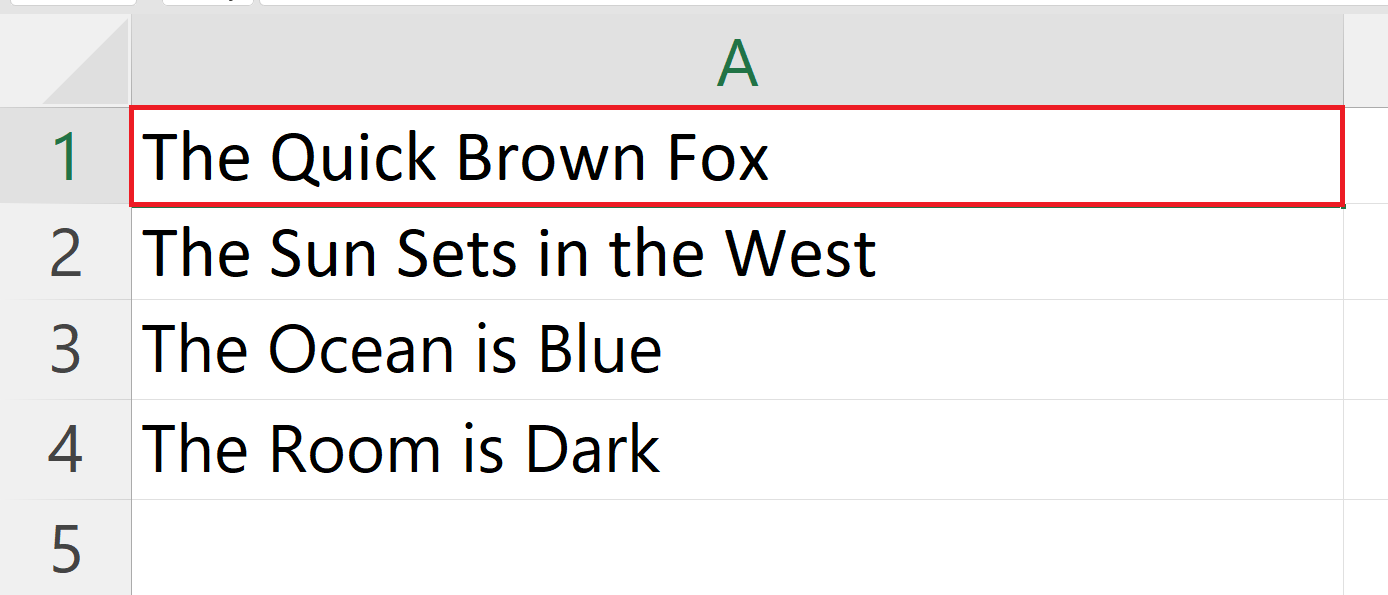
– Select the cell containing the unwanted text.
Step 2 – Go to the Home Tab
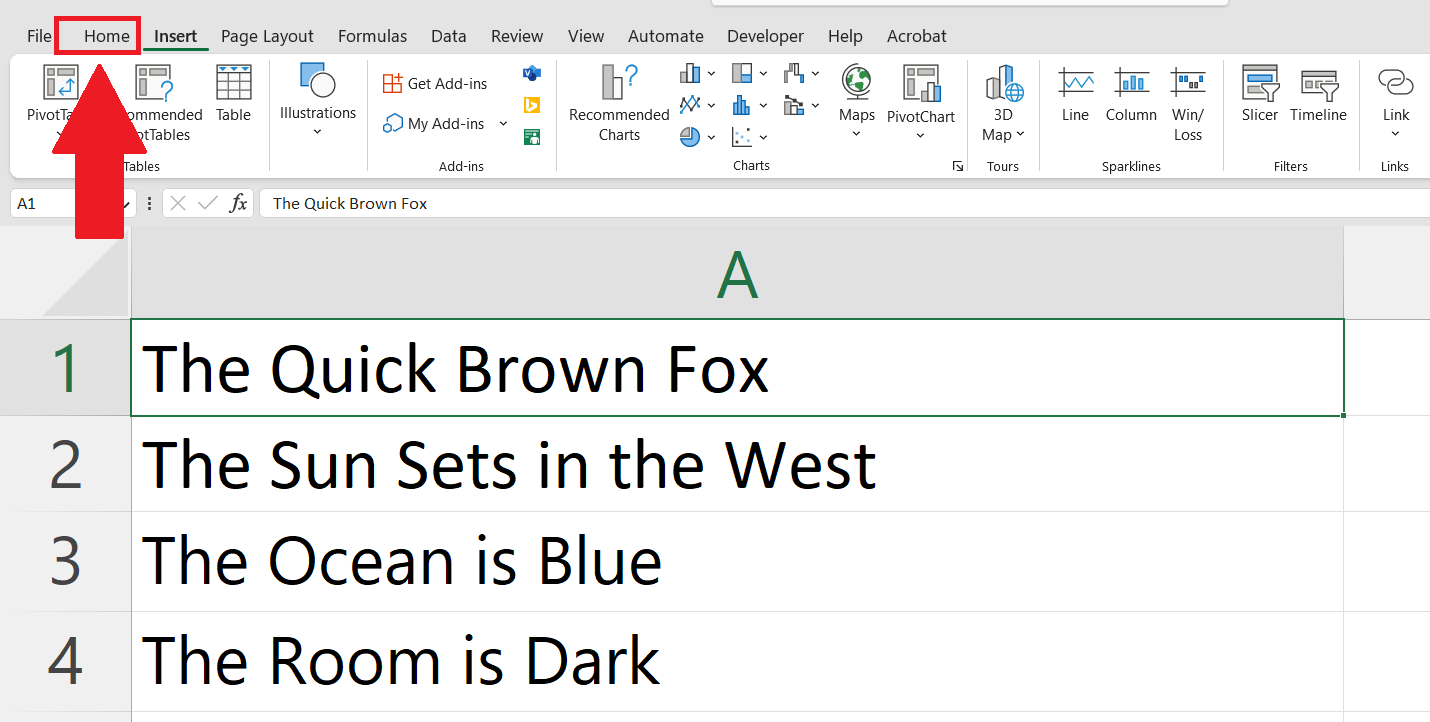
– Go to the Home tab in the menu bar.
Step 3 – Click on the Find & Select Button
– Click on the Find and Select button.
– A drop-down menu will appear.
Step 4 – Click on the Replace option
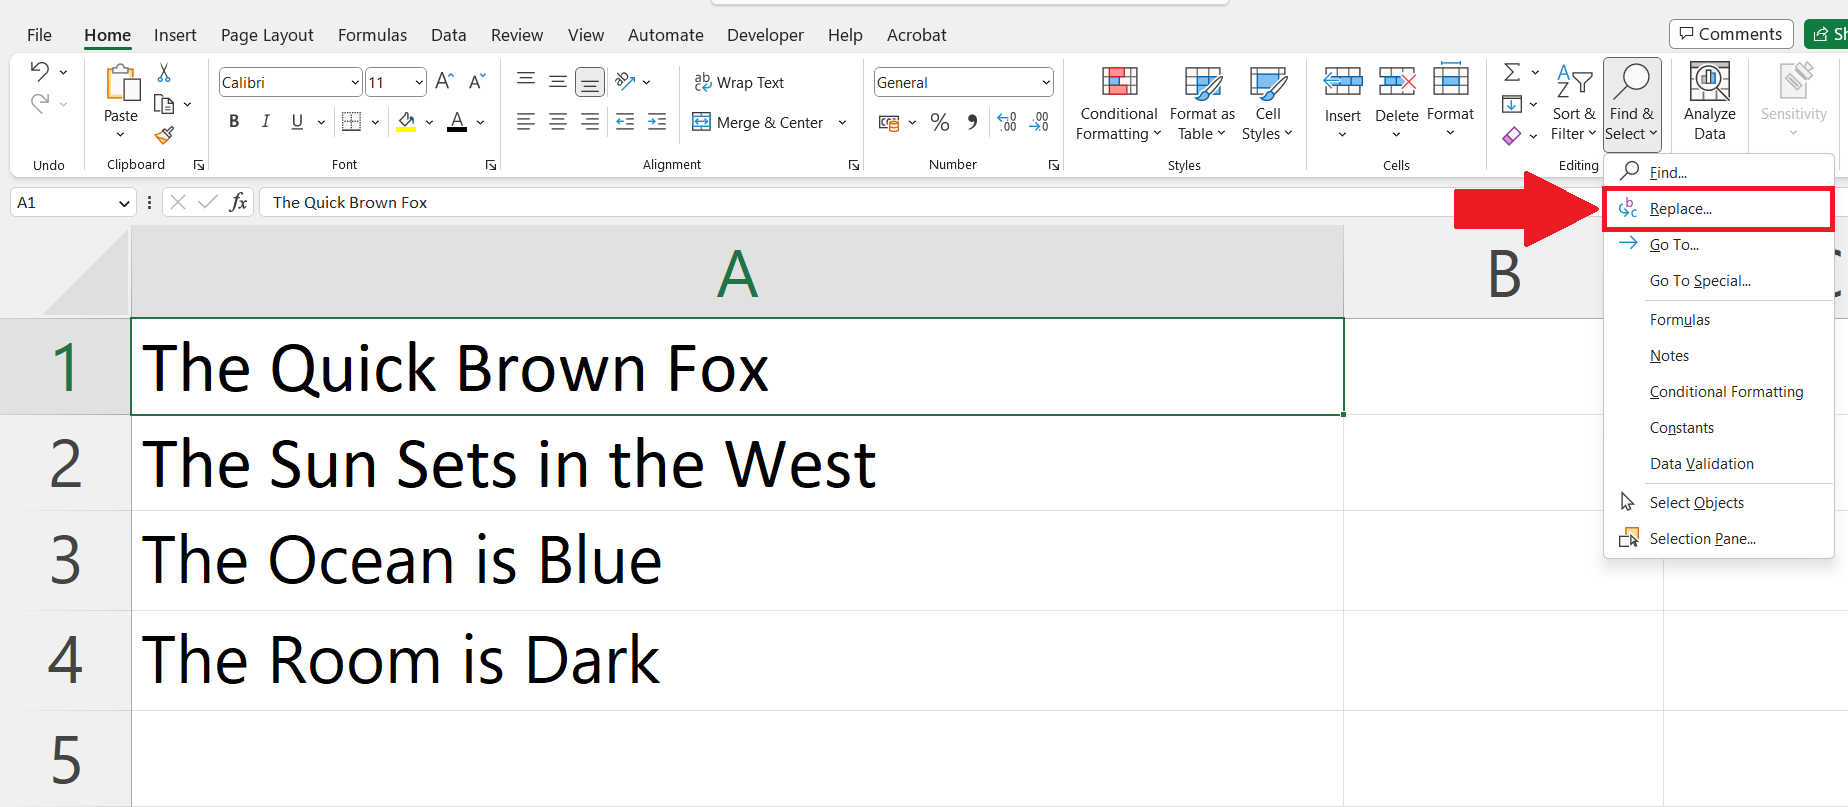
– Click on the Replace option in the drop-down menu.
– Find and Replace dialog box will appear.
Step 5 – Enter the the unwanted text in Find What option
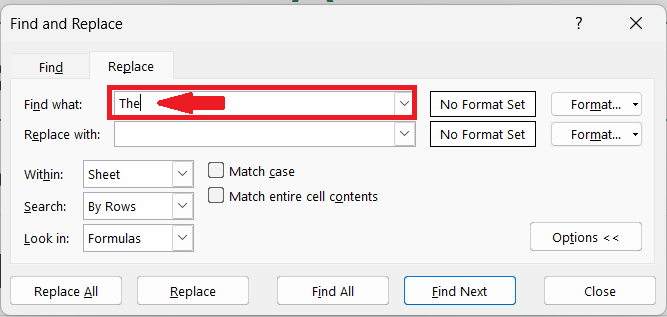
– Enter the unwanted text to be removed in the Find What option.
– Leave the Replace with option blank.
Step 6 – Click on the Replace Button
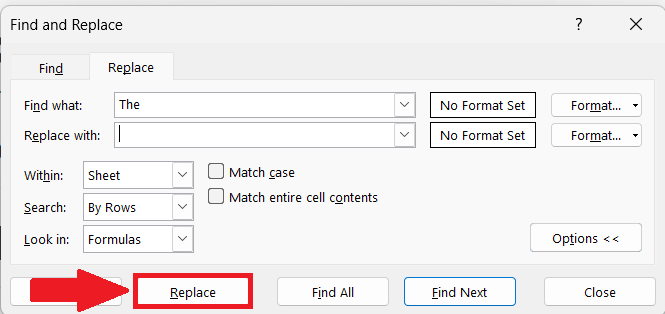
– Click on the Replace button in the Find and Replace dialog box.
– The unwanted text will be removed from the selected cell.
– The dialog box will again appear and the subsequent cell will be selected.
Step 7 – Remove the Text from each Cell
– Click on the Replace All button to remove the unwanted text from each cell.


