How to remove lines in Excel
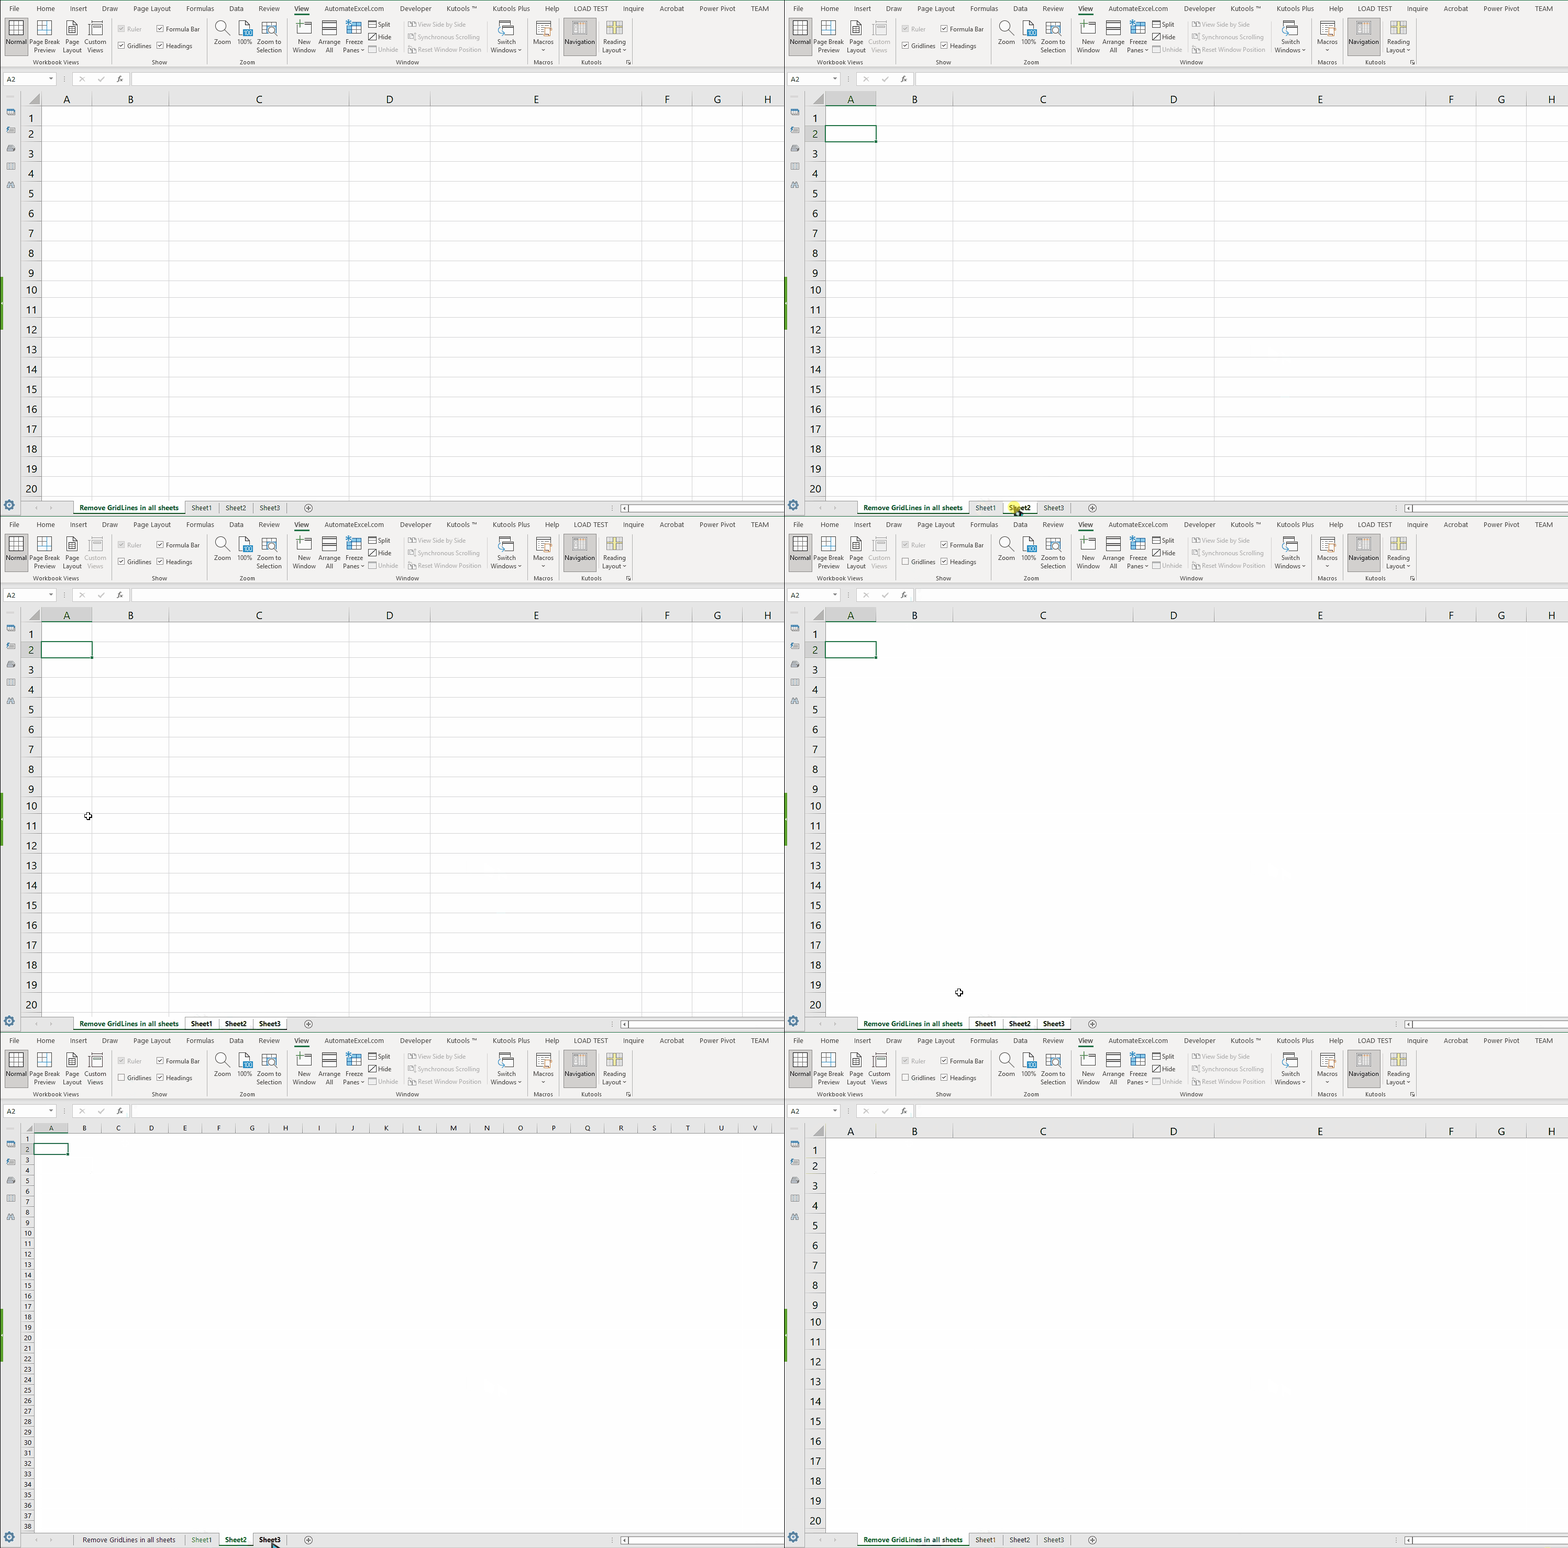
In this tutorial we’ll learn the process to remove or hide these gridlines in Excel by following these simple steps.

Gridlines or sometimes known simply as Lines are the vertical and horizontal lines in gray color which differentiate cells from one another in a spreadsheet. These gridlines are applied to all the cells of all worksheets in a spreadsheet unlike borders which can be applied to any specific region of the spreadsheet.
Step 1 – Remove gridlines from active worksheet using View Tab

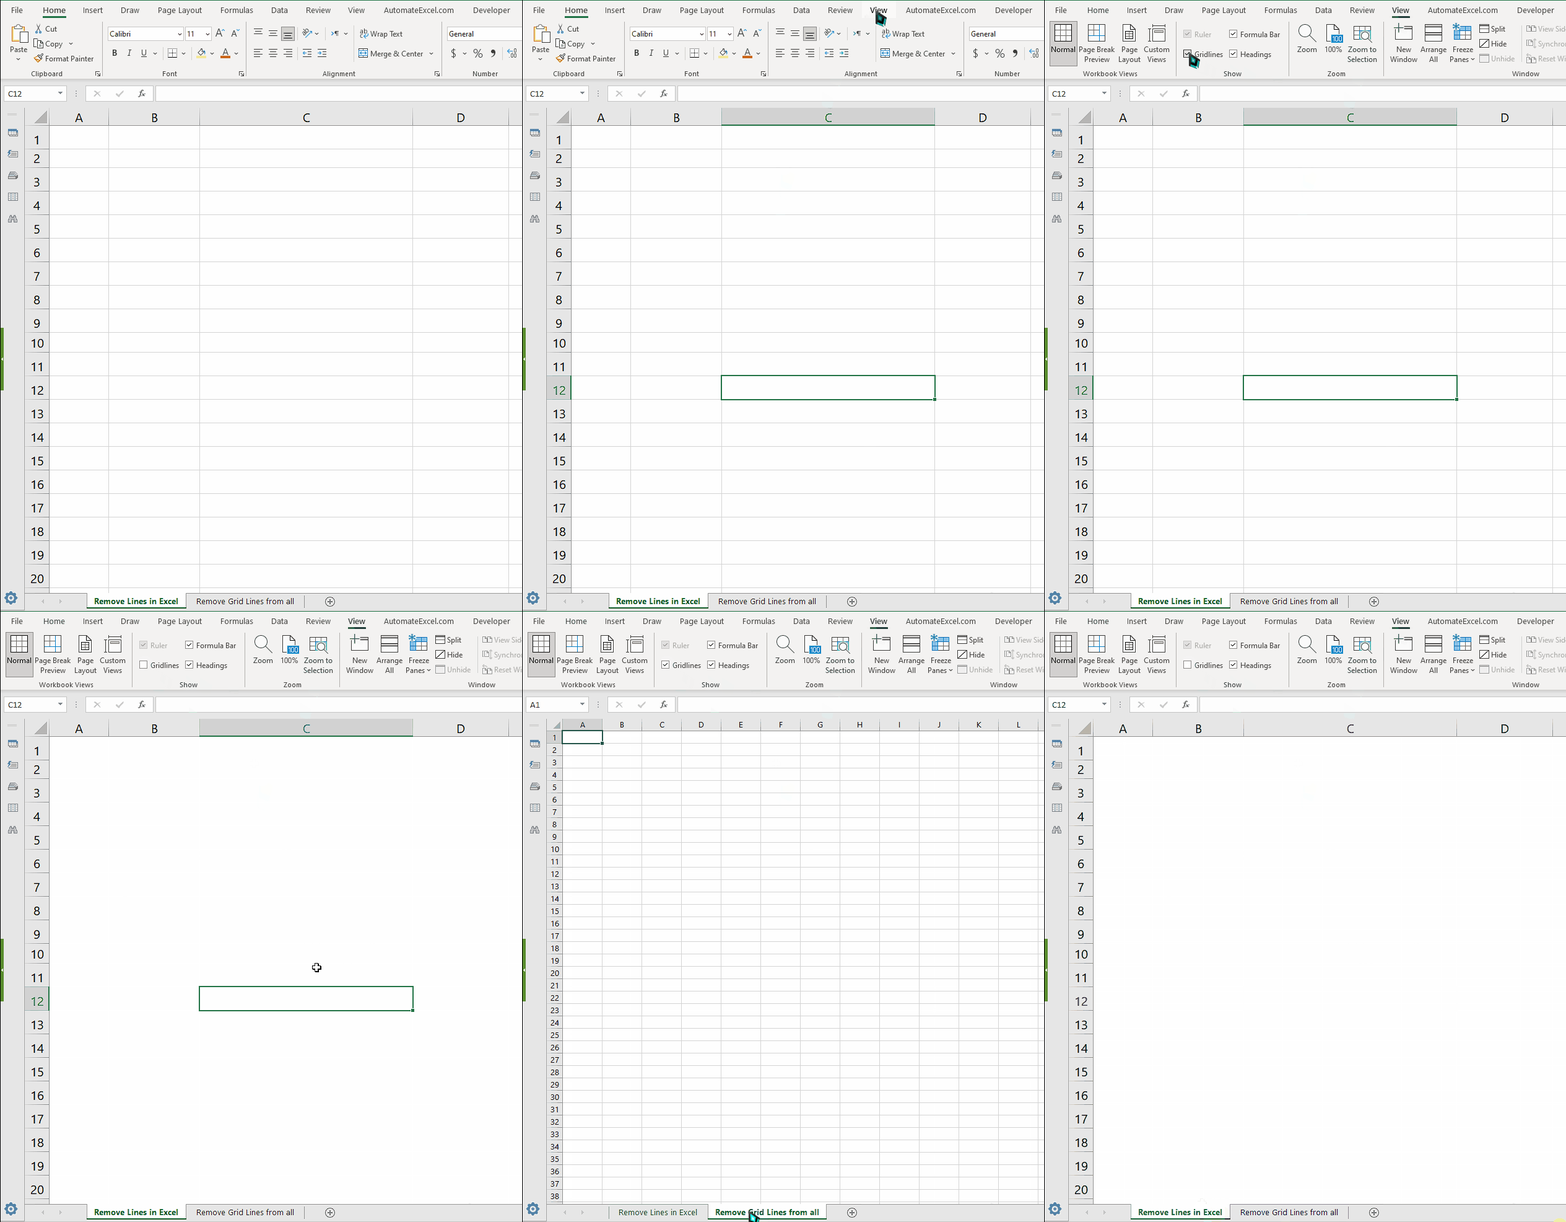
– The simplest of all methods is to go to View Tab on the Main Menu and then in the Show group uncheck the gridlines option.
– This will remove gridlines from the active worksheet as shown above.
Step 2 – Remove gridlines from active worksheet using Fill Color

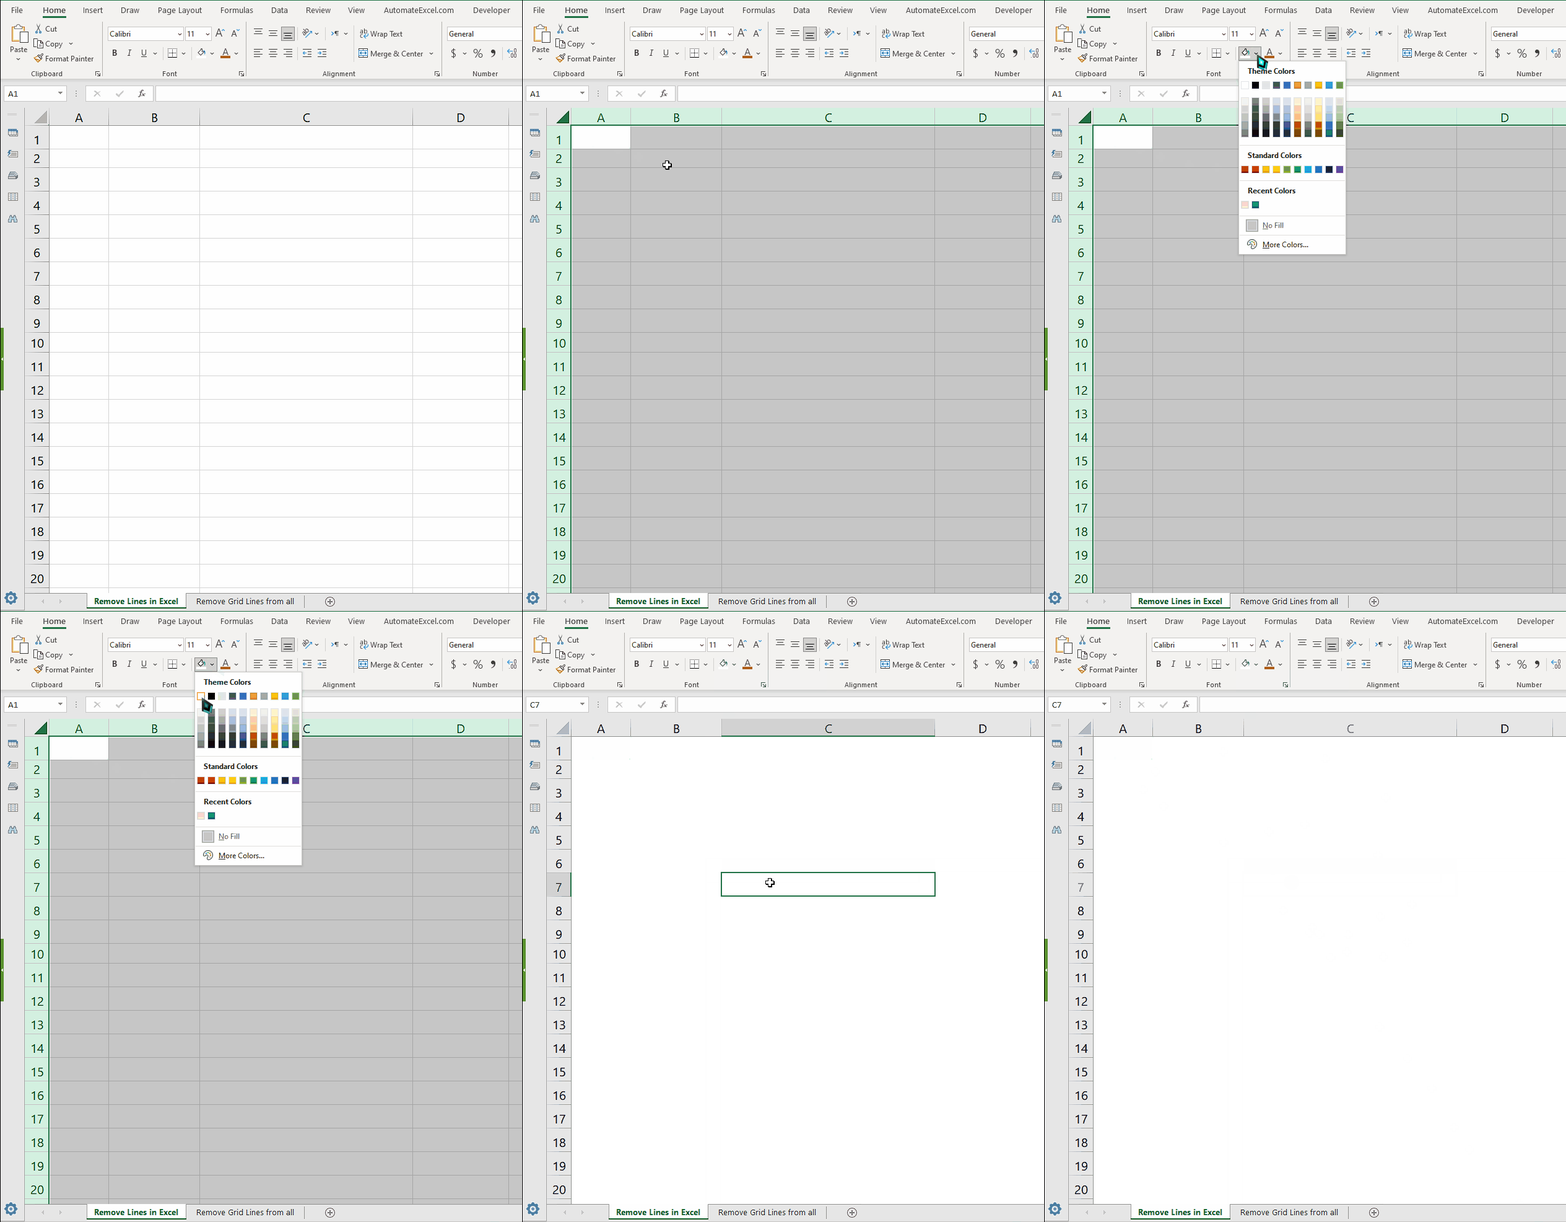
– Select all the cells of the active worksheet by pressing CTRL+A.
– Then go to the Font group in the Home tab. Click on the Fill color icon and choose white as fill color.
– This will hide all the gridlines from the active worksheet.
Step 3 – Remove gridlines from all worksheet using step 1 or 2

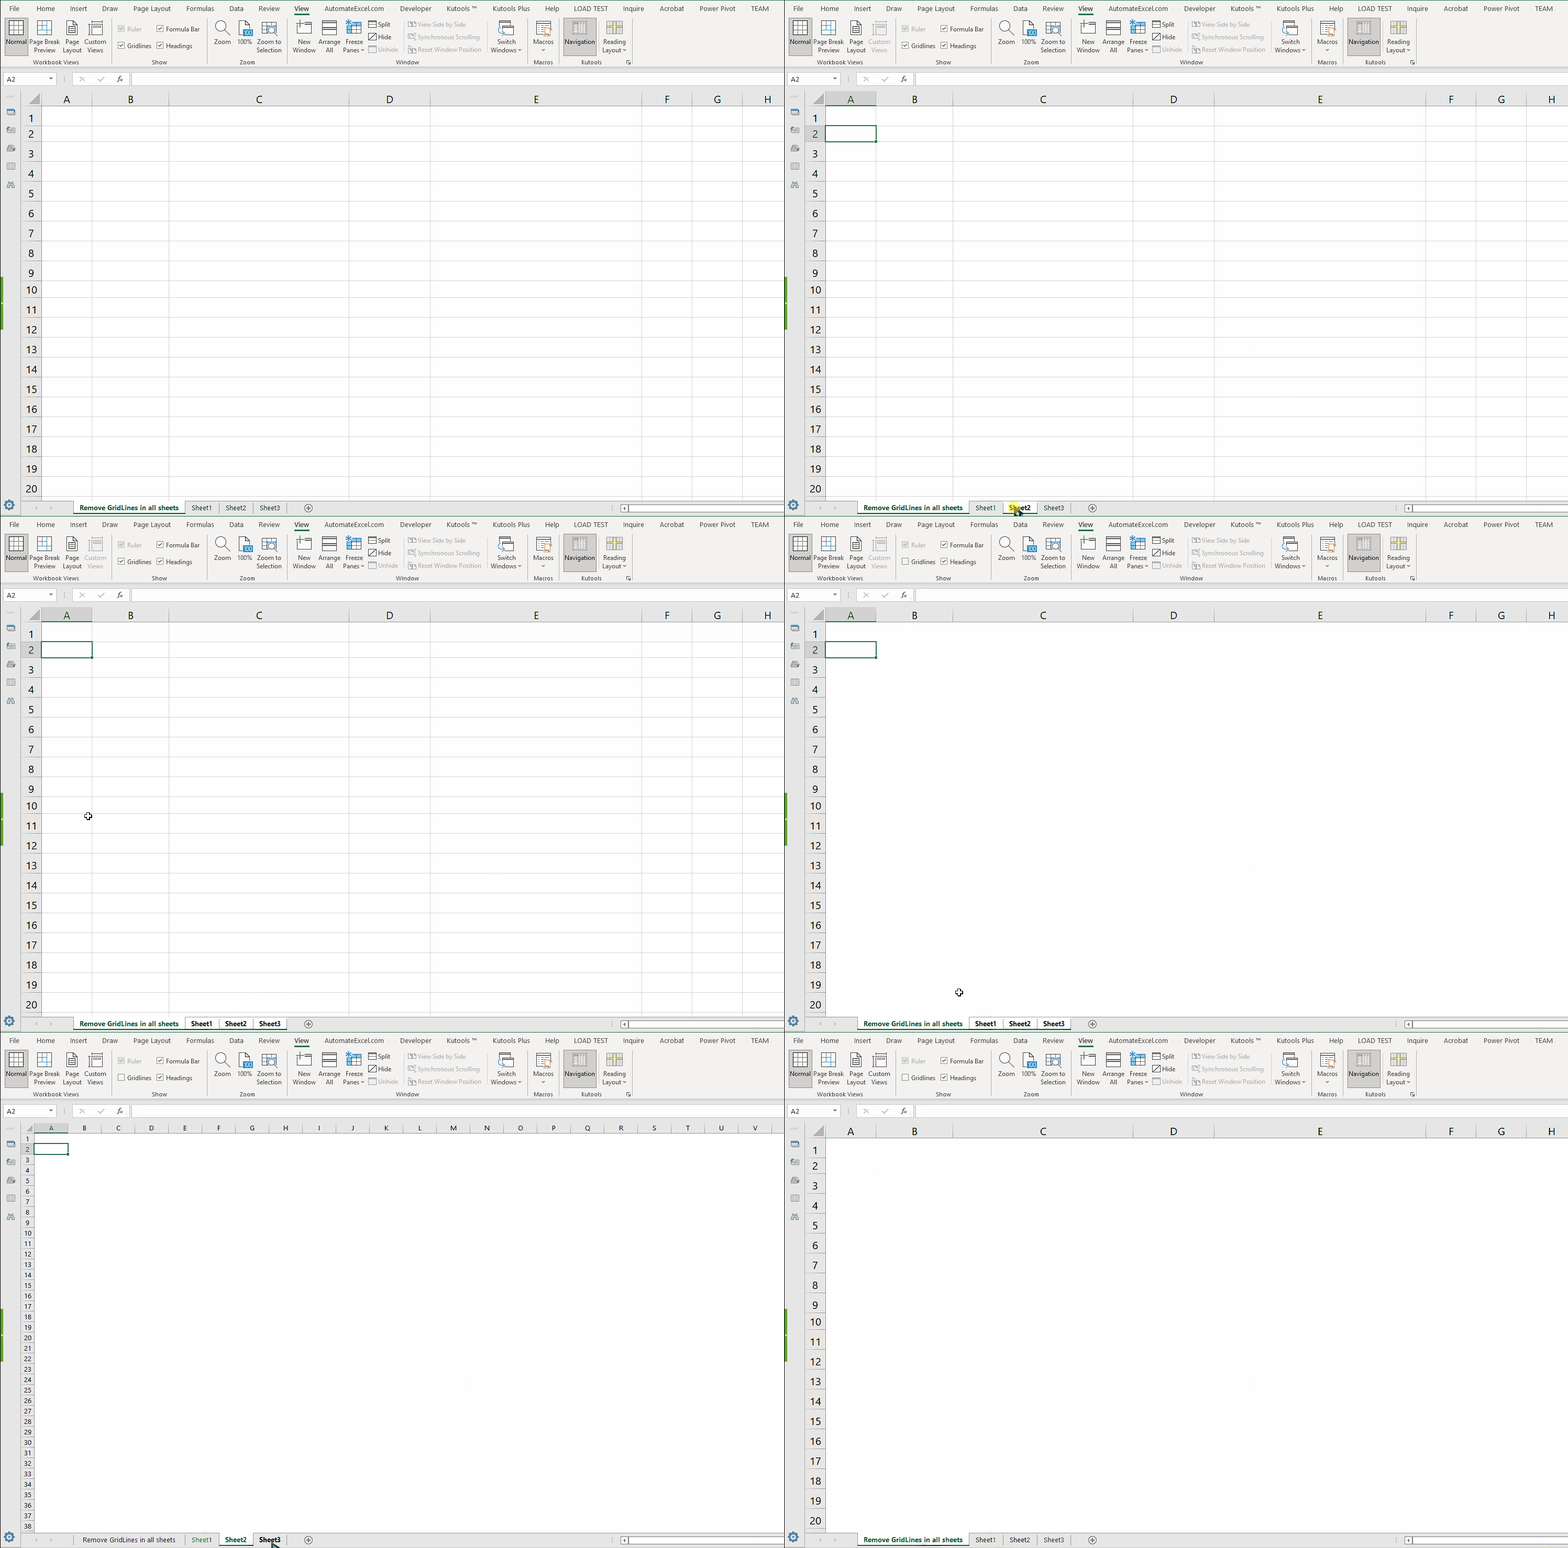
– To remove gridlines from all worksheets at once, we’ll need to group the available worksheets by simply holding down the CTRL key and using Left Click of mouse to select the sheets.
– This will group the worksheets and now each process done on any of these worksheets will be repeated on the others automatically.
– Now we can use any of the methods used above in step 1 or step 2 to remove the gridlines from all sheets. We’ll use step 1 in this tutorial.


