
How to Remove Duplicate Rows with same Data in Microsoft Excel
 By
SpreadCheaters
By
SpreadCheaters
In this tutorial we will learn how to remove duplicate rows with the same data in Microsoft Excel.Removing duplicate rows in Microsoft Excel is a common task when working with data. Duplicate rows can occur due to various reasons such as manual entry errors or data import issues. Having duplicate rows can lead to incorrect or misleading results in data analysis, so it is important to remove them.
Microsoft Excel is a spreadsheet software developed and sold by Microsoft Corporation. It is widely used for data analysis, financial modeling, and other data-related tasks. Excel allows users to create, edit, and format spreadsheets and perform mathematical operations on data. It also offers various tools and features such as pivot tables, charts, and conditional formatting, making it an essential tool for organizing and visualizing data. With its ease of use, versatility, and widespread availability, Excel has become a popular choice for businesses, organizations, and individuals for managing and analyzing data.
Step 1 – Select the Data
– Select the data containing the duplicate rows using the “Handle Select” and “Drag and Drop” method.
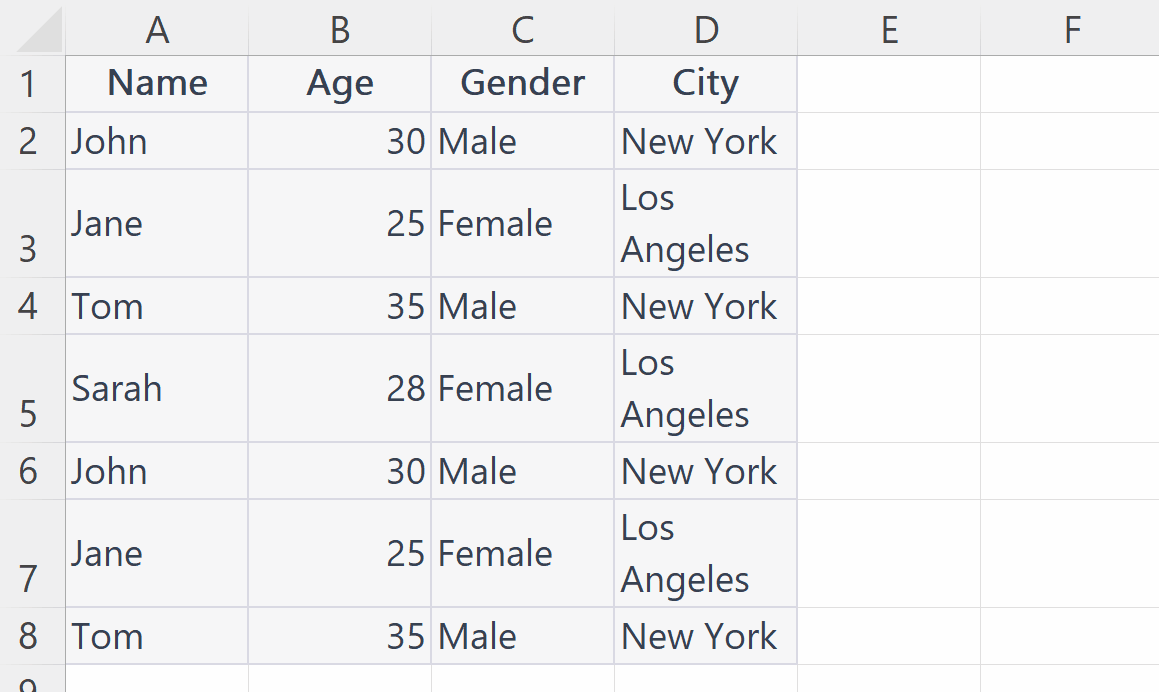
– There are 3 duplicate rows in this data i.e 6,7 and 8.
Step 2 – Go to the Data Tab

– Go to the Data Tab in the Menu Bar.
Step 3 – Click on the Remove Duplicates button
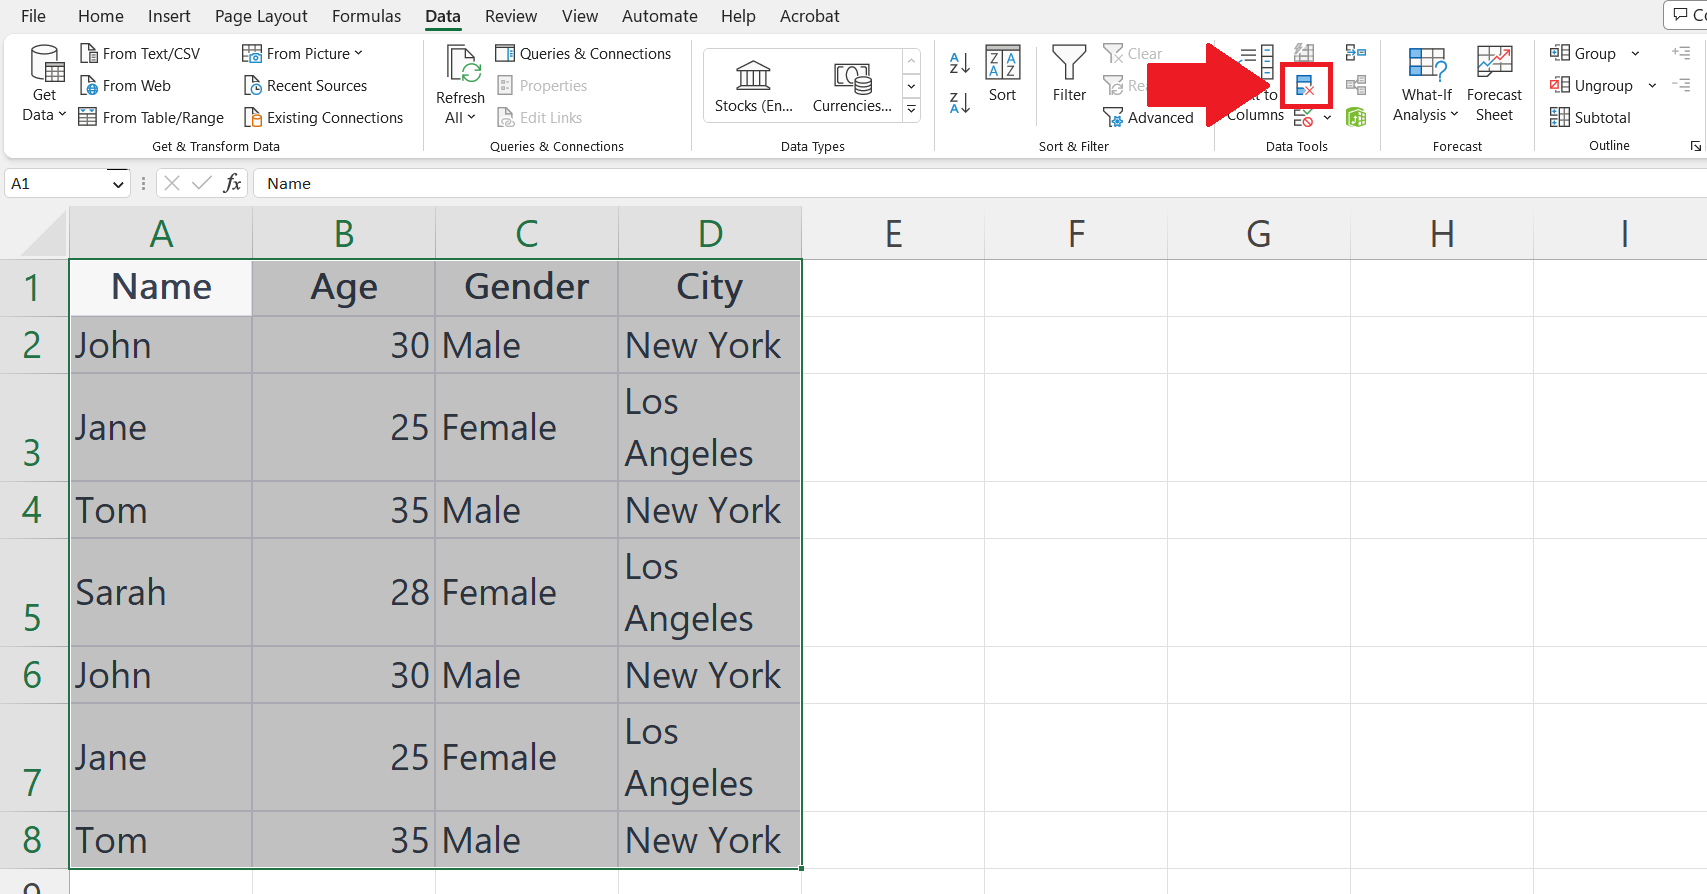
– Click on the remove duplicates button in the Data Tools section.
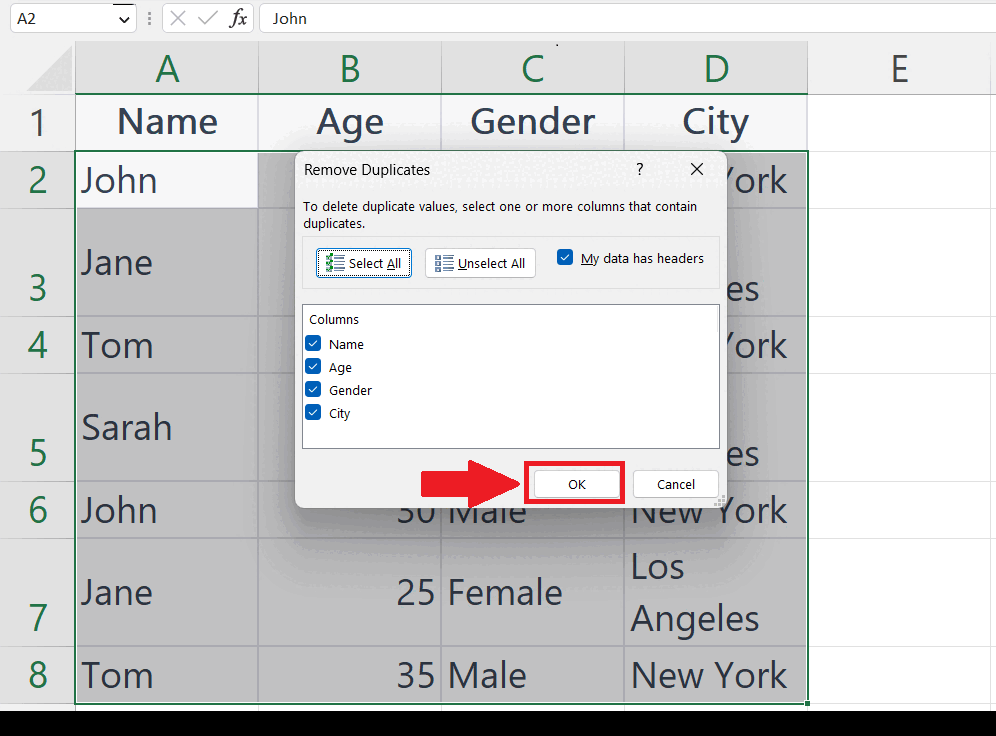
Step 4 – Click on the Select All option
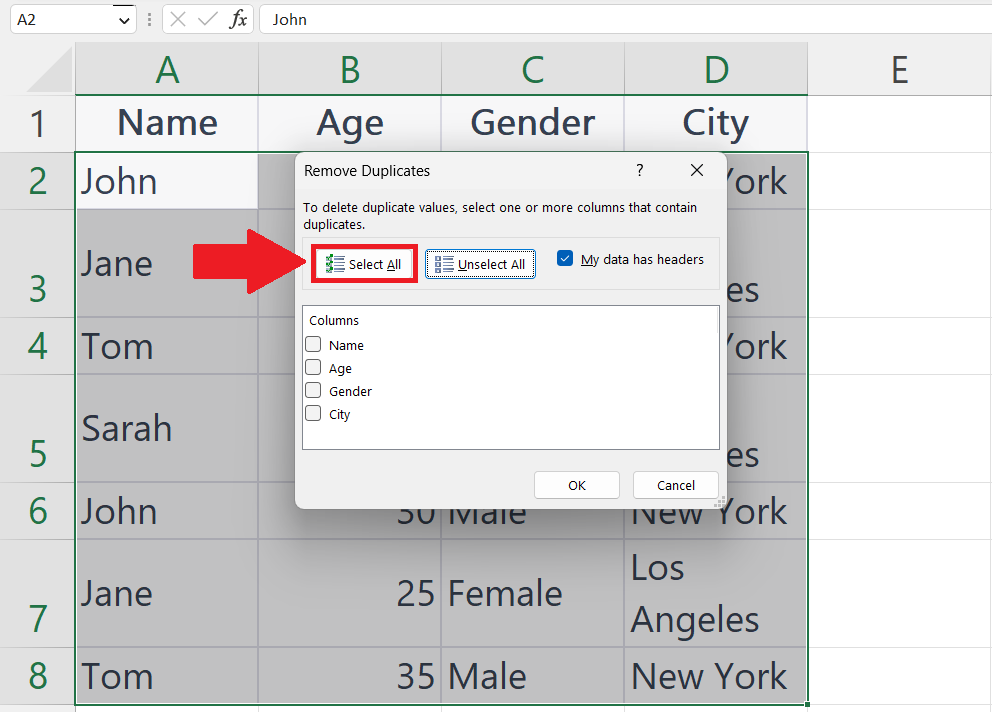
– Click on the Select All option in the Remove Duplicates dialog box.
– You may choose individual columns in the Columns section below Select All option.
Step 5 – Click on OK

– Click on OK in the Remove Duplicates dialog box.


