
How To Remove Defined Names In Excel
 By
SpreadCheaters
By
SpreadCheaters
Page last updated:
30/06/2023 |
Next review date:
30/06/2025
Excel’s Name Manager is a handy tool that lets you manage and organize defined names in your workbook. It allows you to create, edit, and delete defined names as needed. If you have defined names in your workbook that are no longer necessary, you can remove them to keep your worksheet clutter-free. In this article, we’ll walk through the process of removing defined names in Excel.
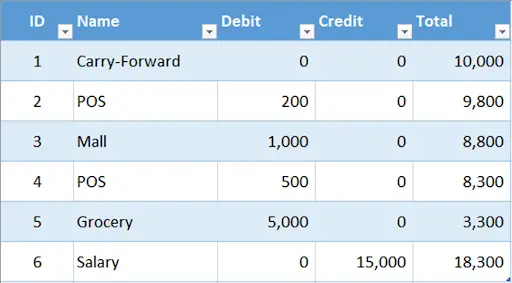
Suppose we have the following dataset with defined names in it.
Method 1 – Using Formula Tab
Step 1 – Go To The Formula Tab

- Go to the formula Tab, under Defined Names group. Click on the Name Manager button.
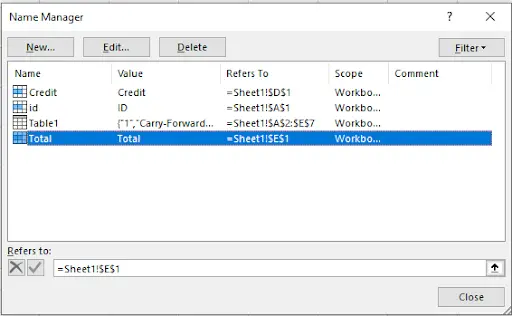
Step 2 – Name Manager Dialog Box
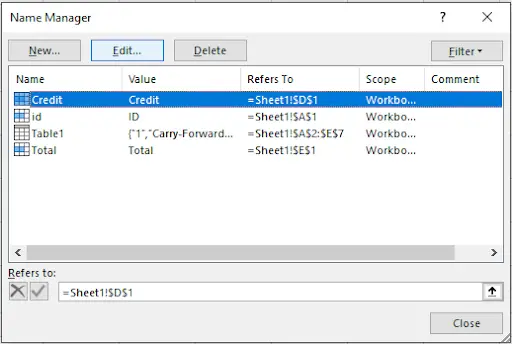
- The Name Manager dialog box will appear on your screen with the defined names listed.
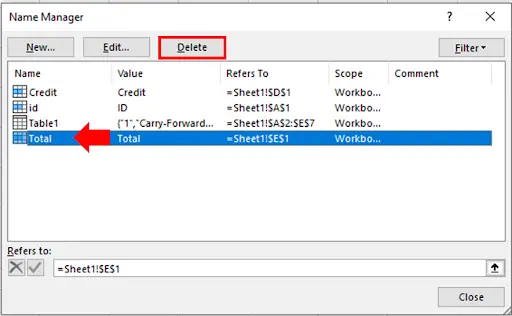
Step 3 – Delete The Defined Names

- From the dialog box, select the names you want to delete.
- Click the delete button.
Step 4 – Warning Message
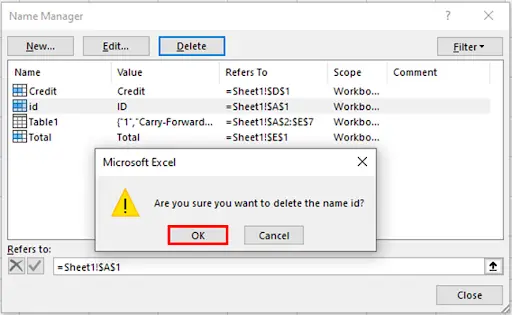
- A warning message will appear confirming if you want to delete the selected name(s). Click the OK button to delete the selected name.
- You can verify if the defined names are deleted or not by opening the Name Manager dialog box once again. You will see the remaining defined names.
Step 5 – Defined Names Deleted
- You can easily delete Defined names through this way.
Method 2 – Using Keyboard Shortcut
Step 1 – Press The Shortcut Key
- Press the shortcut key CTRL + F3 to open the Name Manager dialog box.
- The Name Manager dialog box will appear on your screen.
Step 2 – Select The Name
- Select the name and press the delete button.
- A warning dialog box will appear on your screen. Click on Yes button to delete the defined name(s).
Step 3 – Defined Names Deleted

- This is another way of deleting the defined names in Excel.


