
How to remove borders in Excel
 By
SpreadCheaters
By
SpreadCheaters
Page last updated:
16/11/2022 |
Next review date:
16/11/2024
You can watch a video tutorial here.
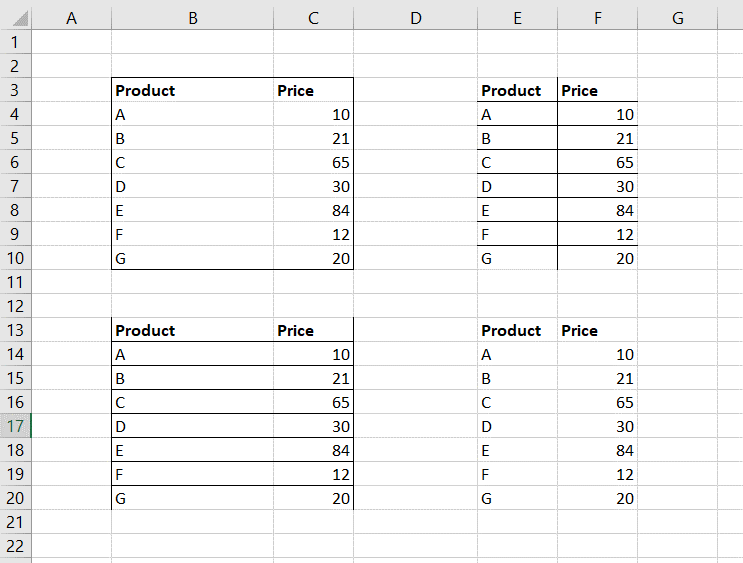
Excel provides many options for formatting worksheets. One of the options is to create or remove a border for cells or a table. When copying and pasting data within the sheet, by default the formatting also gets pasted. If the source cell has a border, the destination cell will have a border too. In this case, it may be required to remove the border from the cell.
Option 1 – Using the preset option
Step 1 – Choose the button on the ribbon
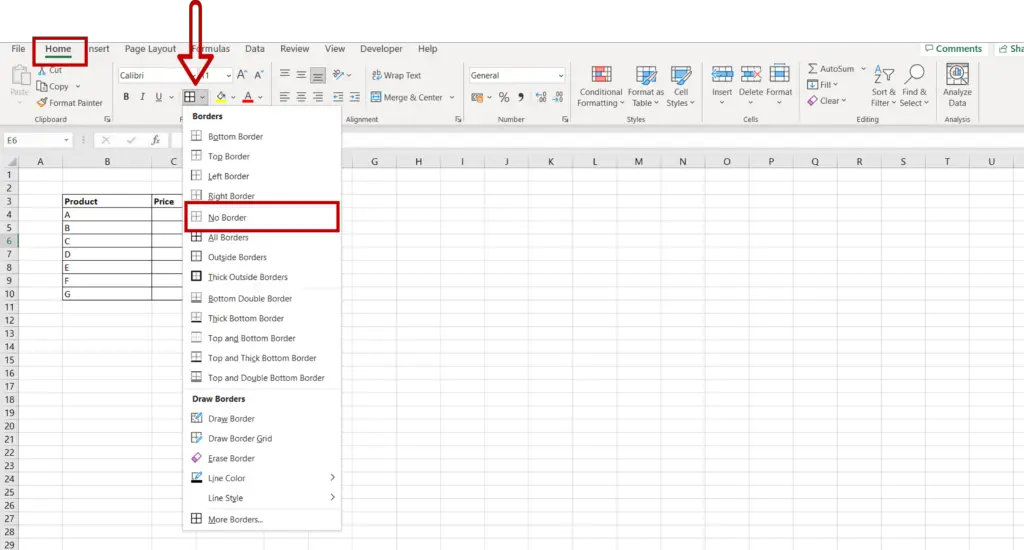
- Select the area for which the border has to be removed
- On the Home menu, click the Borders button on the Font section
- On the drop-down menu, select No Borders
Step 2 – Check the result
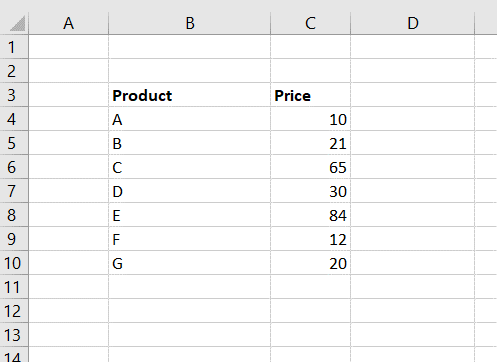
- Check that the borders have been removed
Option 2 – Using the Format Cells option
Step 1 – Open the Format Cells window
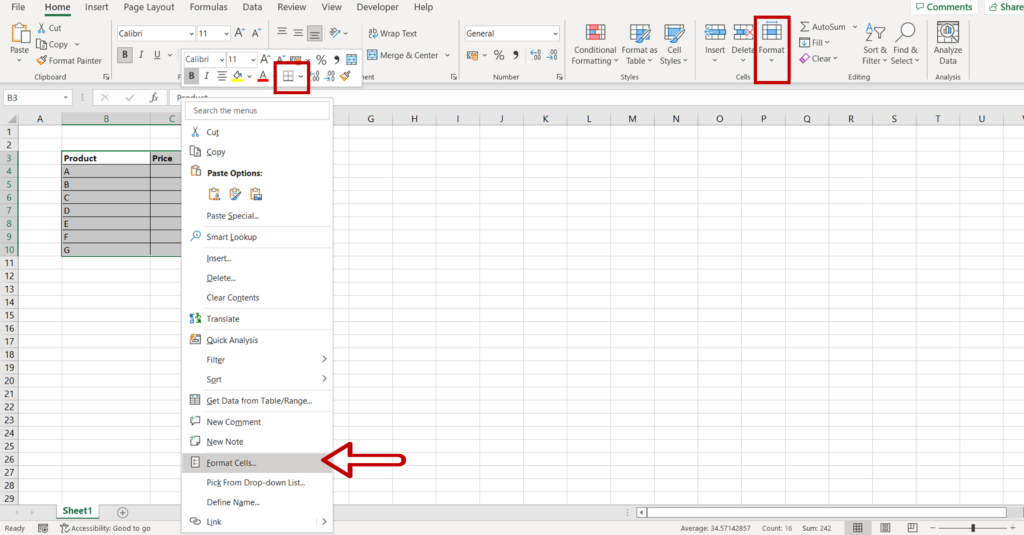
- Select the area for which the border has to be removed
- Open the Format Cells window by right-clicking, to open the context menu, and selecting Format Cells
- Alternatively, open the window using the menu Home > Cells > Format > Format Cells
Step 2 – Choose the borders to be removed
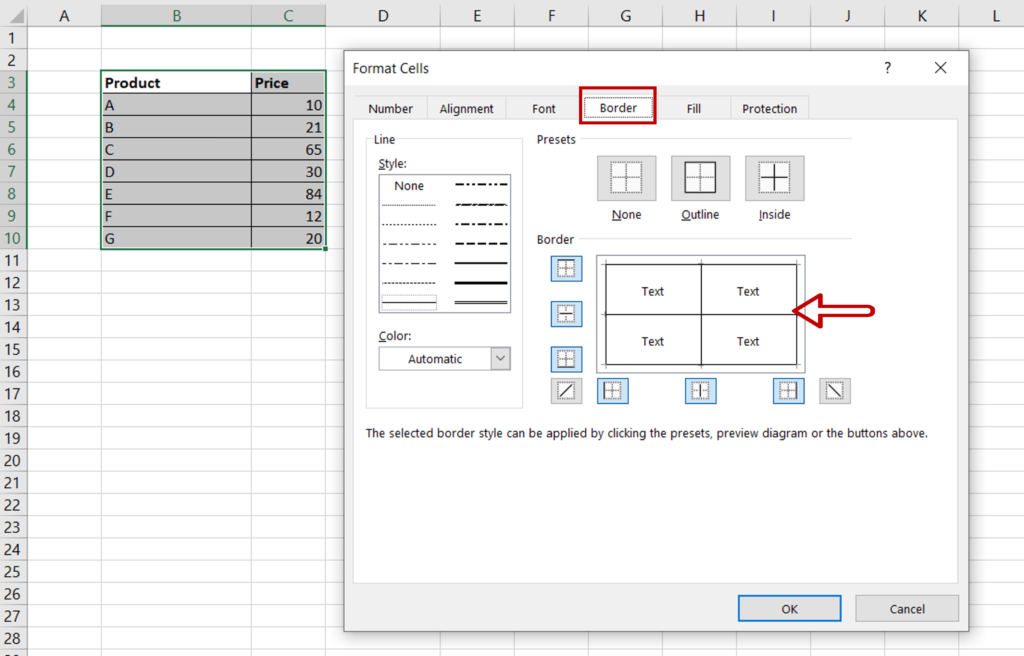
- Go to the Border tab
- Remove the borders by clicking the preview diagram or the border buttons
Step 3 – Check the result
- Depending on the requirement, any or all of the borders can be removed


