
How to randomly sort in Excel
 By
SpreadCheaters
By
SpreadCheaters
Page last updated:
02/06/2023 |
Next review date:
02/06/2025
To randomly sort in Excel means to reorder the rows of a data set in a random sequence. This can be useful for a variety of purposes, such as selecting a random sample of data or randomizing the order of test questions or survey responses. The importance of randomly sorting in Excel is that it can help you avoid bias or patterns in your data.
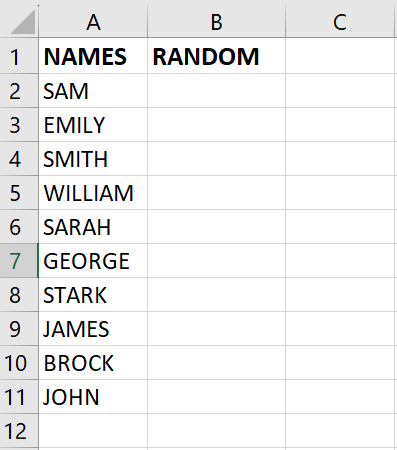
In this tutorial, we will learn how to randomly sort in Excel. We have a dataset containing information about people involved in a lucky draw, and we want to arrange them in a random order. To do this, we can use a random sort function to randomly reorder their names. There are two common methods to sort data randomly in Excel.
Method 1: Sort Randomly using SORTBY and RANDARRAY functions
Step 1 – Select the cell
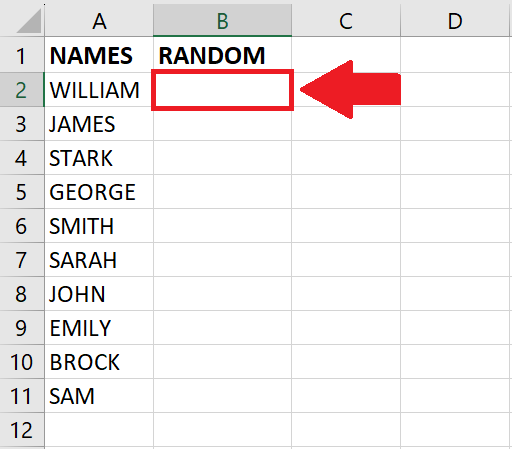
- Click on the cell where you want to show the Randomized names
Step 2 – Type the Combination of Functions
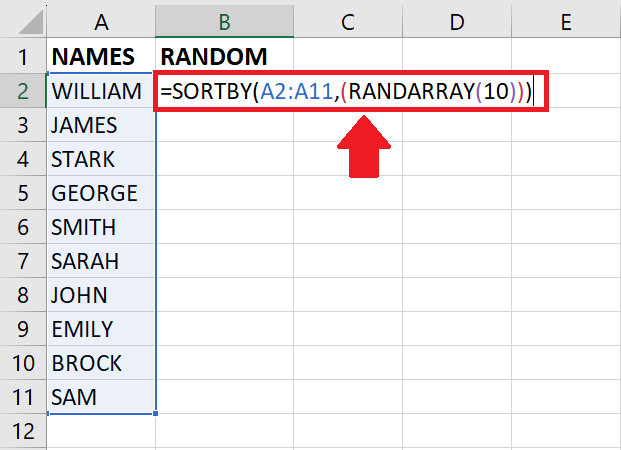
- After selecting the cell type = symbol in it and then type the following formula
- SORTBY(range,RANDARRAY(no of rows))
- Range: range of selected cell (A2:A11 in our case)
- No of rows: number of rows selected (10 in our case)
Step 3 – Press the Enter key
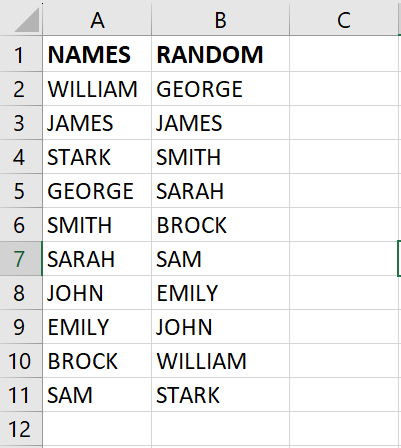
- After typing the formula, press Enter key to get the required result
Method 2: Sort Randomly using the RAND function
Step 1 – Select the cell in the helper column
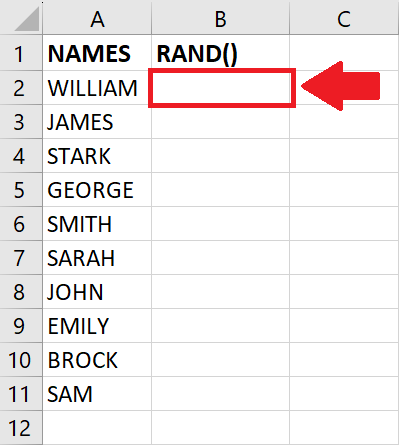
- Click on the cell in a column next to the column containing names. This column will be our helper column to randomize the names.
Step 2 – Type the Formula
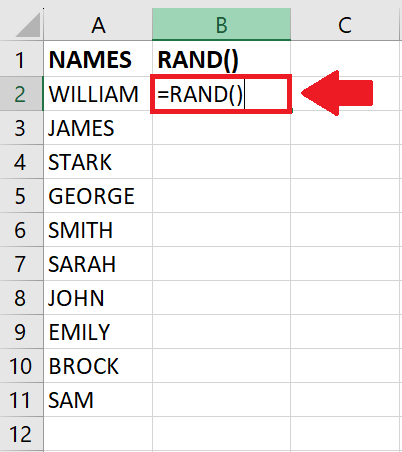
- After selecting the cell type = symbol
- Then type the formula as follows:
- RAND()
Step 3 – Press the Enter key
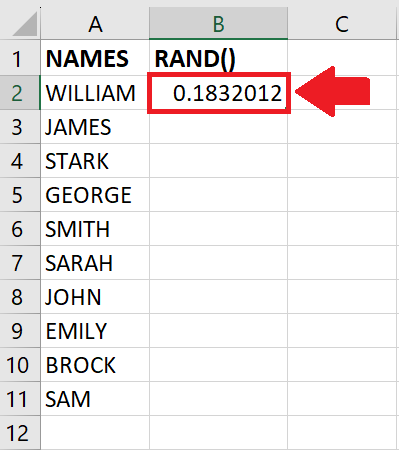
- After typing the formula, press the Enter key to get a random number
Step 4 – Autofill the Column
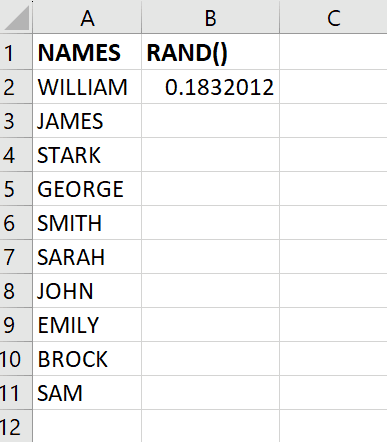
- After getting the number in the first cell Autofill the column(by dragging the cell) till the last row containing a name
Step 5 – Open the context menu
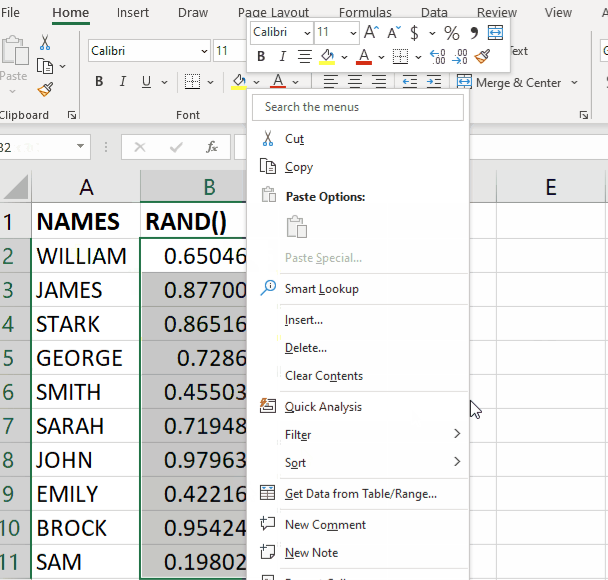
- Select the column containing the random values
- Then click on the selected region and a context menu will appear
Step 6 – Click on the Sort option
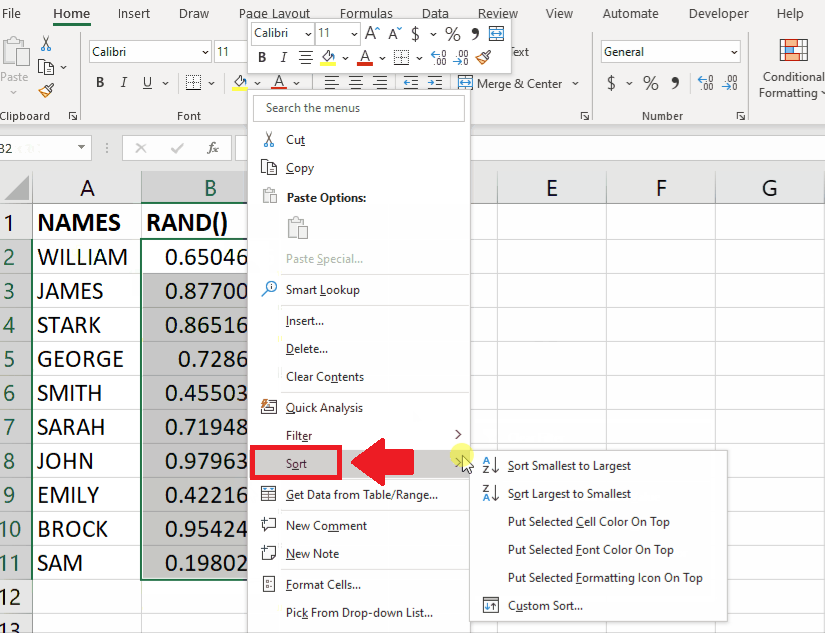
- From the context menu, click on the Sort option and a right-side menu will appear
Step 7 – Click on Sort Smallest to Largest option
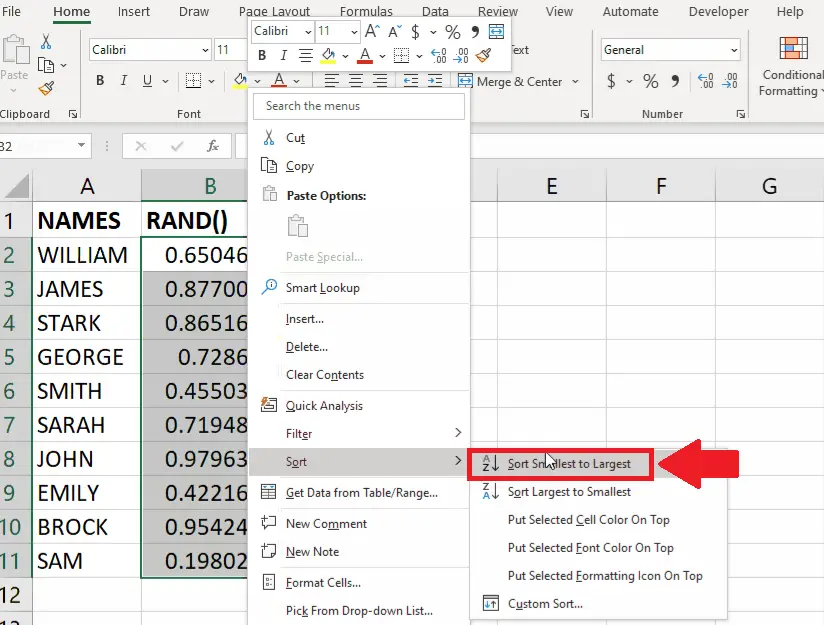
- From the right side menu, click on the Sort Smallest to Largest option
Step 8 – Click on the Expand selection option
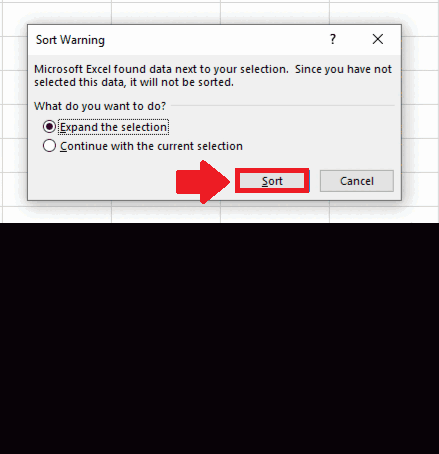
- After clicking on the Sort Smallest to Largest option a dialog box will appear
- From this dialog box, click on Expand the selection option
- Then click on SORT to get the required result


